The Hardest Loaf to Mess Up: A 60% Hydration Sourdough for Absolute Beginners
What is the easiest sourdough bread recipe that minimizes handling and hydration issues?
On this page
If you've pulled a dense, gummy disc out of the oven and sworn off sourdough, this loaf is for you. We're ditching high-hydration chaos for the extreme forgiveness of 60% hydration—the training wheels that actually produce a beautiful, delicious loaf.
Why Your Sourdough Keeps Failing (And How to Fix It Today)
The simplest, most reliable sourdough for absolute beginners is a 60% hydration loaf. It’s the one that pushes dense crumb, gummy middles, and pancake-flat loaves right off the table. Most beginners jump into high-hydration doughs that look impressive online but are sticky nightmares to handle. Those 75% and 80% recipes demand expert shaping and perfect fermentation timing. At 60% hydration, the dough is firm, cooperative, and almost impossible to stick to everything. According to Yeast Coast Sourdough, the easiest bread for beginners sits between 60–70% hydration. This is your training-wheels recipe. While every bake depends on a ripe starter and a warm kitchen, this loaf strips away the trickiest variable so you can nail the fundamentals and finally enjoy a beautiful, tangy loaf.
What Makes 60% Hydration So Forgiving? (With Real Math)
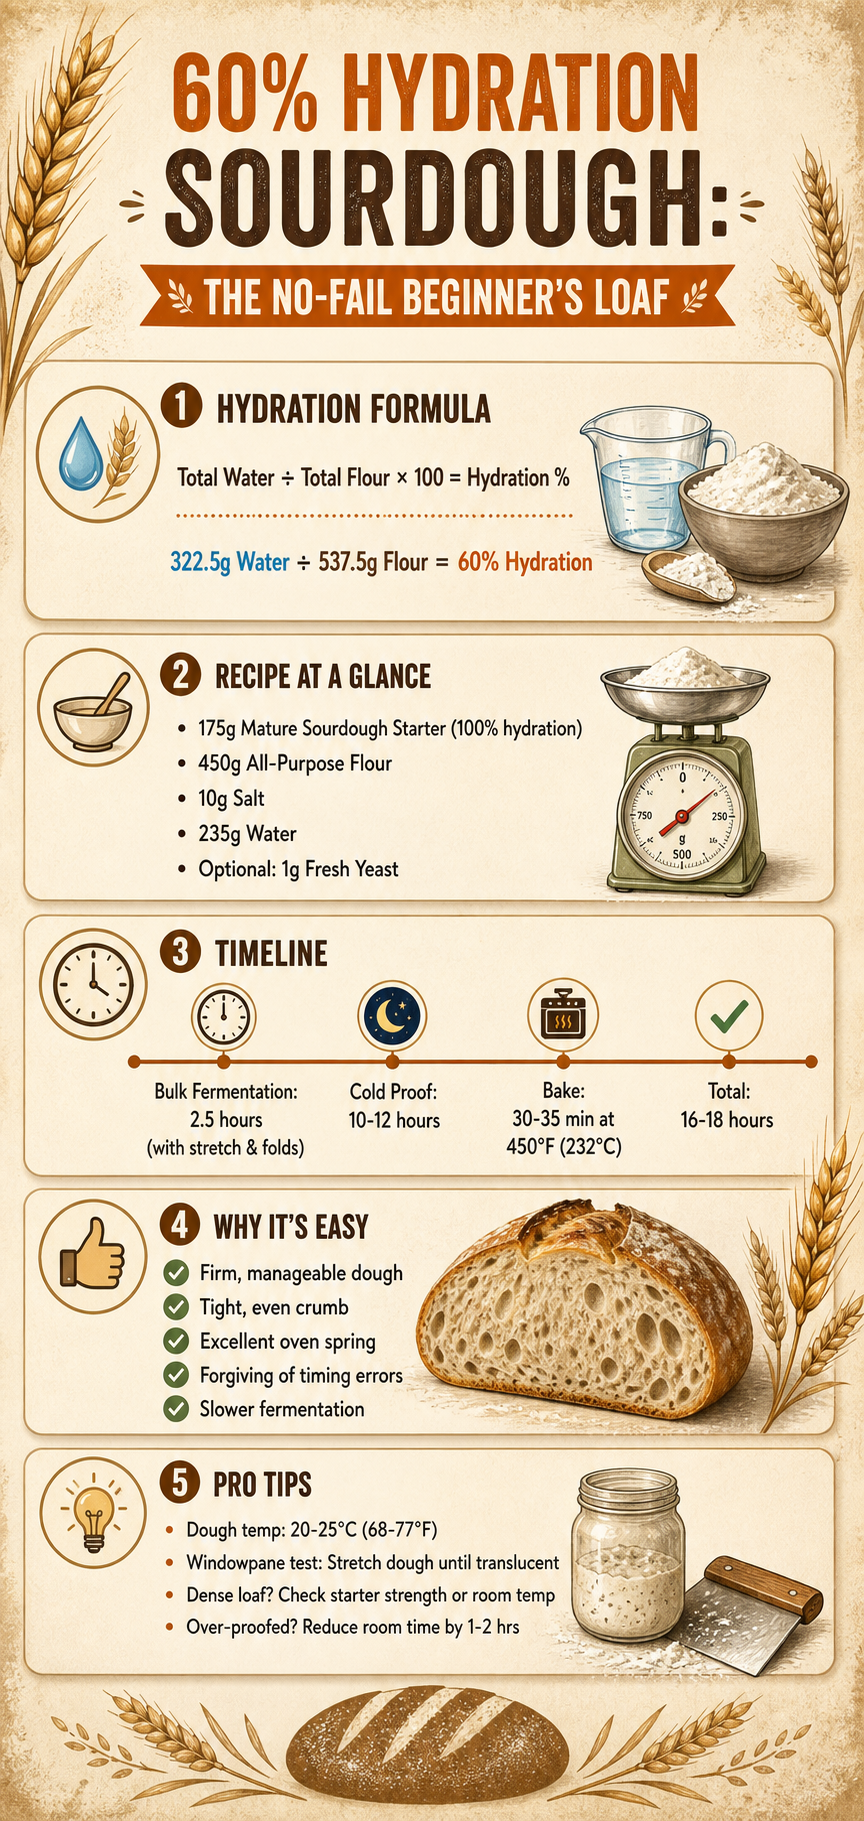
If you’ve ever stared at a sticky, shapeless blob of dough and wondered where you went wrong, the answer is often in the water. Hydration percentage is simply the total weight of water divided by the total weight of flour, multiplied by 100. And because your sourdough starter is half flour and half water (assuming a standard 100% hydration starter), you have to count both parts. It’s not just the water you pour in.
For this recipe, the math looks like this: 175 grams of ripe starter (so 87.5 grams water and 87.5 grams flour), mixed with 450 grams of all‑purpose flour and 235 grams of added water. Add it all up and you’ve got 322.5 grams of water and 537.5 grams of flour. That’s 322.5 ÷ 537.5 × 100, which lands right on 60% hydration — a beautifully workable percentage that makes everything easier (Delight Baking).
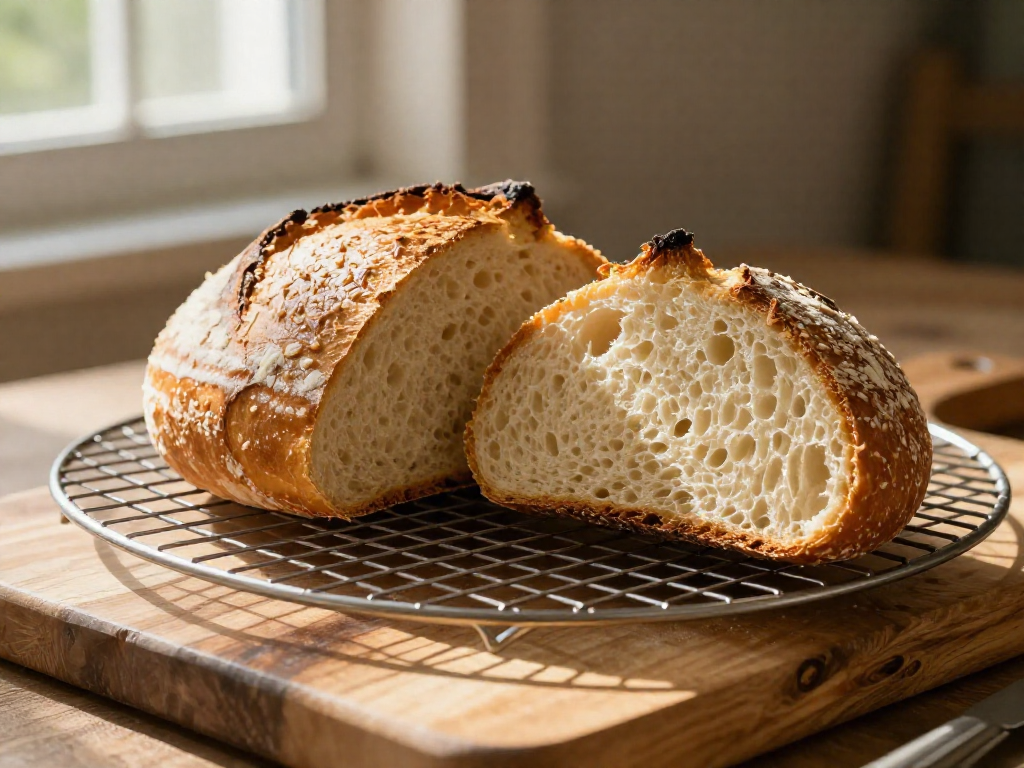
Why does 60% make such a difference? The dough is firm and cooperative from the very first mix. It won’t puddle across your counter or glue itself to your fingers. You can shape it with confidence, even if your technique is still new. The resulting crumb is tight and even — perfect for sandwiches and toast — but far from heavy. With less water, the gluten network doesn’t get diluted; it stays strong and elastic, trapping gas efficiently for an oven spring that still pushes the loaf upward beautifully.
Lower hydration also means slower fermentation, and that’s a gift when you’re learning. There’s a wider window before the dough overproofs, so if you lose track of time or the kitchen runs warm, you’re still safe. This dough forgives the small mistakes that wreck higher‑hydration breads. And despite the myth that less water equals a dense brick, a 60% hydration dough with good gluten development produces a light, airy loaf — just with a more uniform structure. It’s the ideal first sourdough for building skills, and honestly, it’s the one you’ll keep coming back to.
The Hardest Loaf to Mess Up: Your Step-by-Step Recipe
Here’s a recipe so simple it almost feels like cheating. Active hands-on time is about 10 minutes—seriously. The rest is just waiting while the dough does the work.
Ingredients
- 175 g (scant ¾ cup) active sourdough starter
- 450 g (about 3 ¾ cups) all-purpose flour
- 10 g (1 ¾ teaspoons) fine sea salt
- 235 g (1 cup) cool water
Total dough weight: ~870 g–enough for one round loaf.
Mix (2 minutes)
Pour the water into a large bowl. Add the starter and stir until it clouds the water. Sprinkle in the salt, then the flour. Mix with a sturdy spoon or your hand until no dry bits remain—you’re after a shaggy, cohesive mass. No stand mixer, no kneading. Cover and let it rest 30 minutes.
Stretch & folds (10 minutes work, spread out)
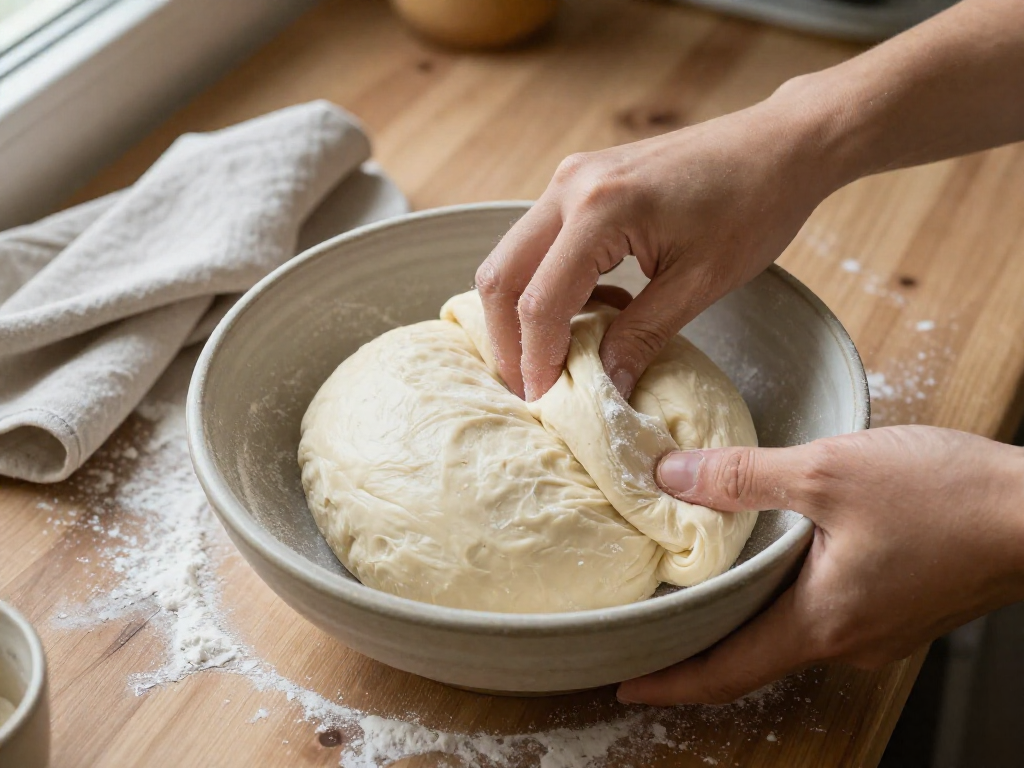
After the rest, grab a corner of the dough, pull it up until you feel resistance, and fold it over the top. Rotate the bowl and repeat until you’ve gone all the way around (four folds). Cover. Do this 3 or 4 times total, every 30 to 60 minutes, over the next 2½ to 3 hours. By the end the dough should feel smooth and elastic. King Arthur Baking’s no-knead sourdough guide shows that this gentle handling builds enough gluten without any heavy lifting.
When is bulk fermentation done?
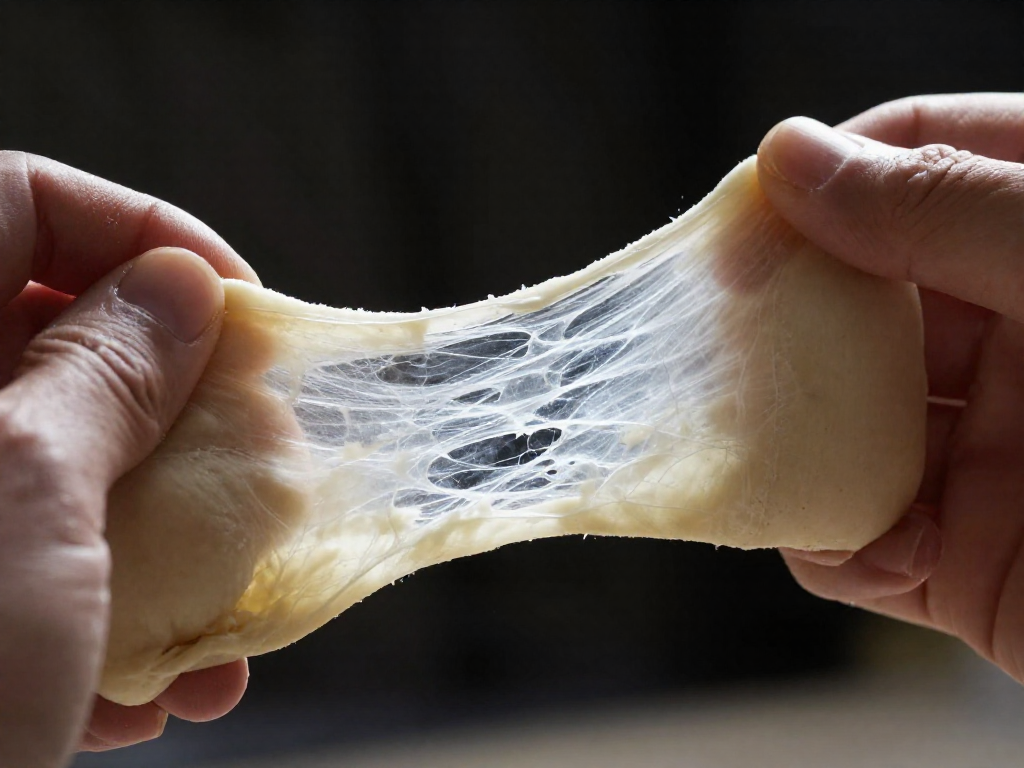
The dough should have grown by about 50% and feel puffy. Try the windowpane test: pinch off a small piece and stretch it slowly. If you can nearly see your fingers through it before it tears, you’re there. If it rips straight away, give it another set of folds and 30 minutes.
Shape & cold proof
Turn the dough onto a lightly floured surface. Gently shape it into a tight round, tucking the edges underneath to create surface tension. Place it seam-side up in a floured banneton (or a bowl lined with a floured tea towel). Cover and refrigerate at least 8 hours, or up to 48. This cold nap deepens flavor and makes scoring easier.
Bake
Preheat your oven to 500°F (260°C) with a Dutch oven inside. Once hot, turn the dough out onto parchment, score the top, and carefully lower it into the pot. Put the lid on and immediately reduce the heat to 450°F (232°C). Bake covered for 25 to 30 minutes, then uncover and bake another 10 to 15 minutes—until the crust is deep amber and an instant-read thermometer poked into the centre reads 210°F (99°C). Cool completely on a rack before slicing.
A quick troubleshooting note
If your loaf comes out dense, the culprit is almost always a weak starter or a chilly kitchen. Make sure your starter doubles reliably within 4 to 6 hours of feeding, and try to keep the dough between 20 and 25°C (68 – 77°F) during bulk fermentation.
How to Read Your Dough: Visual Cues for Perfect Fermentation
Great bread doesn't come from the timer—it comes from your eyes and hands. Learn these three checkpoints and you'll never under- or over-proof a loaf again.
At the end of mixing/gluten development: Pinch off a walnut-sized piece of dough and start stretching it gently between your fingers. If it pulls into a translucent membrane that you can see your fingers through without tearing, your gluten network is fully developed. This is the windowpane test, and with a 60% hydration dough you'll get there after a few stretch-and-fold sessions.
During bulk fermentation: The dough should double in volume. More than size, look for a domed surface, a distinct jiggle when you shake the bowl, and small bubbles dotting the top. These signs mean fermentation is active and your dough is strong, not soupy.
Right before baking (poke test): Flour your index finger and press firmly into the shaped dough about half an inch deep. What you want is a slow, partial spring back—the indentation fills in but leaves a visible dimple. If it springs back instantly, the dough is under-proofed; give it 30–60 more minutes. If the dough deflates or the dent doesn't move, it's over-proofed. Over-proofed loaves bake up flat with no ear and a honeycomb-like interior (Mary Grace Bread). Catch it early and you'll still get a decent bake. These cues work even in a cold kitchen—just adjust your eyes, not just the clock.
Troubleshooting: When Things Don’t Go as Planned
Most dense, gummy crumb problems come back to the starter or the temperature. If your loaf feels heavy and the crumb is wet and tight, your starter likely wasn’t active enough—it should double in size within 4–6 hours of feeding. A chilly kitchen (below 20°C) slows fermentation to a crawl, so aim to keep the dough between 20–25°C (Mary Grace Bread). If you’re struggling to get a good rise, don’t guess; do the float test: drop a spoonful of fed starter into water; if it floats, it’s ready.
A flat loaf that spreads out instead of up, with no ear and a honeycomb-like crumb, means you let the dough overproof. Next time, shave an hour or two off the bulk fermentation. On the flip side, if the top collapses or the loaf has a crater, you’ve underproofed. Extend the final proof until the dough springs back slowly when poked with a floured finger—if it bounces back too fast, give it more time. For a starter that won’t rise, discard all but a small amount and feed it at room temperature twice a day until it reliably peaks. Then use it for your bake.
Your Turn: Bake with Confidence
You've now got a foolproof 60% hydration loaf under your belt. From here, there's a clear progression: bake your next 5 loaves at 65–68% hydration, then 10 more at 70–72%, then jump to 75% when you're confident (Yeast Coast Sourdough). Each step builds your dough-handling intuition. Share your first loaf in the comments below—we’d love to see your progress!
Sources
- Sourdough Hydration Levels Explained: From 65% to 85% and What It Means for Your Bread – Yeast Coast Sourdough — yeastcoastsourdough.com
- Sourdough Bread With 60% Hydration Baked In Dutch Oven — delightbaking.com
- The Least-Complicated Sourdough Loaf Ever – Proof Perfected — proofperfected.com
- How to make no-knead sourdough bread | King Arthur Baking — kingarthurbaking.com
- Basic High-Hydration Sourdough Bread — youtube.com
- sourdough troubleshooting — Mary Grace Bread — marygracebread.com.au
FAQ
What if I don’t have a Dutch oven?
You can still get a great loaf. The key is trapping steam during the first stage of baking, which you can do with any heavy, oven-safe pot with a tight lid—think a cast-iron casserole dish or a large ceramic pot. Alternatively, preheat a baking stone or heavy sheet pan, slide your loaf onto it, and pour hot water into a preheated pan on a lower rack to create steam; just be careful when opening the oven.
Can I use whole wheat flour instead of all-purpose?
Yes, but expect a denser, nuttier bread. Whole wheat flour absorbs more water than all-purpose, so a one-to-one swap will make the dough stiffer. You can compensate by adding a little extra water until the dough feels similar to the original—soft and slightly tacky but not sticky. For your first few loaves, sticking with all-purpose as the main flour is the most forgiving path.
How do I know my starter is active enough?
Look for a starter that has visibly risen and is full of bubbles. A ripe starter will often double in volume within a few hours of feeding and have a pleasant, tangy smell. If your loaf turns out dense with uneven holes and a gummy texture, the most common culprit is a weak starter—give it more time or extra feedings to strengthen it before your next bake.
Can I shorten the cold proofing time?
Yes, you can skip or shorten the cold proof. The long, slow fermentation in the fridge builds extra flavor, but if you’re short on time, shape your dough and let it proof at room temperature for 1 to 2 hours instead, then bake. The loaf won’t have quite the same depth, but it will still be delicious.
See also
- Sourdough Starter Maintenance 101
- The Next Step: 65% Hydration Sandwich Loaf
- Essential Tools for Beginner Sourdough Bakers
- How to Score Sourdough (When You’re Ready to Make It Pretty)
Related articles
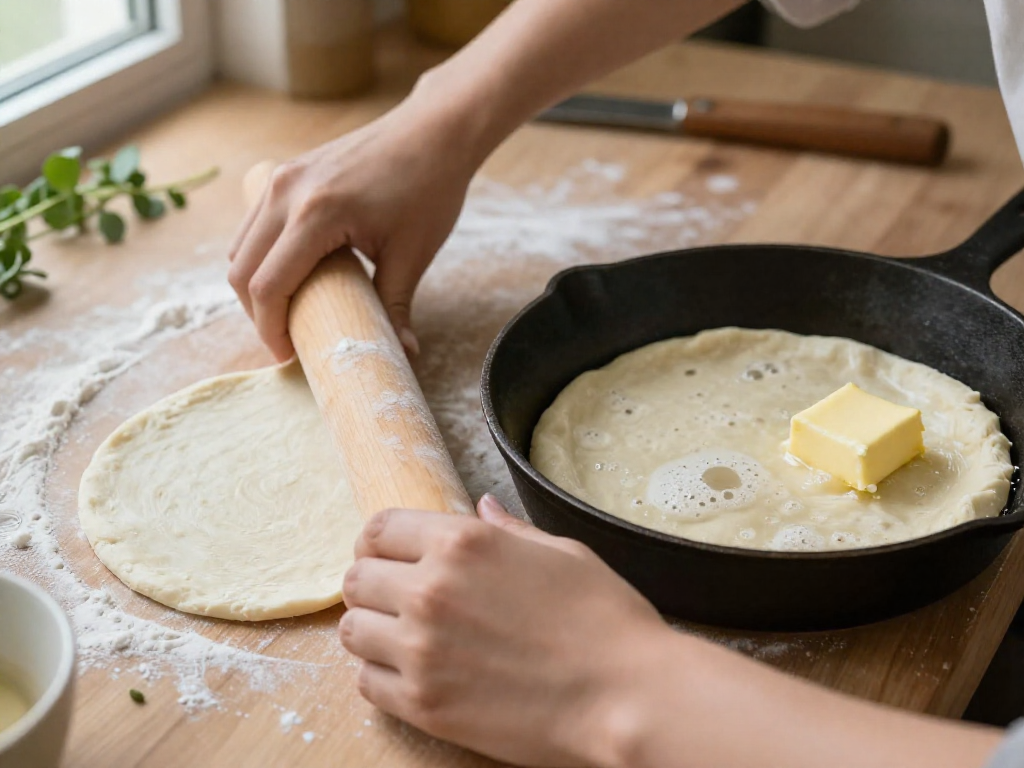
Sourdough Discard Flatbreads: Ready in Under an Hour
Make soft, tearable sourdough discard flatbreads in under an hour with no rise time. Easy stovetop recipe with herb & garlic variations.
Jul 28, 2026 · 8 min read
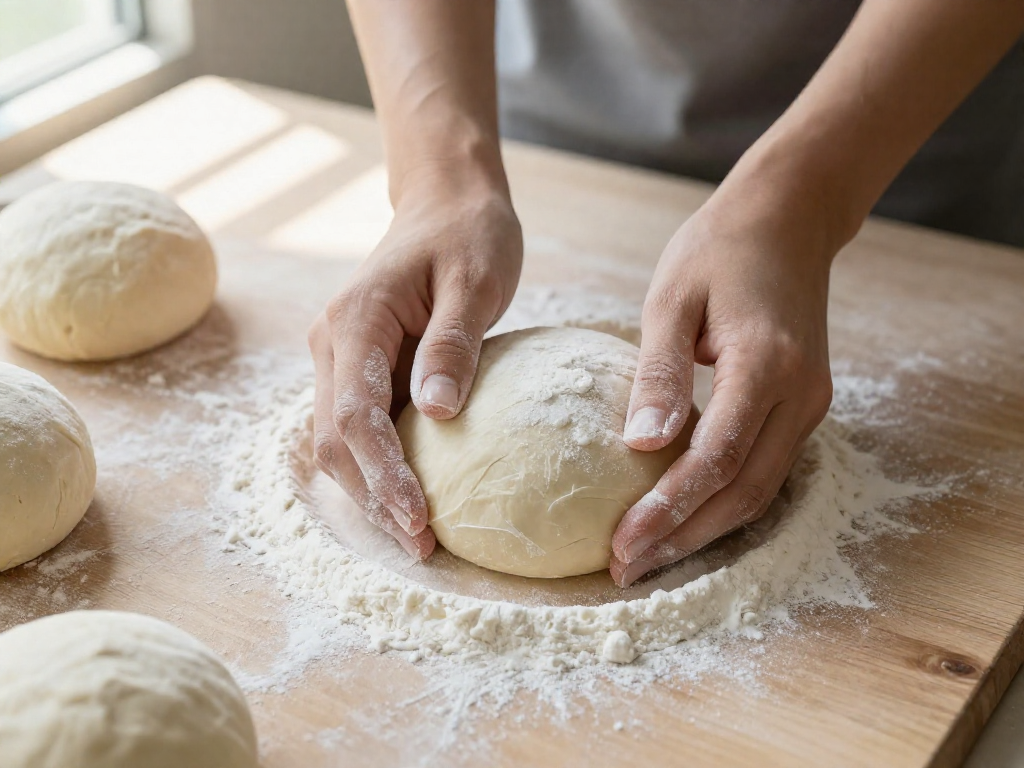
Soft Sourdough Dinner Rolls: A Forgiving Recipe for Beginners
Make soft, fluffy sourdough dinner rolls with this forgiving beginner recipe. No special pans needed—just a skillet. Includes tangzhong for incredible softness.
Jul 28, 2026 · 7 min read
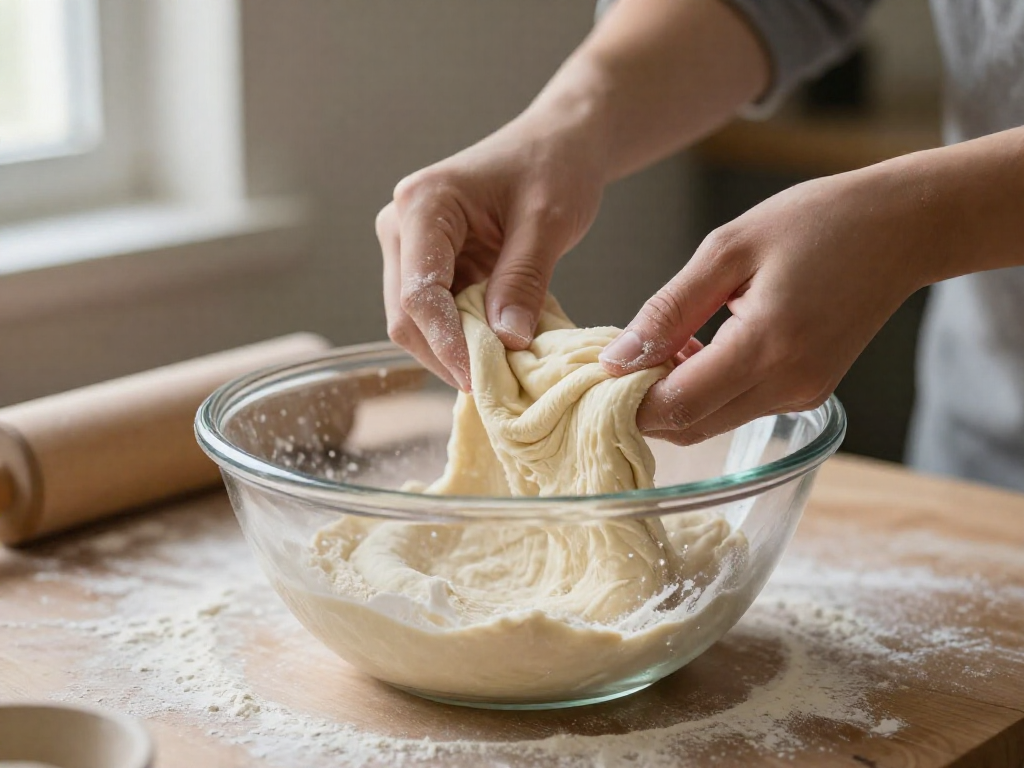
Sourdough Pizza Dough for Beginners: A Forgiving Way to Practice Shaping
Can I use my sourdough starter to make pizza dough, and is it easier than a loaf?
Jul 20, 2026 · 9 min read