Dutch Oven vs. Open Bake: Which Sourdough Method Is Best for Beginners?
Which baking method should beginners use for sourdough: a Dutch oven or open baking on a stone with steam?
On this page
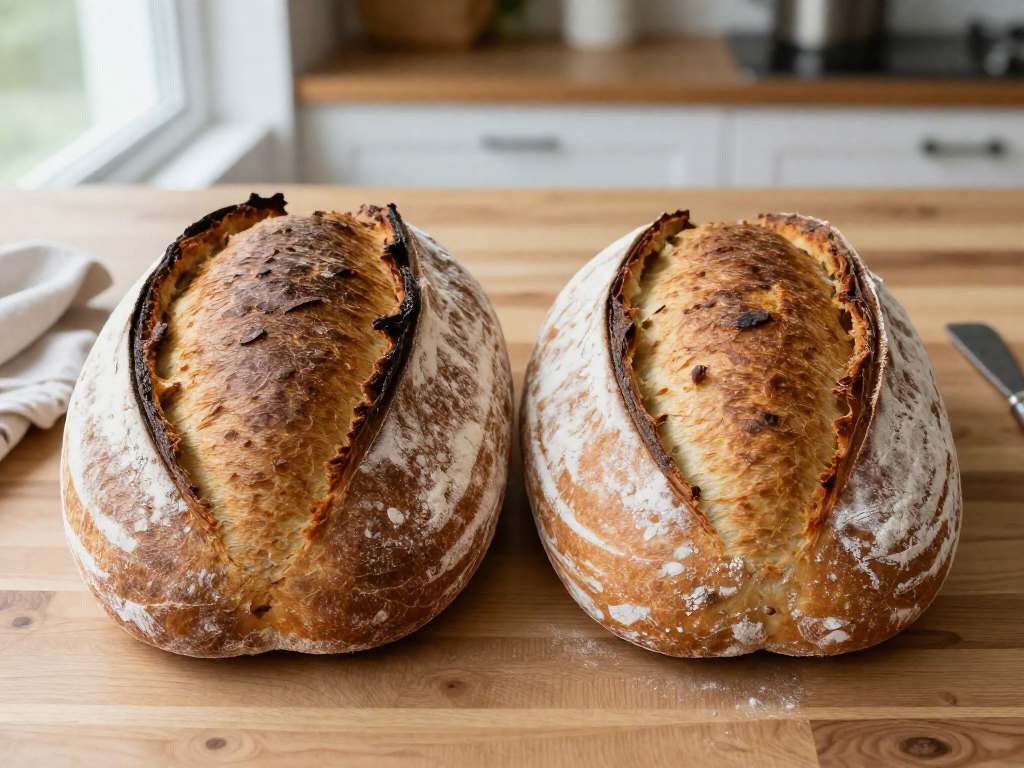
Why the Way You Bake Matters More Than You Think
If your loaves keep coming out flat or pale, the culprit is often your bake, not your starter. Both the Dutch oven and open-bake methods are trying to do the exact same two things:
- Trap steam for the first ~20 minutes. Steam keeps the surface soft so the loaf can balloon upward — bakers call this oven spring — before the crust hardens and locks the shape in place.
- Hold even, intense heat. That trapped, steady heat is what gives you a crackly, deep-brown crust instead of a dull, pale one.
So you're not choosing between two different results. You're choosing between two ways to get the same result. The only real difference is how easy each one is to control — and that's what the rest of this guide breaks down.
The Dutch Oven Method: How It Works
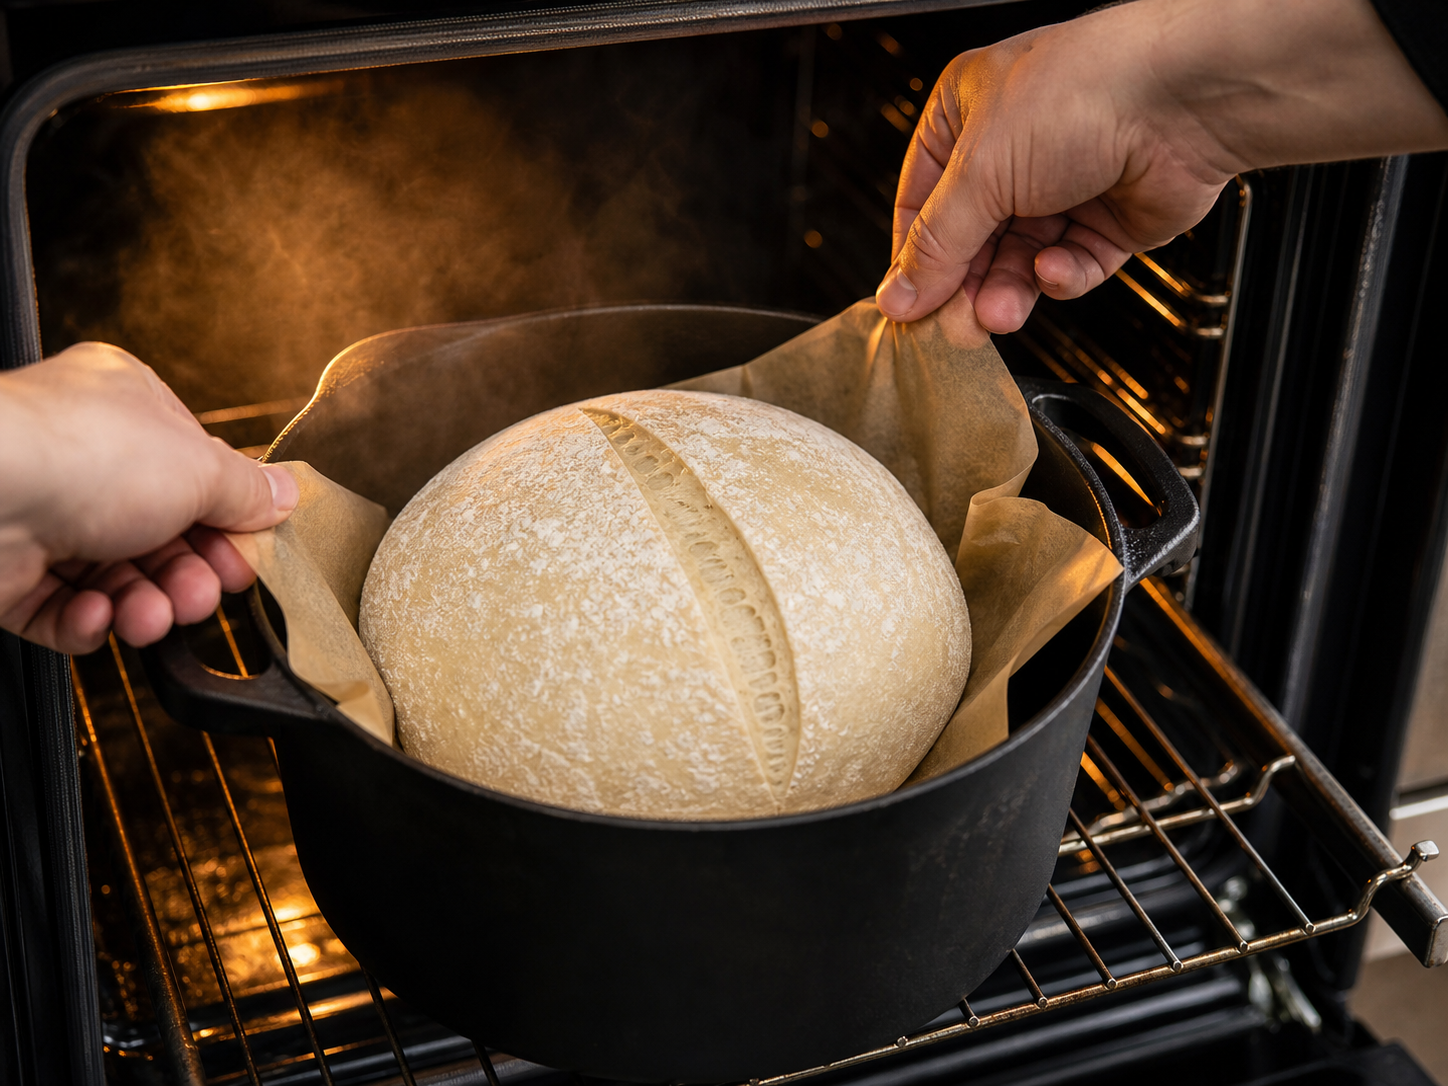
A Dutch oven is a heavy lidded pot (cast iron or ceramic) that acts like a mini-oven, trapping steam around your dough. Steam is the secret to a crisp, open crust because it keeps the loaf's surface soft long enough to rise fully before it sets.
The steps:
- Preheat the empty covered pot inside your oven at 245°C (475°F) for 30 minutes.
- Carefully lower your shaped dough onto a piece of parchment, then lift it into the hot pot.
- Put the lid on and bake for 20 minutes. The dough releases its own moisture, creating trapped steam that puffs the loaf.
- Remove the lid and bake 20–25 minutes more until the crust is deep golden-brown and sounds hollow when tapped.
Pros: near-foolproof steam, consistent results loaf after loaf, and just one purchase to get started.
Cons: you're handling a heavy pot at 245°C, so burn risk is real—use thick mitts. The pot's interior also limits how large or long your loaf can be, and a quality one costs more upfront.
Results vary by oven, flour, and climate, so treat times as a starting point and trust the visual cues.
The Open Bake Method: How It Works
Open baking means placing your shaped dough directly on a hot baking stone (a thick ceramic slab) or baking steel (a metal plate) instead of inside a covered pot. Because the oven is open, you have to create steam yourself — the moisture that keeps the crust soft long enough to rise before it sets.
How to do it:
- Put your stone or steel on the middle rack and a metal pan on the bottom rack. Preheat both to 475°F (245°C) for 45–60 minutes.
- Slide your dough onto the stone (a piece of parchment makes loading easier).
- Immediately add steam: pour ~1 cup of boiling water into the hot pan, or toss in a handful of ice cubes or preheated lava rocks. Stand back — it hisses.
- Bake ~20 minutes with steam, then remove the pan and bake ~20 more until deep golden.
Pros: flexible loaf size and shape, cheap to start (a tray works), and easier loading with no heavy lid.
Cons: the steam escapes fast, results vary batch to batch, and there are more steps to juggle.
Why beginners get inconsistent crusts: an open oven can't trap steam like a closed pot, so the crust often sets too early — giving you a paler, thinner, or cracked crust. Results vary by oven and kitchen, so expect some trial and error.
Side-by-Side Comparison: Cost, Ease, and Crust
Quick answer: For your first loaf, the Dutch oven wins on ease and crust. Open baking is cheaper to start but harder to get right.
| What matters | Dutch Oven | Open Bake (stone + steam) |
|---|---|---|
| Ease for a first loaf | Easiest, most forgiving | Trickier; steam is harder to control |
| Consistency | High, batch to batch | Varies by oven and steam setup |
| Startup cost | $40–80 (if you don't own one) | $0–50; often uses a pan you own |
| Crust & oven spring (the dramatic rise in the first 10–15 min) | Crisp, tall, reliable | Great when steam is dialed in |
| Loaf size | Limited to the pot's size | Flexible; bake big or wide loaves |
| Cleanup & safety | Heavy, hot pot to handle | Lighter, but hot water/steam burns |
Results vary by kitchen and climate, so treat this as a starting point, not a promise.
The Verdict: Which Should a Beginner Choose?
Start with a Dutch oven. For most beginners, it gives the most consistent results with the least fuss. The lid traps steam from the dough itself, so you get good oven spring (the sudden rise in the first 10–15 minutes) and a crisp crust without fiddling with water trays.
Choose open baking (loaf on a stone or steel with a separate steam source) when you're making a loaf too large for your pot, baking several loaves at once, or simply don't own a suitable pot yet.
On a budget? Any oven-safe pot with a lid — enameled cast iron, a stainless stockpot, even a heavy casserole dish — works to get started. It doesn't need to be a dedicated bread pot.
Nothing here is permanent. Once your dough handling improves and you're comfortable shaping and scoring, switching methods is easy. Results still vary by kitchen and climate, so treat your first few loaves as practice, not a pass-or-fail test.
Sources
- Baking with Steam: Unlocking the Secrets to Perfect Sourdough Bread — sherwood.coffee
- How Steam Baking Sourdough Affects Oven Spring and Crust | Homemade Food Junkie — homemadefoodjunkie.com
- Baking stone vs. dutch | The Fresh Loaf — thefreshloaf.com
- Baking on a steel or stone is more rewarding than a dutch oven. — thefreshloaf.com
- The Secrets of Great Ovenspring | The Sourdough Journey — thesourdoughjourney.com
- A guide to baking bread with steam at home | King Arthur Baking — kingarthurbaking.com
- The Best Dutch Ovens for Bread Baking - Baker Bettie — bakerbettie.com
- Oven Spring 101: How to Get Lift Like the Pros - Challenger Breadware — challengerbreadware.com
- I Tested 7 Bread Ovens (Plus a Dutch Oven) to Find Out Which Made the Best Loaf of Sourdough — seriouseats.com
See also
- Beginner sourdough starter guide
- How to fix a gummy sourdough loaf
- Easy same-day beginner sourdough recipe
- Sourdough scoring for beginners
- Best beginner sourdough tools and equipment
Related articles
Baking Stone vs. Dutch Oven for Sourdough: A Beginner's Comparison
Can I use a baking stone instead of a Dutch oven for sourdough?
Jul 28, 2026 · 8 min read
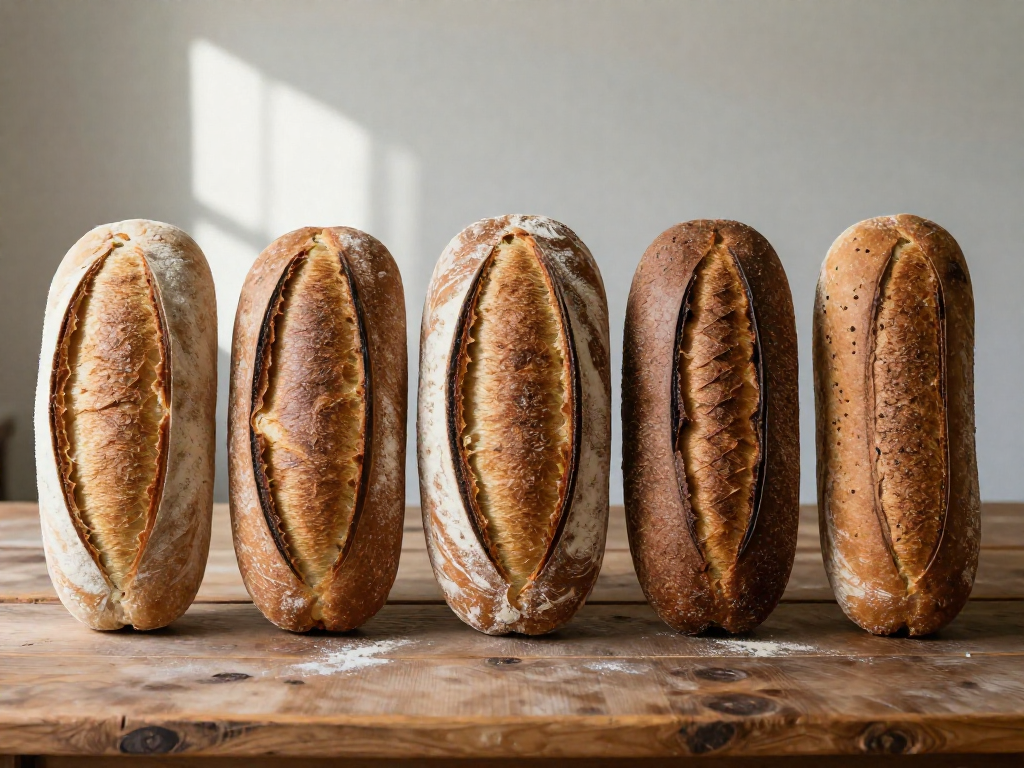
Flour Types for Sourdough: A Visual Guide to Protein Content and Results
How do different flours affect sourdough bread, and what do the results look like side by side?
Jul 20, 2026 · 11 min read
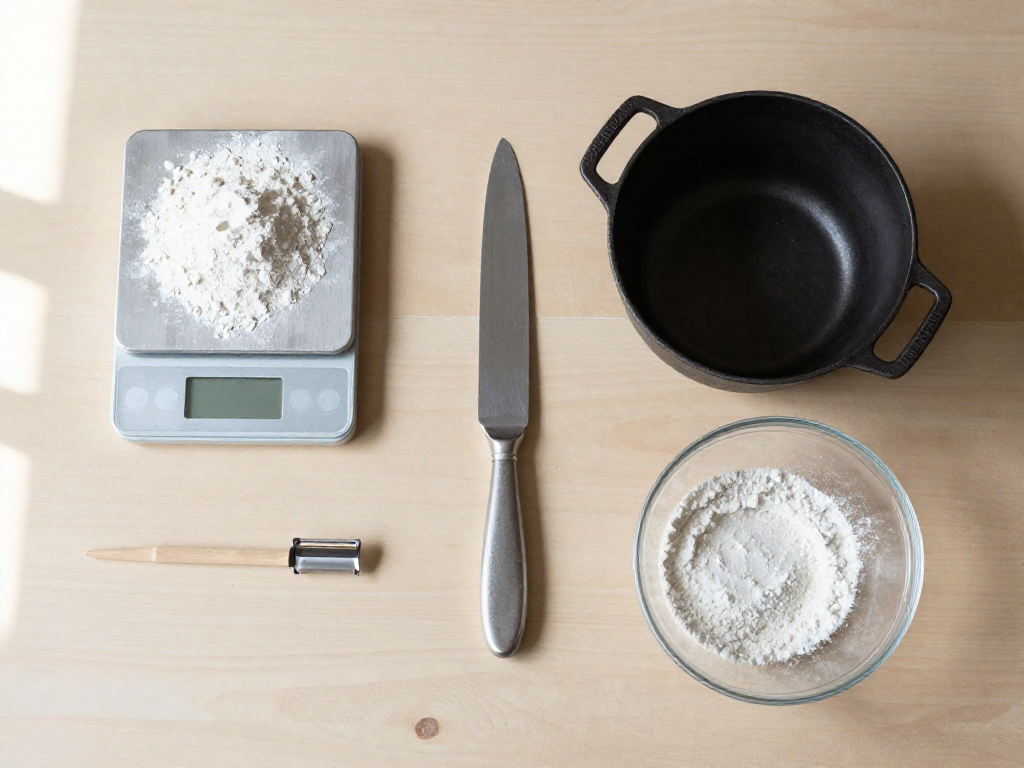
The Only 5 Tools You Really Need for Your First Sourdough Loaf
Start baking sourdough without the clutter and expense. These are the only 5 tools you really need—and the ones you can skip.
Jul 20, 2026 · 3 min read