Why a Rye Starter Might Be Your Best Beginner Sourdough Hack
Is it easier to start a sourdough starter with rye flour?
On this page
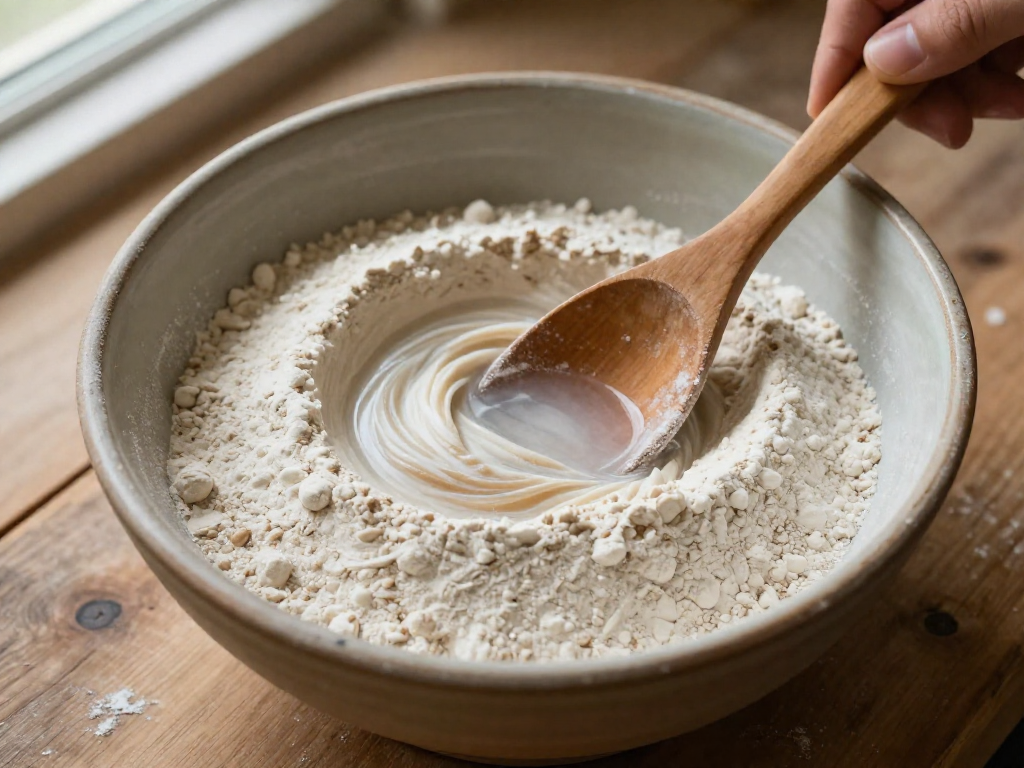
If your sourdough starter has ever refused to bubble or taken weeks to come to life, the fix might be as simple as switching to rye flour. Rye is a secret weapon for beginners—it ferments faster, is more forgiving, and can rescue a struggling starter. Here's why it works and exactly how to build your own.
Why Rye Flour is a Starter Supercharger

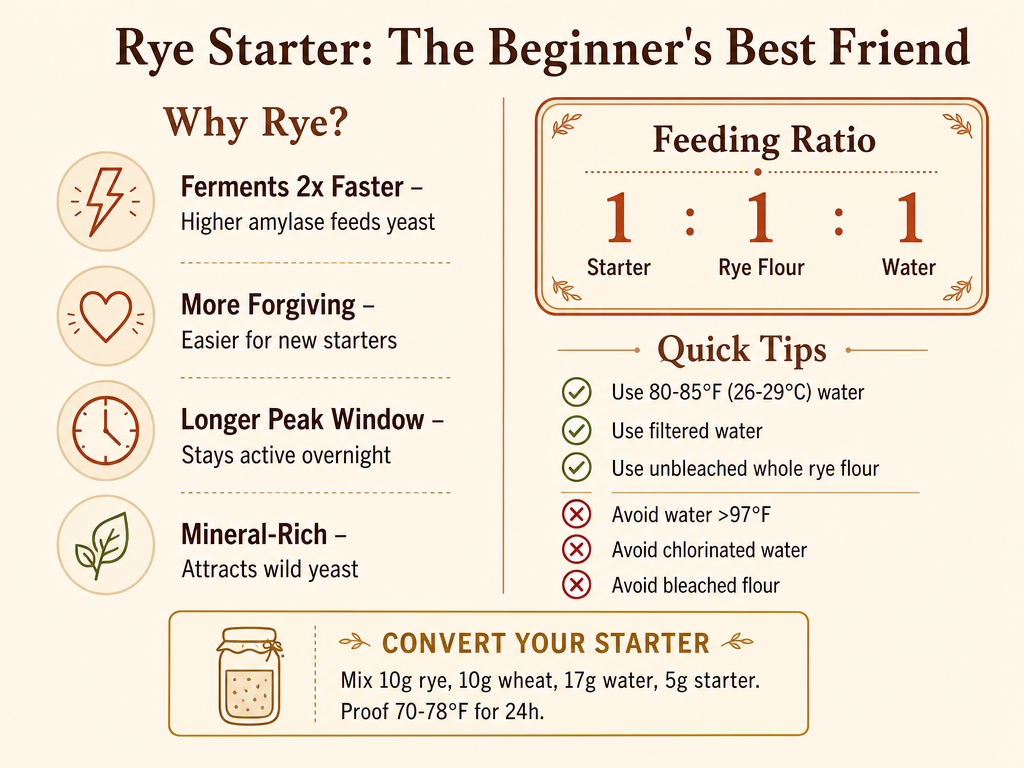
Yes — rye flour makes starting a sourdough starter dramatically easier, and it’s the single best hack for a beginner who wants a lively culture without the frustration. The secret is in rye’s natural chemistry. Rye carries a much higher level of an enzyme called amylase, which breaks down complex starches into simple sugars that wild yeast gobble up eagerly (The Chopping Block). That means more food, faster. On top of that, the mineral-rich bran of whole-grain rye creates an environment where yeast and beneficial bacteria thrive — you’re essentially rolling out the welcome mat for a strong starter.
In practice, this translates to speed and forgiveness. A rye-fed starter can bubble and double in volume about twice as fast as a white-wheat starter, sometimes peaking in just a few hours instead of overnight. And because rye ferments more gradually overall, you get a longer window where the starter is at its bubbly, ready-to-bake peak — often staying active from night into the next day. That makes timing far less stressful when you’re juggling a new skill.
If you’re not ready to commit to a full rye starter, a tiny tweak still pays off. Mixing in just 10–20% rye flour with your usual white flour (a 1:4 or 1:5 ratio) injects serious vigor without turning your bread into a rye loaf. The starter gets a fermentation boost, while the flavor stays neutral and usable in any recipe. It’s the low-risk, high-reward move that turns a sluggish culture into one that rises reliably — exactly what a frustrated beginner needs.
How to Start a 100% Rye Starter from Scratch
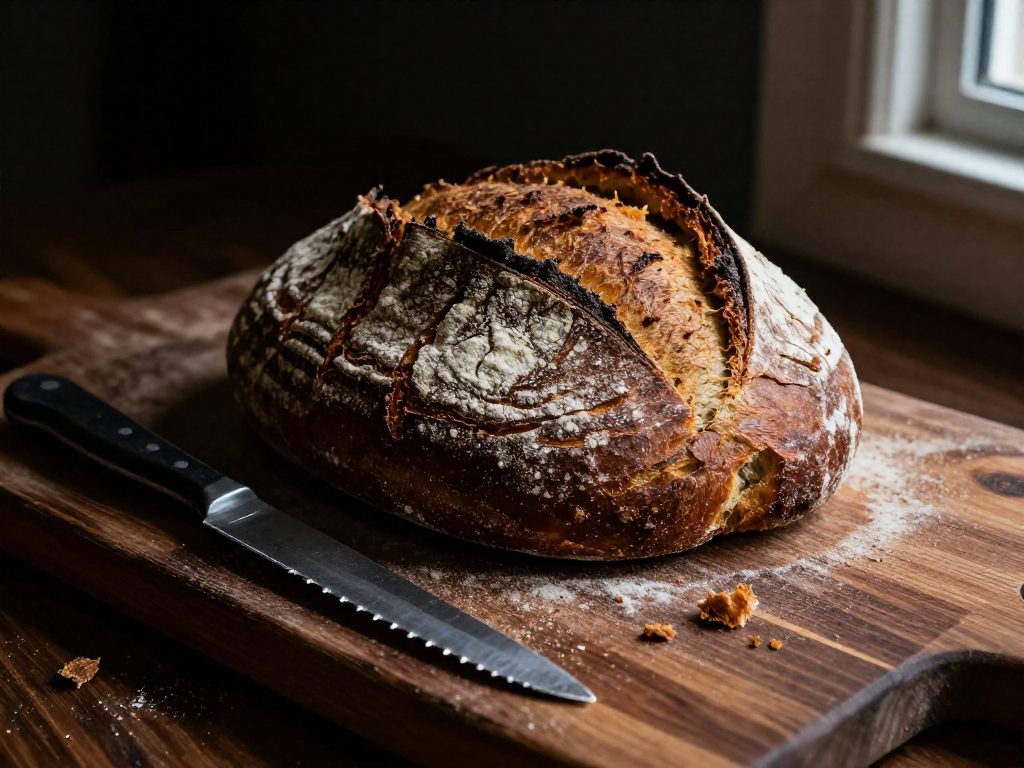
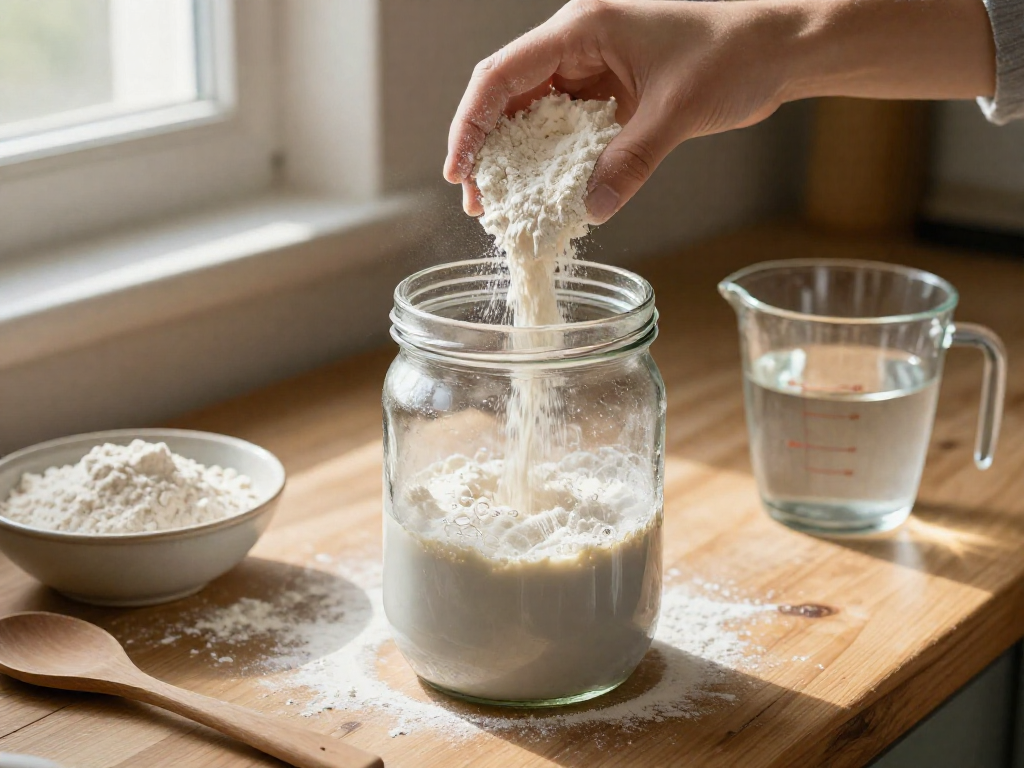
Day one: Combine 100g whole rye flour and 125g warm water (about 80–85°F) in a clean jar. Stir until no dry spots remain, cover loosely, and set it in a consistently warm spot—between 80°F and 85°F is ideal. This temperature range is the sweet spot for encouraging the wild yeast and bacteria that give sourdough its life, which are naturally more abundant in whole rye flour than in all-purpose flours.
Day two: Discard all but 75g of the mixture (yes, it feels wasteful at first, but this regular discard prevents spoilage and strengthens the culture). Transfer that 75g to a fresh jar, then add 50g whole rye flour, 50g all-purpose flour, and 115g warm water. Stir well, cover loosely, and return to the warm spot. This blend of flours balances rye’s fermentation kick with all-purpose flour’s structure-building gluten, giving you a starter that’s both vigorous and easy to handle.
Repeat this same discard-and-feed routine every day: remove all but 75g of the culture, then feed with 50g rye flour, 50g all-purpose flour, and 115g water. By day 3 or 4 you’ll likely notice bubbles on the surface and a tangy, slightly fruity aroma. Don’t panic if you see a layer of clear or slightly brown liquid on top—that’s “hooch,” a harmless alcohol byproduct that simply means the starter is hungry. Just stir it back in and carry on.
Here’s the part that trips up beginners: a rye starter often won’t triple in size like a white flour starter. Because rye contains far less gluten, it’s stiffer and can’t trap gas as dramatically. As an investigation by Serious Eats found, a 100% rye starter may never triple in height, but its microbial activity is just as vigorous—sometimes even more so. So instead of watching for towering peaks, look for a bubbly, mousse-like texture and a pleasant sour smell. By day 5 to 7, when it reliably doubles within 4–6 hours of feeding, you’re ready to bake.
Common Starter Mistakes (and How Rye Makes Them Less Scary)
Many new bakers stumble on water and flour choices. Tap water with chlorine slows fermentation, but rye’s vigorous microbes often power through—though filtered water is still a smart safeguard. And anything above 97°F (36°C) harms yeast, so always use lukewarm water.
Bleached flours are stripped of nutrients and microorganisms, leaving your starter sluggish. Whole rye flour is a different story: its mineral-rich environment harbors more wild yeast (King Arthur Baking), jumpstarting your culture. Even adding just 10–20% rye to a white flour starter reliably boosts fermentation without changing flavor.
Beginners often hesitate to discard, but rye builds a robust population quickly, so you can follow a feeding schedule with confidence. Plus, rye starters have a longer peak window, often staying active overnight, so you’re less likely to miss a feeding and end up with a starved culture. With rye, you’ll see vigorous bubbling sooner, making those early days far less discouraging.
What to Expect: Rise, Smell, and Texture
If you’re used to wheat starters that triple in volume, a 100% rye starter might look sluggish at first — but don’t let that fool you. Rye flour contains far less gluten than wheat, so it can’t trap as much gas; you may not see the dramatic tripling you’d expect from a wheat starter. Yet behind the scenes, microbial activity is equal to or greater than a wheat starter’s (Serious Eats). The scent is often fruity and pleasantly tangy, nothing like the sharp, boozy notes of a neglected wheat culture.
Expect a dense, sticky paste — thicker and more clay-like than a pourable wheat starter. That’s completely normal: rye has little glutenin, so it never becomes elastic. Instead, look for a lively, bubbly surface and that sweet-tart aroma. Because whole-grain rye takes longer to ferment, the “peak” window — when the starter is at its most vigorous and ready to leaven dough — stretches 12 to 18 hours at 70-80°F. Feed it in the evening, and it’ll still be lively the next morning. This forgiving rhythm is one reason rye is such a beginner-friendly choice.
Using Your Rye Starter in Any Recipe
You don’t need a special recipe to harness rye’s power. Adding just 10–20% rye flour to your existing white-flour starter gives it a fermentation boost without altering the taste (King Arthur Baking). For the biggest lift, feed your starter rye flour for at least 2-3 feedings before baking day. If you’d rather convert a wheat starter entirely to rye, do it gradually over about 24 hours: mix 10g whole-rye flour, 10g whole-wheat flour, 17g water, and 5g of your active starter, then let it sit at 70–78°F until bubbly. A fully converted rye starter works beautifully in any wheat-based recipe—expect a slightly tangier loaf and a denser, stickier starter consistency.
Quick Troubleshooting for Rye Starters
Even rye starters can stall, but fixes are simple. If your starter hasn’t produced bubbles by day 7, move it to a warm spot—80°F to 85°F (26°C to 29°C) is ideal, as noted by The Perfect Loaf—and switch to filtered water to avoid chlorine interference. When a layer of hooch appears frequently, your culture is hungry; feed it twice a day or increase the flour slightly. An acetone-like aroma means it’s used up its food, so discard most of it and feed immediately.
Conclusion: Your Shortcut to Sourdough Success
If you've been on the fence, consider this your nudge. Rye starters build faster and stay active longer—just mix equal weights of rye flour and water, keep it cozy at 80–85°F, and watch it come alive. It's the no-fuss shortcut that lets you get straight to the baking.
Sources
- Feeding My Sourdough Starter Rye Flour: A Flavorful Twist — thechoppingblock.com
- Best flour for sourdough starter: How to choose | King Arthur Baking — kingarthurbaking.com
- Why use Rye? How much Rye? How does it affect the taste, crumb, oven spring, etc? — reddit.com
- The Best Flour for Sourdough Starters: An Investigation — seriouseats.com
- Rye Times - by Andrew Janjigian - Wordloaf — newsletter.wordloaf.org
- Making an Incredible Sourdough Starter from Scratch in 7 Easy Steps — theperfectloaf.com
- Rye Sourdough Starter - Occasionally Eggs — occasionallyeggs.com
- Rye sourdough starter in easy steps – Weekend Bakery — weekendbakery.com
- 14 Common Mistakes That Are Killing Your Sourdough Starter — chowhound.com
- The BIGGEST MISTAKE You Can Make With Your Sourdough Starter: Premature Discarding! — youtube.com
FAQ
Can I switch my existing white flour starter to rye?
Yes, you can switch your existing white flour starter to rye. Start by mixing 10g whole-rye flour, 10g whole-wheat flour, 17g water, and 5g of your existing wheat-based starter, then proof at 70–78°F (21–25°C) for 24 hours. After that, continue feeding with rye flour using equal parts by weight starter, rye flour, and water. This gradual transition helps the culture adapt, and you'll likely see faster fermentation because rye’s higher amylase content breaks down starches into sugars, giving the yeast more food.
Will my bread taste like rye bread?
No, using a rye starter doesn't automatically give your bread a strong rye flavor. Adding just 10% to 20% rye flour to your white flour starter won't affect the flavor, so you can still use it in any recipe calling for a regular starter. The taste of your bread depends more on the flour blend in the dough itself. If you use mostly white flour, the rye influence will be subtle.
How often should I feed a rye starter?
You should feed your rye starter at least 2-3 times before baking to get the best flavor and activity. For regular maintenance, feed it with equal parts by weight of starter, rye flour, and water. Rye starters are more forgiving and have a longer peak window than wheat starters, often staying active overnight and into the next day, so you have more flexibility in timing.
What if I don't have rye flour—can I use whole wheat instead?
Yes, whole wheat flour is a great alternative if you don't have rye. Whole wheat flour, like rye, is mineral-rich and more likely to contain wild yeast, making it excellent for creating or maintaining a robust starter. It won't ferment quite as fast as rye because rye's amylase content speeds fermentation, but you'll still get an active, bubbly culture.
Why didn't my rye starter rise as much as I expected?
A rye starter often rises less than a wheat starter because rye flour has less gluten, making the starter denser and stickier and less able to trap gas. It can still be very active microbially. To boost rise, ensure you're using unbleached flour, feed at warm temperatures (80–85°F/26–29°C is ideal), and wait until it peaks before discarding—discarding too early weakens the yeast. Also, avoid chlorinated water and water above 97°F (36°C), as these can harm yeast.
See also
- Simple Sourdough Bread Recipe for Beginners
- Sourdough Starter Troubleshooting Guide
- Creative Ways to Use Sourdough Discard
- Whole Wheat vs. White Flour Starters: What's Best?
Related articles
The Emotional Side of Sourdough: Dealing with Starter Anxiety and Failure
How do I cope with the stress and disappointment when my sourdough starter fails or seems to die?
Jul 20, 2026 · 7 min read

Sourdough Starter Fasting: What to Do When You Go on Vacation
How do I prepare my sourdough starter for a multi-week absence and revive it smoothly?
Jul 20, 2026 · 9 min read

Can You Make a Sourdough Starter Without Discarding Flour?
Tired of throwing flour away? Learn whether you can make a sourdough starter without discarding, plus a low-waste method that actually works for beginners.
Jun 29, 2026 · 5 min read