Soft Sourdough Dinner Rolls: A Forgiving Recipe for Beginners
Can I make soft sourdough dinner rolls as a beginner?
On this page
Worried that sourdough dinner rolls are too advanced? This recipe proves that with a few simple techniques, even beginners can bake soft, pillowy rolls that rival bakery versions.
Introduction
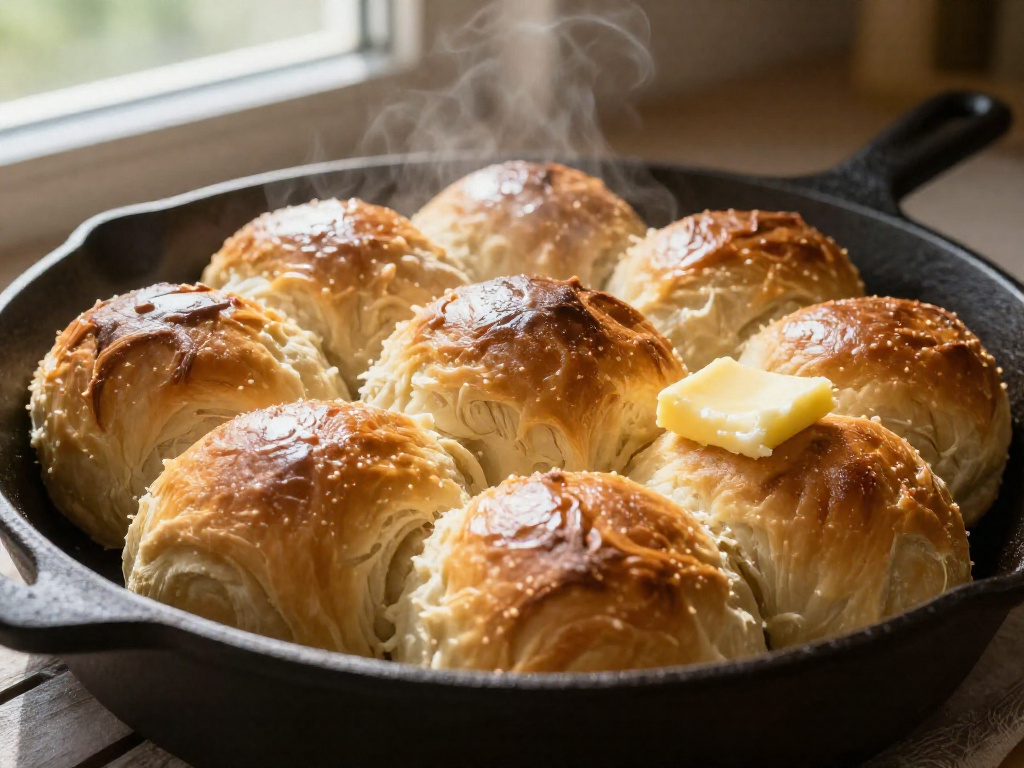
Yes, you absolutely can—and these soft sourdough dinner rolls are designed to be one of the most forgiving places to start. The enriched dough has a modest hydration level (just 43%, according to The Perfect Loaf), so it’s easy to handle without sticking. You don’t need fancy gear: a mixing bowl and a sheet pan or cast-iron skillet will do. With clear step-by-step instructions, you’ll pull sixteen tender, golden rolls from your oven that taste like they came from a bakery—but with that unmistakable sourdough character.
Why This Recipe Works
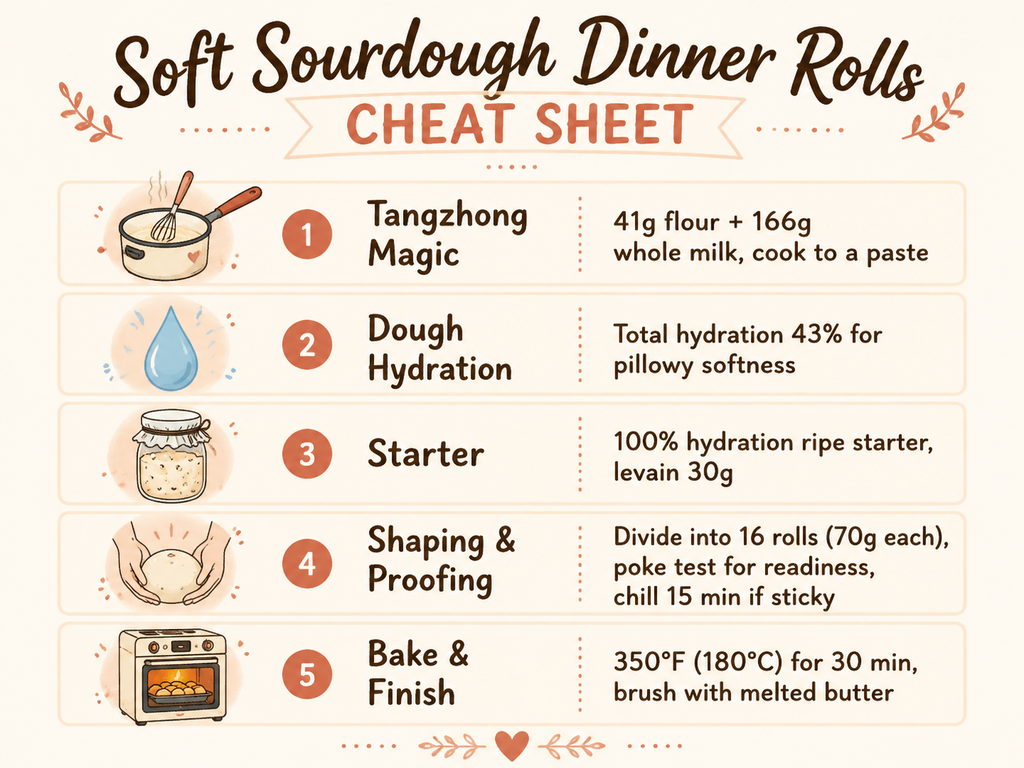
Soft sourdough rolls aren't a mystery—they come down to a few smart choices that keep the crumb tender and the dough forgiving. The total hydration of this dough is a mere 43% (The Perfect Loaf). That low water content means your dough won’t turn into a sticky, gloppy mess, and you get a manageable, pillowy texture without any dense, gummy pockets.
But low hydration can also make bread dry—that’s where the tangzhong comes in. You cook a small roux of flour and milk (about 41g flour to 166g milk) before mixing it in. This paste traps moisture, so the rolls stay soft for days without the dough itself being wet. Using all-purpose flour instead of bread flour also helps: it has less protein, so the crumb is tender rather than chewy.
Whole milk and butter add richness and a delicate crust. Many beginners reach for high-protein bread flour, thinking it’ll build structure, but that’s exactly what turns the crumb tough. Skip that instinct. The tangzhong already gives you all the structure you need, and the low hydration plus all-purpose flour keep things soft and simple.
Ingredients and Equipment
You need just a handful of accessible ingredients: all-purpose flour, milk, a little sugar, butter, salt, and a lively sourdough starter at 100% hydration (equal parts flour and water, by weight) that’s been recently fed and doubled. All-purpose flour gives the softest crumb, so skip the bread flour here. For baking, a 10-inch cast iron skillet delivers the best bottom browning (Vanilla and Bean), but a 9x13-inch sheet pan works too—and you don’t need a stand mixer; a bowl and a wooden spoon will get the job done.
Step-by-Step: Making the Dough
Start with a tangzhong—a cooked flour-and-milk paste that locks in moisture for an incredibly soft crumb. In a small saucepan, whisk together 41 grams (about ⅓ cup) all-purpose flour and 166 grams (⅔ cup) whole milk. Place over medium heat, stirring constantly, until the mixture thickens to a pudding-like consistency. Scrape it into a bowl, press plastic wrap directly on the surface (this prevents a skin), and let it cool completely—it should feel barely warm before mixing into the dough. (The Perfect Loaf uses this exact ratio for their super-soft rolls.)
If you want an extra layer of tangy-sweet flavor, you can make a sweet levain the night before. Stir together 74g all-purpose flour, 15g sugar, 74g water, and 30g bubbly sourdough starter, then let it ferment at room temperature (around 76°F) for 12 hours. This step is purely optional—the rolls are wonderful without it—but it builds subtle complexity.
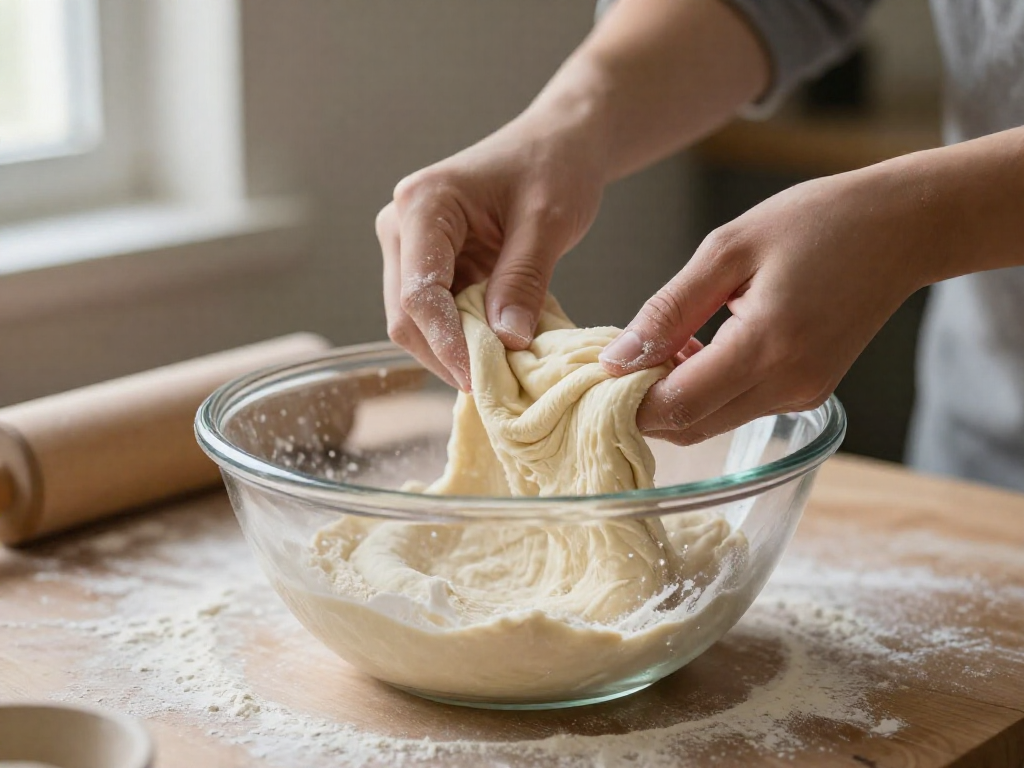
To assemble the dough, combine the cooled tangzhong in a large bowl with the remaining flour, milk, sugar, salt, and softened butter, along with 50g (¼ cup) of your active starter (or the sweet levain). All-purpose flour is the best choice here because it yields a more tender roll than bread flour. Stir with a sturdy spoon or your hands until a shaggy, sticky mass forms. Then, using wet hands to prevent sticking, gently knead right in the bowl for just a minute or two. Because the tangzhong traps extra liquid, this dough will feel wetter than a classic bread dough—effectively closer to 75% hydration. That’s exactly what you want, so don’t add more flour. You aren’t aiming for a windowpane; the gentlest knead is enough to bring it together into a cohesive, slightly tacky ball.
Cover the bowl with a damp towel or plastic wrap and let the dough bulk ferment at room temperature (ideally around 70°F) for 8 to 10 hours. The dough is ready when it’s puffy and has risen by about 50%. Give the bowl a gentle shake—if the dough wobbles, it’s time to shape. If it feels unmanageably sticky after bulk fermentation, a 15-minute chill in the fridge firms things up beautifully.
Shaping the Rolls
Once your dough has risen by about 50% and feels puffy, it’s time to shape. Turn it out onto a lightly floured surface and use a bench knife—a flat, rectangular scraper—to divide it cleanly. For pull-apart softness you’ll want 12 to 16 equal pieces, roughly 65-70 g each. If you don’t have a scale, eyeball it: halve the dough, then halve each piece again and continue until you have the right count.
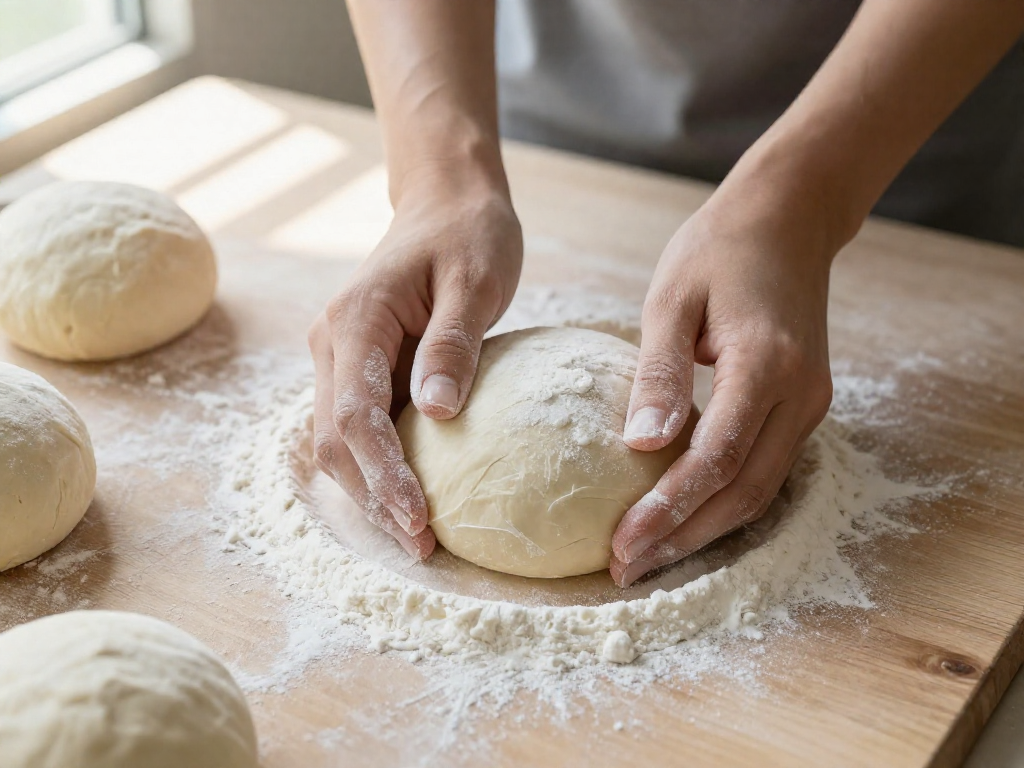
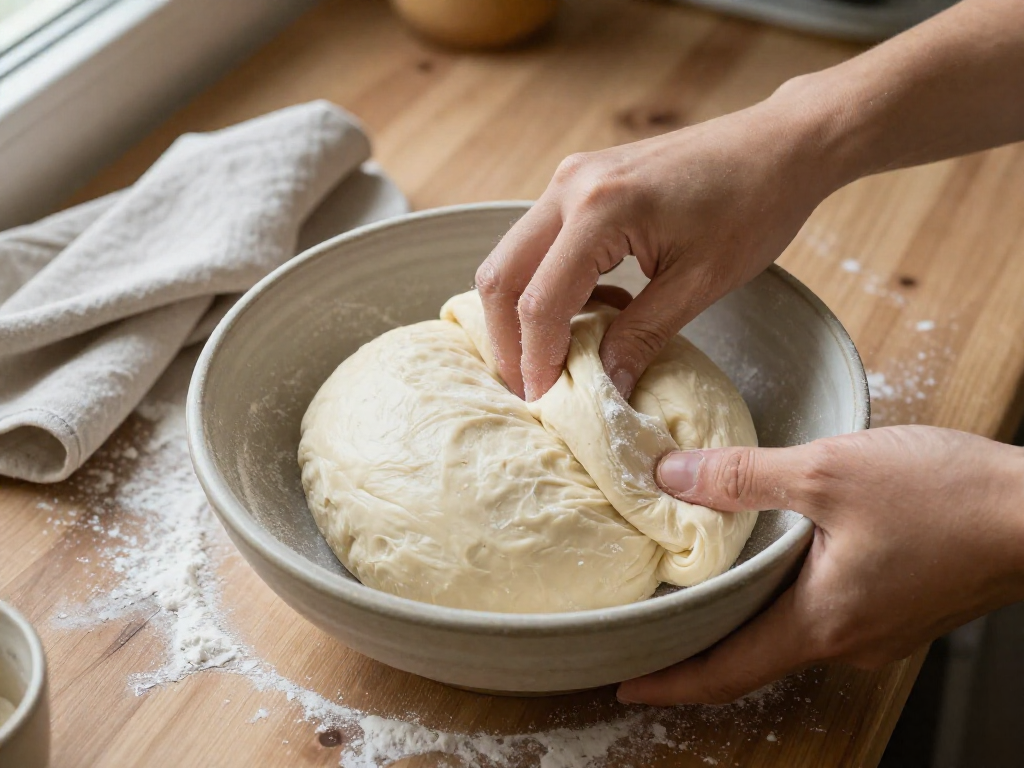
Shape one piece at a time. Gather the edges up toward the center, pinch them tightly together, then flip the ball so the seam faces down on an unfloured spot. The tiniest bit of friction against the work surface helps you form a taut, smooth round. Cup your hand over the dough and roll it in a quick circle—no more than a few seconds. You’re not kneading; you’re just tightening the skin so the roll bakes tall and even.
Sticky dough can rattle a beginner’s confidence. If the rounds cling to your hands, pop the whole mass into the fridge for 15 minutes before dividing. That brief chill firms the butter and makes the dough far less tacky. A bench knife also handles sticky dough better than fingers do (The Perfect Loaf). Slide it under a piece, lift, and drop it into your floured hand—much cleaner.
Arrange the balls seam side down in a buttered 10-inch cast iron skillet or a small sheet pan. Tuck them close together so they touch after the final rise; this forces the rolls upward into a soft, pull-apart cluster. A cast iron skillet browns the bottoms more deeply than a sheet pan, giving you that classic golden underside. Once they’re all in, cover loosely and let them proof one more time until nearly doubled—usually 1–2 hours at room temperature, or you can refrigerate them for 8–12 hours if you want to bake later.
Proofing and Baking
After shaping, let the rolls proof until they're puffy and nearly doubled. In a warm kitchen, that takes roughly 1 to 2 hours at room temperature. For more flexibility, you can pop the rolls into the fridge right after shaping; they'll happily proof there for 8 to 12 hours until you're ready to bake. The poke test is your best friend here: wet a fingertip and gently press the dough. Properly proofed dough springs back slowly and leaves a little indent, as Vanilla And Bean explains.
When you're ready, preheat your oven. For the softest, most forgiving rolls, set it to 350°F (180°C); for a slightly crustier top and a faster bake, go to 425°F (220°C). If you're using a cast iron skillet, it will brown the bottoms more deeply, which is a nice touch. Bake the rolls for 25–30 minutes—until they're a deep golden brown and smell irresistible. A quick brush with melted butter as soon as they come out of the oven keeps the tops tender and shiny.
Tips for Beginner Success
Start with a bubbly, active starter—if it’s not doubled and lively, your dough will struggle to rise. A kitchen scale is your best friend for consistent results; skip the measuring cups. When shaping, keep a light touch: sticky dough yields softer rolls, so use a bench knife and a quick 15-minute chill instead of adding excess flour. Watch the dough, not the clock—it’s ready when it’s risen by about 50% (Little Spoon Farm). Finally, brush the hot rolls with melted butter straight out of the oven; it melts into every crevice for a soft, flavorful crust.
Sources
- Super Soft Sourdough Rolls | The Perfect Loaf — theperfectloaf.com
- Soft Overnight Sourdough Dinner Rolls — vanillaandbean.com
- The Softest, Most Fluffy Dinner Rolls — margotdreamsofbaking.ca
- Sourdough Dinner Rolls Recipe — pantrymama.com
- Soft Sourdough Dinner Rolls — littlespoonfarm.com
- How To Shape Buns and Rolls | The Perfect Loaf — theperfectloaf.com
- Crusty Sourdough Dinner Rolls (No-Knead) — holycowvegan.net
FAQ
Can I use bread flour instead of all-purpose?
Yes, you can, but all-purpose flour yields a softer roll because its protein content is generally lower. Bread flour will give the rolls a slight chew. Pantry Mama recommends sticking with all-purpose for the best soft texture.
Why is my dough so sticky?
Sourdough dinner roll dough is often sticky because of higher hydration, especially if you use a tangzhong, which can trap liquid. To manage it, place the dough in the fridge for 15 minutes to firm up before shaping, and use a bench knife to handle it with minimal sticking, as The Perfect Loaf advises.
Do I need a stand mixer?
No, you don’t need a stand mixer. You can mix the dough by hand using a no-knead method that lets the dough ferment at room temperature for 8–10 hours to develop gluten, then simply punch it down, shape, and proof before baking.
How do I store leftover rolls?
Store leftover rolls in an airtight container at room temperature for short-term storage, or freeze them for longer. Reheat briefly in the oven to refresh their softness.
See also
- How to Start and Maintain a Sourdough Starter
- Troubleshooting Sourdough: Why Is My Bread Dense?
- Sourdough Sandwich Bread for Beginners
Related articles
Sourdough Discard Flatbreads: Ready in Under an Hour
Make soft, tearable sourdough discard flatbreads in under an hour with no rise time. Easy stovetop recipe with herb & garlic variations.
Jul 28, 2026 · 8 min read
Sourdough Pizza Dough for Beginners: A Forgiving Way to Practice Shaping
Can I use my sourdough starter to make pizza dough, and is it easier than a loaf?
Jul 20, 2026 · 9 min read
The Hardest Loaf to Mess Up: A 60% Hydration Sourdough for Absolute Beginners
What is the easiest sourdough bread recipe that minimizes handling and hydration issues?
Jul 20, 2026 · 8 min read