Sourdough Pizza Dough for Beginners: A Forgiving Way to Practice Shaping
Can I use my sourdough starter to make pizza dough, and is it easier than a loaf?
On this page
Hook the reader who has struggled with dense, flat sourdough loaves by revealing pizza dough as the secret training ground. It’s more forgiving, builds essential handling skills, and turns starter discard into a weeknight win.
Why Start with Pizza? The Beginner’s Shortcut to Better Baking

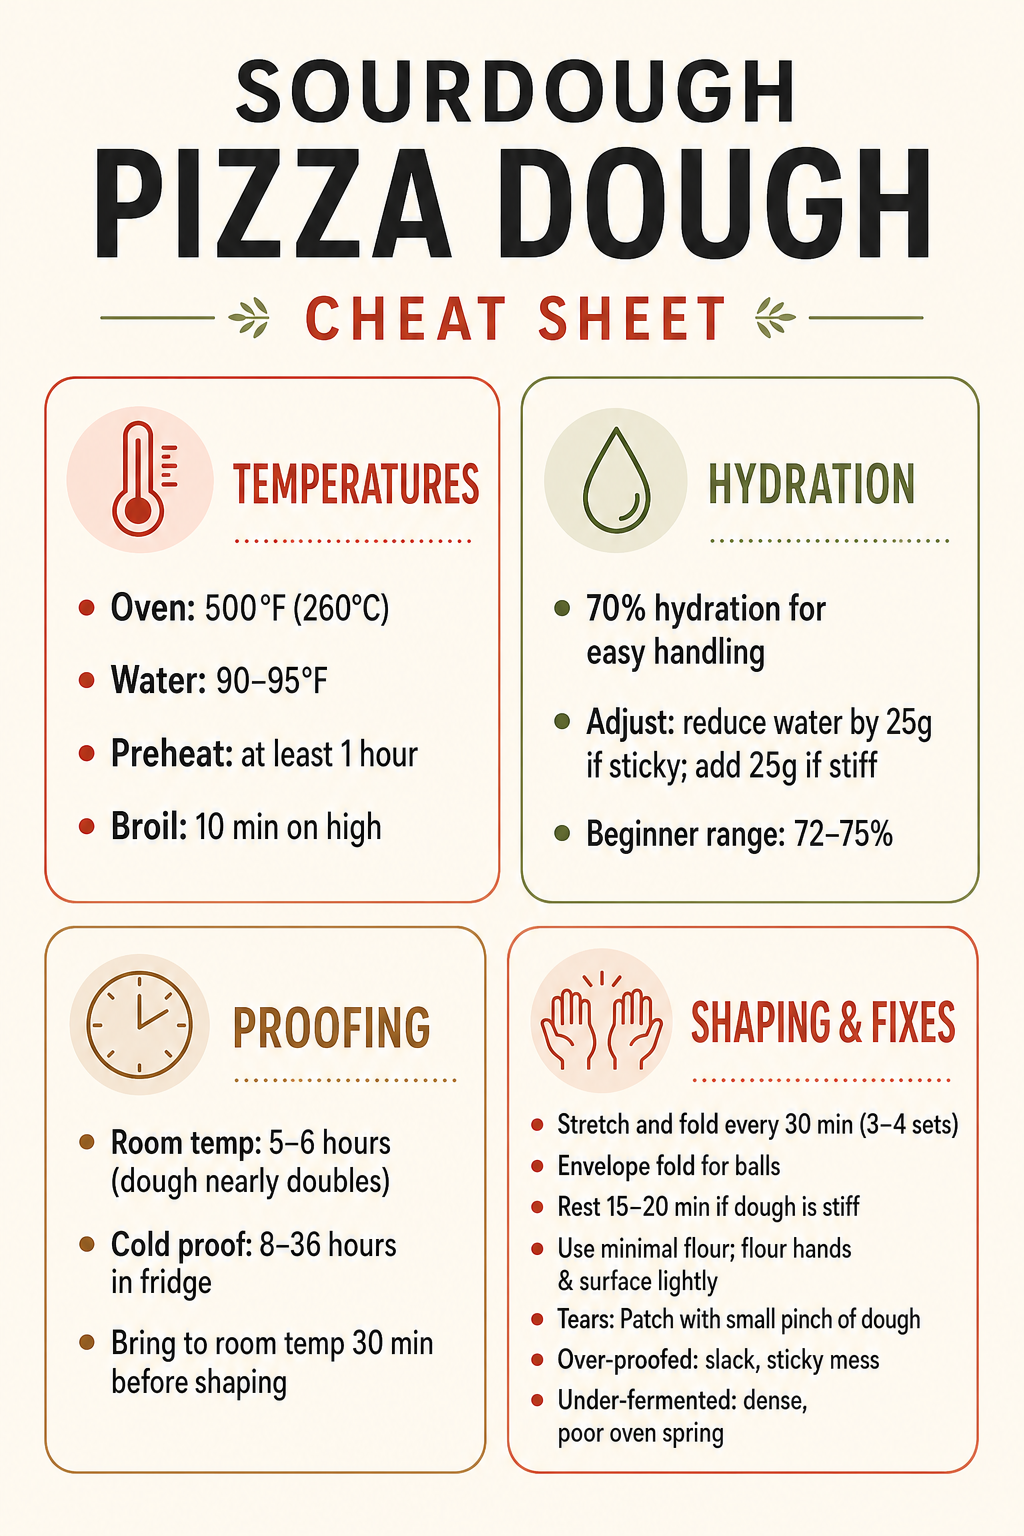
Yes, you can—and it’s the best way to build confidence with sourdough. Pizza dough is extremely forgiving: no oven spring to worry about, no scoring, and because it’s typically a lower-hydration dough, it’s much easier to handle. Beginners should stick to doughs around 72–75% hydration for the best feel and structure (Matthew James Duffy). You’ll practice stretch-and-fold technique and learn how properly fermented dough behaves, without the high-stakes anxiety of a loaf. Bonus: it works with active starter or discard, so it fits any schedule.
Your Foolproof Beginner Dough: Ingredients, Hydration, and Two Paths (Active or Discard)
Here’s a foundational recipe that’s forgiving for first-timers and makes three 10‑inch pizzas: 375 grams flour (a 2:1 blend of ‘00’ and bread flour gives you strength with tenderness, but all‑purpose works too), 225 grams lukewarm water (90°F–95°F), 15 grams kosher salt, and a generous glug of olive oil—about a tablespoon. Stir in a teaspoon of honey if you like a whisper of sweetness and better browning.
Now for the leavening—this is where you get to choose your adventure. If you have unfed discard sitting in the fridge, use 250 grams; its lazy acidity builds lovely flavor during a long ferment. If your starter is bubbly and ripe from a recent feeding, use just 50 grams—Little Spoon Farm found this swap keeps the dough’s behavior nearly identical, thanks to all that active yeast. Either way, the overall hydration lands around 70%—a ratio of water to flour that’s supple enough to yield a crisp, open crumb yet firm enough to handle without a floury battle.
Before adding the starter and salt, do one no‑effort step that pays off big: mix only the flour and water, cover, and let it rest 30 to 60 minutes. This autolyse jump‑starts gluten development so the dough stretches easily later. Then work in your starter of choice, the salt, and the olive oil until smooth. The salt might look like a lot (15 grams sits near 4% of flour weight), but it fully seasons the whole crust; you can safely drop to 8 grams if you prefer a gentler salt profile.
Your first batch might feel sticky or stiff—that’s normal, and it’s exactly how you learn to dial things in. If the dough is a sticky headache next time, simply pull back the water by 25 grams. Craving a taller, shatter‑crisp crust? Bump the water up another ⅓ cup and watch the extra steam work its magic in the oven. Think of hydration not as a fixed rule, but as the one knob you can turn to get the texture you love.
Mastering the Stretch: Shaping Techniques That Double as Loaf Practice
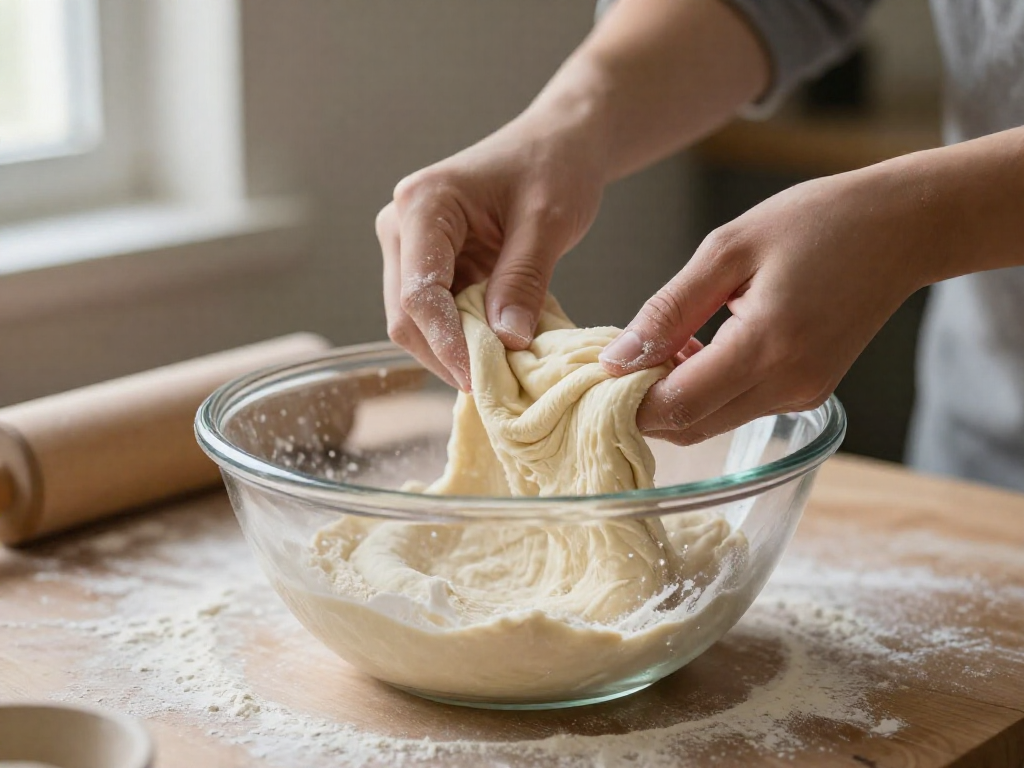
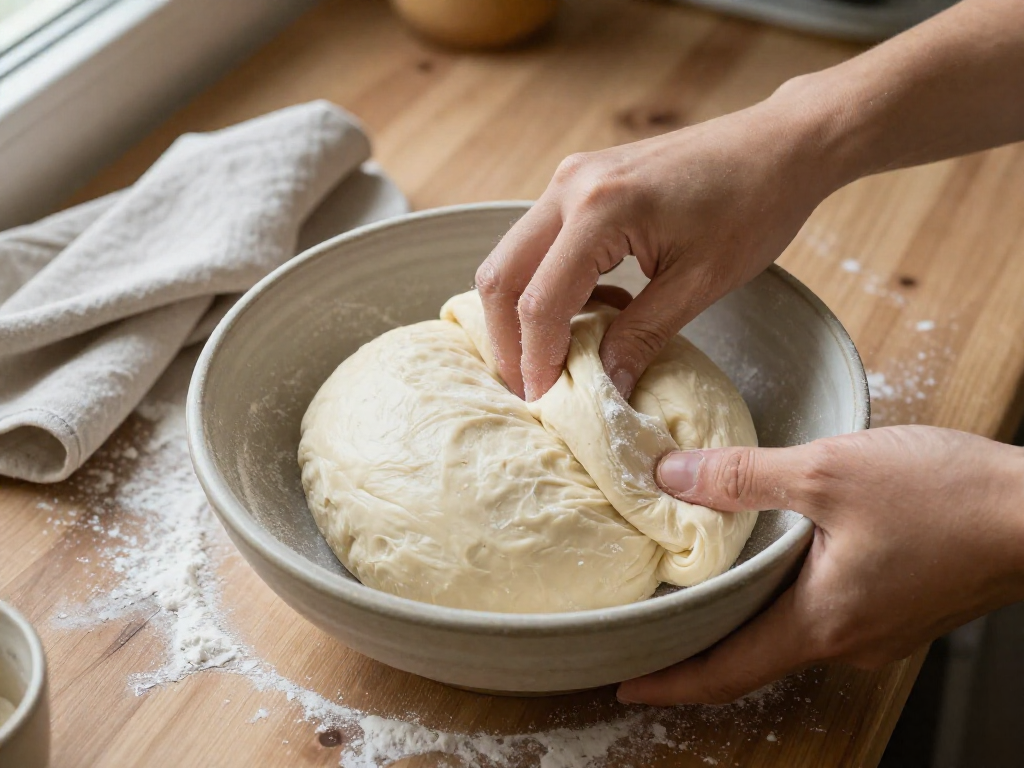
Pizza dough is the most forgiving place to get your hands confident—every stretch and fold directly translates to handling a high-hydration boule or batard. Start during bulk fermentation with a simple set of folds. Wet your hands, reach under one side of the dough, pull it up firmly, and fold it over the center. Rotate the bowl a quarter turn and repeat three more times until you've made a complete round. Let the dough rest, covered, for 30 minutes, then repeat the set. Four sets over two hours will build noticeable structure, and you'll learn exactly how gluten strengthens without any kneading—the same windowpane-building skill that carries straight into loaf work.
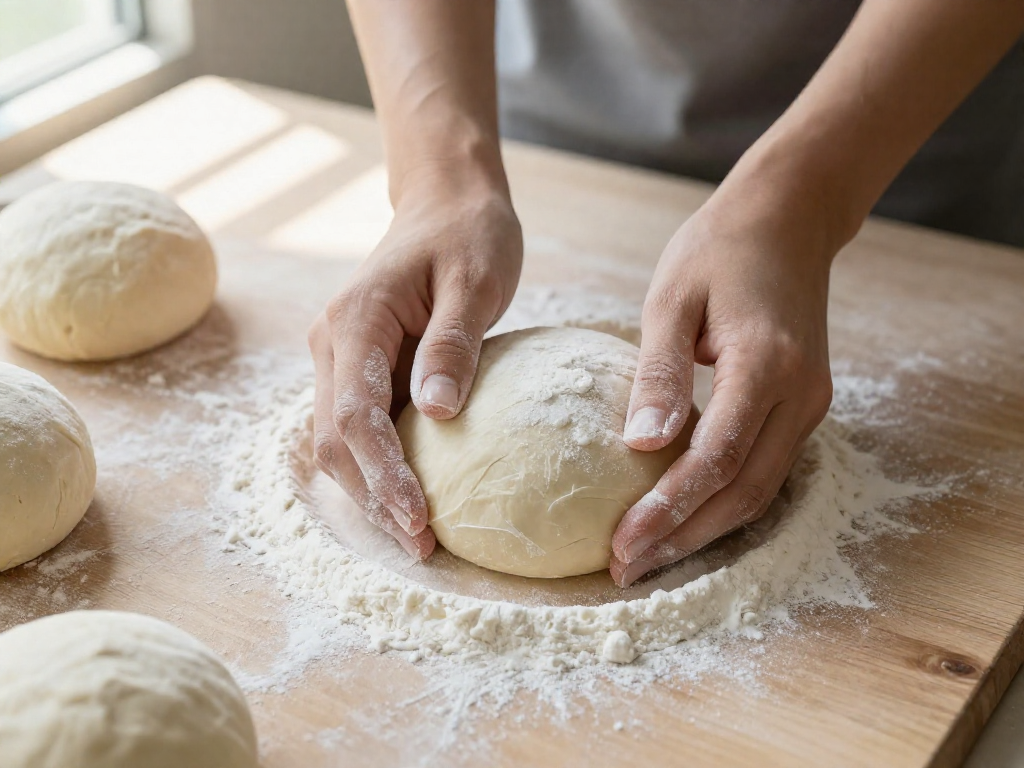
When the dough doubles and shows scattered bubbles, it's time to divide. Use a bench scraper to cut it into roughly 280-gram pieces (three for 12-inch pizzas). Pre-shape each into a tight ball: take one piece, stretch the top up and fold it into the center, repeat with the sides, then flip it seam-side down. Now, with both hands cupped around the far side, gently drag the dough toward you along the counter. That brief drag creates surface tension—the same motion you'll use to shape a boule. Don't skip the 20–30 minute bench rest; it relaxes the gluten after the division's stress, making the final stretch effortless instead of a fight.
Stretching the pizza base offers two paths that teach bread-shaping control. The gravity method—letting the dough hang over your knuckles and rotate slowly—mimics the delicate handling needed for a slack, high-hydration loaf. For more control, press from the center outward on a lightly floured surface, leaving a puffy rim. If the dough springs back instantly, fighting your every move, step away: gluten is tight. Cover it and rest 15–20 minutes, then return with softer hands. Never force it.
Beginners often fear tearing, but a tear is a cheap fix—patch it with a small pinch of dough from another ball, lay it over the hole, and hammer it down with the heel of your hand (myPizzaCorner). Another panic moment is a sticky, unmanageable mass. Instead of kneading in more flour (which can make finished bread tough), toss the dough into a bowl containing a generous scoop of flour and coat both sides thoroughly. The light dusting lets you handle it without drying it out.
Finally, notice how every motion here mirrors a loaf-shaping step. The envelope fold used for a boule—bottom to middle, left over two-thirds, right over two-thirds, top down, flip, then drag—builds the same outer tension you created rounding pizza balls. King Arthur Baking describes this sequence as the ultimate tension-building routine, and the drag motion that finishes it is identical to pulling a tight pizza dough ball. Once you've shaped a dozen pizzas, you'll approach a sourdough loaf with muscle memory and zero fear.
Fermentation That Fits Your Life: Same-Day vs. Overnight Cold Proof
Pizza dough is wonderfully forgiving—you can shape and bake within hours or stretch the process across days to fit your schedule. The key is knowing when the dough is ready, not the clock.
For a same-day bake, bulk ferment the dough at room temperature for 3–4 hours with a set of stretch-and-folds every 30 minutes (four sets total). Then divide, shape into balls, and proof at room temperature for at least 5–6 hours—until they’ve nearly doubled, feel airy, and may even touch each other in the container. A domed top and non-sticky surface are your green lights.
The overnight cold proof is even more flexible. Mix the dough in the evening, give it one set of stretch-and-folds the next morning, then pop it into the fridge for anywhere from 8 to 36 hours. One reliable timeline from Little Spoon Farm: mix at 8 PM, one stretch-and-fold at 8 AM, refrigerate, then pull the dough at 5 PM and bake by 5:30 PM. Cold dough is firmer and much easier to handle—great if you’re still building confidence with shaping.
Watch out for extremes: under-fermented dough yields a dense, tight crust with disappointing rise; over-proofed dough turns slack and may tear or collapse. If you catch it before it collapses, you can still salvage it by re-shaping and giving it a short bench rest.
The Bake: From Oven to Slice in Under 15 Minutes
Crank your oven as high as it goes—ideally 500°F (260°C)—with a baking steel or inverted sheet pan on the middle rack for at least an hour. Ten minutes before you launch the pizza, flip on the broiler to really amp up the heat, as A Beautiful Plate recommends. This two-stage blast mimics a pizza oven and puts a crisp, charred bottom under a bubbly top.
If you’re worried about a soggy middle, par-bake the bare crust for 8–9 minutes, then add toppings and finish for another 8–11. No steel? A hot cast iron skillet works beautifully: press your dough into an 8-inch circle, set it in a medium-high skillet until the bottom is set, then slide it under the broiler to finish.
For a thicker, breadier crust, don’t stretch as far and add an extra minute or two. For a cracker-thin bite, stretch thinner and bake until deeply golden. And if you don’t own a pizza peel, just assemble the pizza on a piece of parchment—it slides right onto the hot surface with zero fuss.
Why These Skills Will Fix Your Sourdough Loaves
Every skill you master with pizza dough directly translates to fixing what’s going wrong in your loaves. When you handle sticky dough without panic during pizza shaping, you learn to use flour so sparingly it’s almost invisible—heavy-handed flouring is a common mistake that can make bread dense and tough. Instead, you discover that a brief rest lets the gluten relax more effectively than any brute-force kneading. That same light touch and patience will turn a sticky boule from a mess into a taut, glossy round.
The dragging motion you use to shape pizza dough balls into smooth domes is exactly the same technique for shaping a boule, building the surface tension that gives loaves their rise. Practicing on forgiving pizza dough—a dough you can patch if it tears—builds muscle memory without the heartbreak of ruining a Sunday bake. And the visual cues are identical: a domed, puffy dough ball that’s almost doubled tells you fermentation is complete, just as it does for your bulk fermentation. Under-fermented dough leads to flat, dense loaves; nail this recognition on pizza and you’ll never misjudge it again.
Cold dough handling? Transferring a chilled pizza ball onto a steel or stone primes you for the trick of moving a cold loaf into a screaming-hot Dutch oven—a step that trips up many beginners. For your next boule, aim for a 72–75% hydration dough; it’s the most forgiving range while you build confidence, and these pizza skills will make it feel approachable rather than terrifying (Matthew James Duffy).
Sources
- A Beautiful Plate — abeautifulplate.com
- Sugar Spun Run — sugarspunrun.com
- Little Spoon Farm — littlespoonfarm.com
- Mirlandra's Kitchen — mirlandraskitchen.com
- The Perfect Loaf — theperfectloaf.com
- Matthew James Duffy — matthewjamesduffy.com
- King Arthur Baking — kingarthurbaking.com
- A Beautiful Plate — abeautifulplate.com
- myPizzaCorner — mypizzacorner.com
- Twelve On Main — twelveonmain.com
FAQ
Can I really use sourdough discard instead of active starter?
Yes, sourdough discard works well, especially with a long fermentation time. Little Spoon Farm’s recipe uses unfed discard with an overnight counter ferment; if you have active starter, reduce the amount to ¼ cup (50g). The extended fermentation gives discard plenty of time to leaven the dough and develop flavor.
Why does my dough tear when I stretch it?
Dough tears when the gluten hasn’t had enough time to relax. Let it rest for 15–20 minutes so the gluten strands loosen up, which makes stretching much easier. If a tear does happen, take a small pinch of dough from another ball, place it over the tear, and press down firmly with the heel of your hand.
How sticky should pizza dough be, and how do I handle it?
The dough should feel slightly tacky but not unmanageably sticky. Little Spoon Farm’s beginner recipe sits at 70% hydration; if it’s too sticky, reduce the water by 25g next time. To handle, place the dough in a bowl with plenty of flour and coat both sides thoroughly, then lightly flour your hands and the work surface — using too much flour during shaping can make the crust heavy and tough.
How long can I let the dough ferment in the fridge?
You can cold ferment the dough for up to 3–4 days. Sugar Spun Run recommends overnight to 3 days, while The Perfect Loaf says the dough can proof for three or four days. Longer cold fermentation deepens the flavor, but bring the dough back to room temperature for at least 30 minutes before shaping.
What if I don’t have a pizza steel or stone?
A cast iron skillet is a great alternative. Heat it over medium-high, press your dough into an 8-inch circle, cook it on the stovetop, then finish under the broiler. This method gives you a crisp crust without needing any special equipment.
How do I know if my dough is under- or over-proofed?
Under-proofed dough feels dense, barely rises, and bakes up with a tight, heavy crumb; it should nearly double in size, have a domed top, and not feel sticky. Over-proofed dough turns slack and sticky, and it may collapse into a messy puddle during shaping. A properly proofed dough ball will be puffy, roughly doubled, and hold its shape confidently.
See also
- /sourdough-starter-guide-for-beginners
- /sourdough-bread-recipe-step-by-step
- /troubleshooting-sourdough-loaves
- /sourdough-discard-recipes-for-beginners
Related articles
Sourdough Discard Flatbreads: Ready in Under an Hour
Make soft, tearable sourdough discard flatbreads in under an hour with no rise time. Easy stovetop recipe with herb & garlic variations.
Jul 28, 2026 · 8 min read
Soft Sourdough Dinner Rolls: A Forgiving Recipe for Beginners
Make soft, fluffy sourdough dinner rolls with this forgiving beginner recipe. No special pans needed—just a skillet. Includes tangzhong for incredible softness.
Jul 28, 2026 · 7 min read
The Hardest Loaf to Mess Up: A 60% Hydration Sourdough for Absolute Beginners
What is the easiest sourdough bread recipe that minimizes handling and hydration issues?
Jul 20, 2026 · 8 min read