Baking Stone vs. Dutch Oven for Sourdough: A Beginner's Comparison
Can I use a baking stone instead of a Dutch oven for sourdough?
On this page
You’ve nurtured a starter, mixed the dough, and now you’re facing the final step: baking. The Internet says Dutch oven or bust—but can you use that pizza stone gathering dust? This side-by-side look reveals what really happens with each method, so you can stop guessing and start baking.
Why the Right Tool Matters for Your Loaf
If you already own a baking stone, you're probably wondering if you really need a Dutch oven. The short answer: you can bake sourdough on a stone, but a Dutch oven almost always gives you a taller, airier loaf. That's because steam—the single biggest factor separating a gorgeous loaf from a flat, dense puck—is tricky to generate with an open stone. In a direct side-by-side test, the Dutch oven loaf showed noticeably better oven spring and a more open crumb than its stone-baked twin (The Fresh Loaf). This article walks you through what works, what doesn't, and how to get the best results with the gear you already have.
The Steam Trap: Why Dutch Ovens Win on Oven Spring
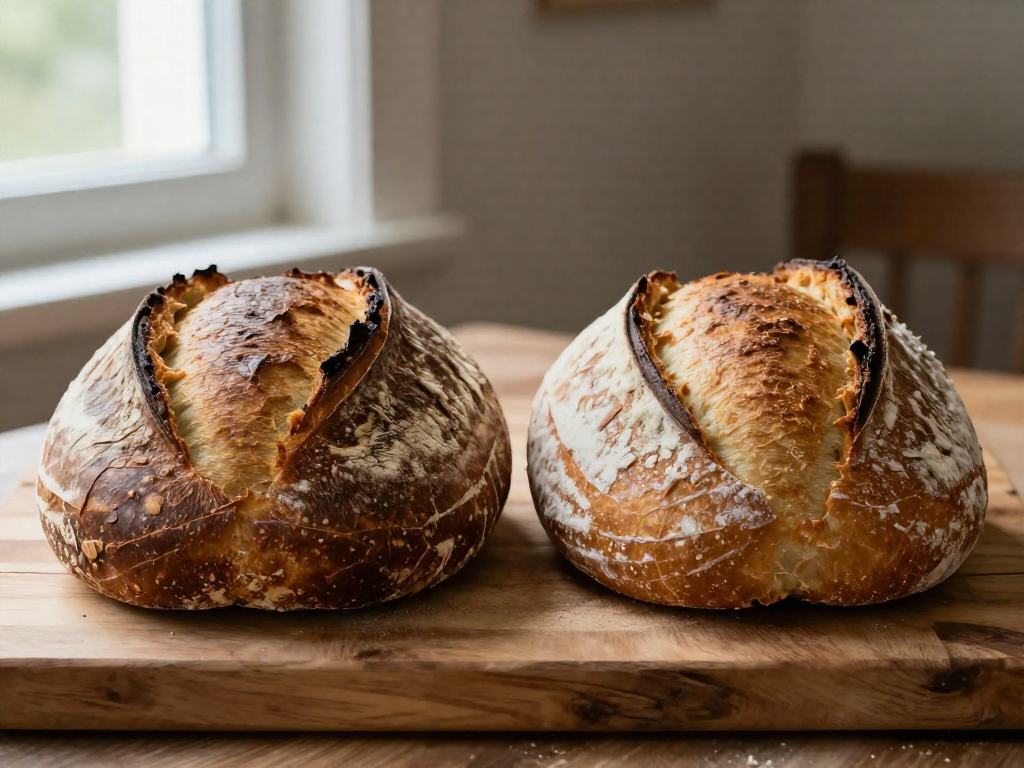
The Dutch oven’s ability to trap steam is the single biggest reason it outperforms a baking stone for sourdough: it gives you dramatically better oven spring. In a direct side-by-side test, a baker used the same batch of dough, identical shaping, and the same preheat routine. The loaf baked in a sealed Dutch oven rose tall, opened cleanly along the score, and revealed an open, airy crumb. The loaf on the stone—even with a pan of water for steam—came out noticeably compressed, with a rounded bottom and a tighter crumb (The Fresh Loaf). That’s not a subtle difference; it’s the gap between a proud centerpiece and a disappointment.
Why? Moisture. As dough hits a hot oven, its surface temperature climbs fast. With plenty of humidity, the crust stays in a gel-like state at around 75°C (160°F) instead of setting immediately. That temporary flexibility lets the loaf expand fully before a hard shell forms. Without that steam, the crust races into the Maillard browning zone way too early—sealing the exterior while the interior still wants to push outward. The result: burst sides, scoring that barely opens, and irregular air pockets trapped just under the crust.
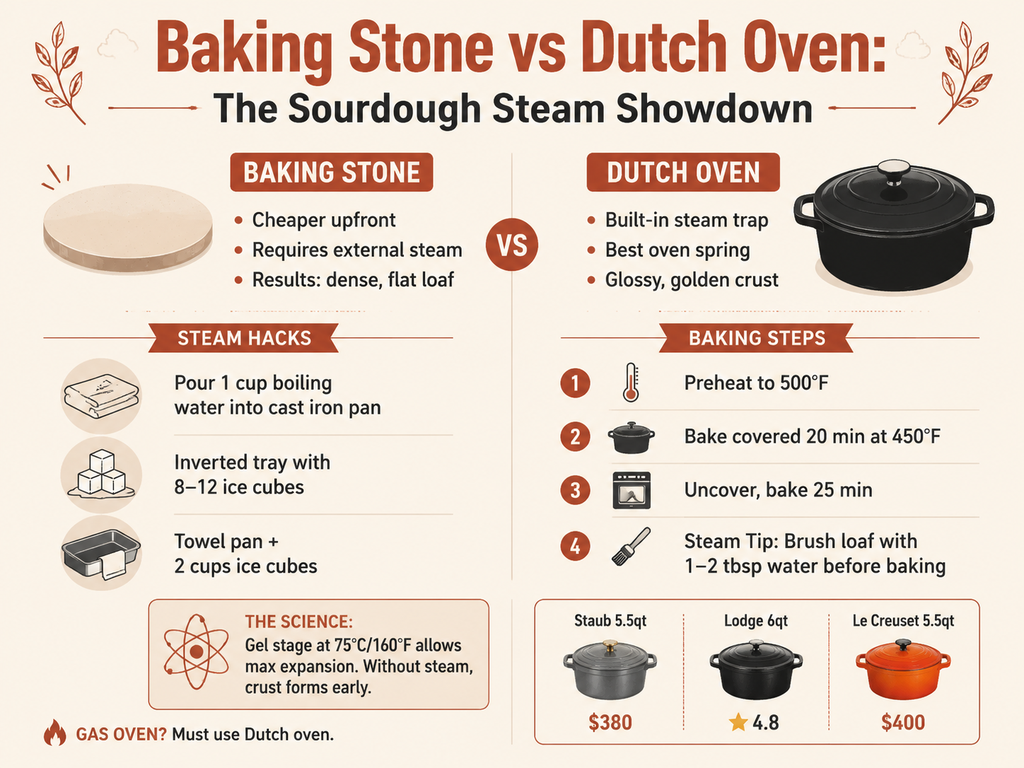
A Dutch oven makes this happen with almost no effort. The dough itself contains more than enough water; once the lid goes on, that moisture turns to steam and gets trapped right around the loaf. You don’t need a separate water pan, ice cubes, or a spray bottle. In contrast, baking on a stone forces you to fill an entire oven with steam—a notoriously difficult task in a home oven that’s designed to vent moisture. Even the best hacks (cast iron pans of boiling water, towel-wrapped trays, lava rocks) rarely match the intense, localized steam a heavy lidded pot provides.
One final point that trips up beginners: steam doesn’t replace scoring. Even with a perfect Dutch oven, an unscored loaf has no planned escape route for the expanding gas. It will bulge awkwardly or blow out its side instead of rising gracefully along a slash. So you still need a sharp lame and a confident cut to direct all that spring.
Baking with a Dutch Oven: Simple Steps for a Crisp, Glossy Crust
Place your Dutch oven (with its lid on) into a cold oven and set it to preheat to 500°F (260°C). A full hour of preheating is non-negotiable—that heavy cast iron needs to absorb as much heat as possible so it doesn’t cool down when the cold dough hits it. Once the hour is up, carefully turn out your proofed dough onto a piece of parchment paper, score it quickly, and use the parchment edges to lower it into the scorching-hot pot. Put the lid on and reduce the oven temperature to 450°F (230°C).
Bake with the lid on for 20 to 25 minutes. This is when the magic happens: the dough releases its own steam, which gets trapped and surrounds the loaf, delaying the crust from setting and giving it maximum time to rise tall. Then, remove the lid and continue baking until the crust reaches a deep, golden-mahogany color—usually 25 minutes or more. The result is a loaf with a crackling, blistered crust that gleams as it cools. As beautifullivingmadeeasy observed, a Dutch oven traps that steam so well that it 'allows the loaf to rise longer and doesn’t form the crust so early,' ultimately producing that shiny, crisp finish.
For a thicker, harder crust, simply pull the lid a few minutes earlier—after 15 minutes, say—and extend the uncovered bake until the loaf sounds hollow when tapped and looks as dark as you like. The Dutch oven method is about as close to fail-safe as sourdough gets, giving you towering loaves with almost no added technique beyond patience.
Baking on a Stone: Yes, It’s Possible—But You’ll Need a Steam Hack
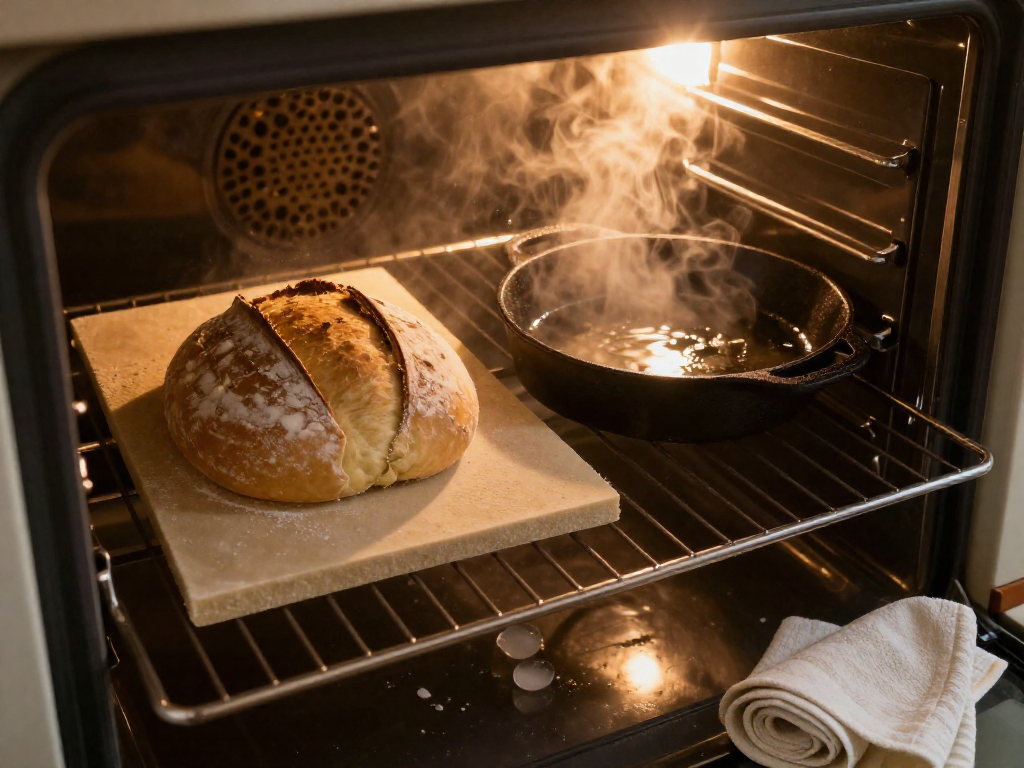
A baking stone on its own will not produce the steamy environment a sourdough loaf needs to spring and develop a crisp crust. Without a Dutch oven, you must supply your own steam—and that’s exactly what these hacks do. Once you nail the steam, open baking has one real advantage: you can bake multiple loaves at the same time, unlike a single Dutch oven.
The simplest start is a preheated cast iron pan on the rack below your stone. Pull it out, pour in a cup of boiling water, and shut the door fast. It works, but the steam burst is modest. For a more aggressive blast, the method from True Food TV is hard to beat: preheat one roasting pan empty, and place a second pan filled with rolled cotton towels soaked in 2 cups of boiling water next to it. When you load the dough, dump 2 cups of ice cubes into the hot empty pan. The ice flash-steams instantly, surrounding the loaf in a dense cloud that mimics a Dutch oven’s trapped humidity. Just be ready to work fast—slide the dough onto the stone, add the ice, and close the door in seconds. Bake for 20–25 minutes, then remove both steam pans completely. Leaving them in any longer traps too much moisture, and you’ll end up with a pale, leathery crust instead of a crisp brown one (The Perfect Loaf).
If dual pans feel like too much kit, the “inverted tray” method works with a metal roasting pan or even a cake tin turned upside down over the dough. Place 8–12 ice cubes on the stone around the loaf, then cover. The ice melts into steam trapped under the cover, effectively creating a disposable steam chamber. It’s simpler to manage and still gives decent oven spring.
But there’s a hard ceiling: gas ovens and many convection ovens vent moisture continuously. Their design makes standing steam nearly impossible, no matter how much water you pour. If your oven has a non-defeatable fan or a visible vent near the burner, a Dutch oven is your only reliable path to a good loaf. Steam will just leave as fast as you make it.
Even when you nail the steam, a stone-baked loaf often lacks the dramatic height and open crumb of a Dutch oven loaf. In a side-by-side test on The Fresh Loaf, the same dough produced a noticeably compressed loaf with a rounded bottom when baked on a stone, compared to the tall, domed loaf from a Dutch oven. The difference is simple: a Dutch oven traps steam right against the crust for the entire first bake, while open steam dissipates around the oven. If your heart is set on a baking stone, accept that the crumb may be a little tighter and the shape a little flatter. But with a solid steam hack, you can still bake a loaf you’ll be proud to slice.
Cost & Equipment: What You Actually Need to Get Started
If you're trying to keep costs down, a Dutch oven actually ends up being the simpler buy. A bare-bones baking stone might look cheaper, but to bake sourdough properly you immediately need extra equipment for steam—a cast iron pan, lava rocks, towels, maybe even a stainless steel chain—and that quickly adds up to the price of a solid entry-level Dutch oven. Plus, a decent enameled cast iron Dutch oven (like a Lodge) will last for years and handles the steam trap without any fuss. If you absolutely must go the stone route, one baker on The Fresh Loaf found a clever workaround: an inverted graniteware roasting pan set over the dough with ice cubes inside to trap steam. It's doable, but it's more moving parts. For beginners, I'd skip the stone and its steam hacks and just get a Dutch oven that works every time.
The Beginner’s Verdict: Pick the Tool That Gives You Confidence
If you have the choice, get a Dutch oven. It’s the single most reliable way to get a tall, crusty sourdough loaf as a beginner. In side‑by‑side tests with the same dough, Dutch oven loaves had dramatically better oven spring and a more open crumb than those baked on a stone—the stone loaves came out compressed and squat (The Fresh Loaf). The reason is simple: a Dutch oven traps steam, letting the loaf rise longer before the crust sets.
If you already own a stone and can’t buy a Dutch oven right now, you can still bake decent bread. The most practical steam hack for a small setup is an inverted roasting pan placed over the dough with 8–12 ice cubes inside—it mimics a Dutch oven’s steam trap. For larger batches, the towel‑and‑pan method (a pan of saturated towels plus a preheated pan for ice cubes) floods the oven with steam. Both demand more attention and timing than a Dutch oven, but they work.
One quick trick that helps any method: brush the loaf generously with 1–2 tablespoons of water just before baking. As Morgan from Beautiful Living Made Easy points out, this delays crust formation so the loaf can spring fully, and it adds a glossy, crunchy finish (Beautiful Living Made Easy).
Steam isn’t optional—it’s what turns a sticky ball of dough into a dramatic, blistered crust. Beginners should remove variables, not add them. A Dutch oven does that; anything else asks you to manage steam yourself. Pick the tool that gives you confidence.
Sources
- Baking stone vs. dutch | The Fresh Loaf — thefreshloaf.com
- Baking sourdough bread using a Pizza Stone — beautifullivingmadeeasy.com
- the difference between baking in a dutch oven vs open air pizza stone ... — reddit.com
- Sourdough Baking Bake | King Arthur Baking — kingarthurbaking.com
- How To Bake Bread with Steam in Your Home Oven | The Perfect Loaf — theperfectloaf.com
- Why open baking is so dang hard (and how to make it easier!) — TRUE FOOD TV — truefood.tv
- Baking Sourdough Bread: Steam, Dutch Ovens & Oven Spring — the-sourdough-framework.com
- The Best Dutch Ovens for Bread Baking 2026 | Feasting At Home — feastingathome.com
- Best Dutch Ovens (2025) for Breads, Braises and Beyond | Epicurious — epicurious.com
See also
- Beginner’s Guide to Sourdough Scoring
- Troubleshooting Dense Sourdough
- How to Shape a Boule for Even Rise
Related articles
Flour Types for Sourdough: A Visual Guide to Protein Content and Results
How do different flours affect sourdough bread, and what do the results look like side by side?
Jul 20, 2026 · 11 min read
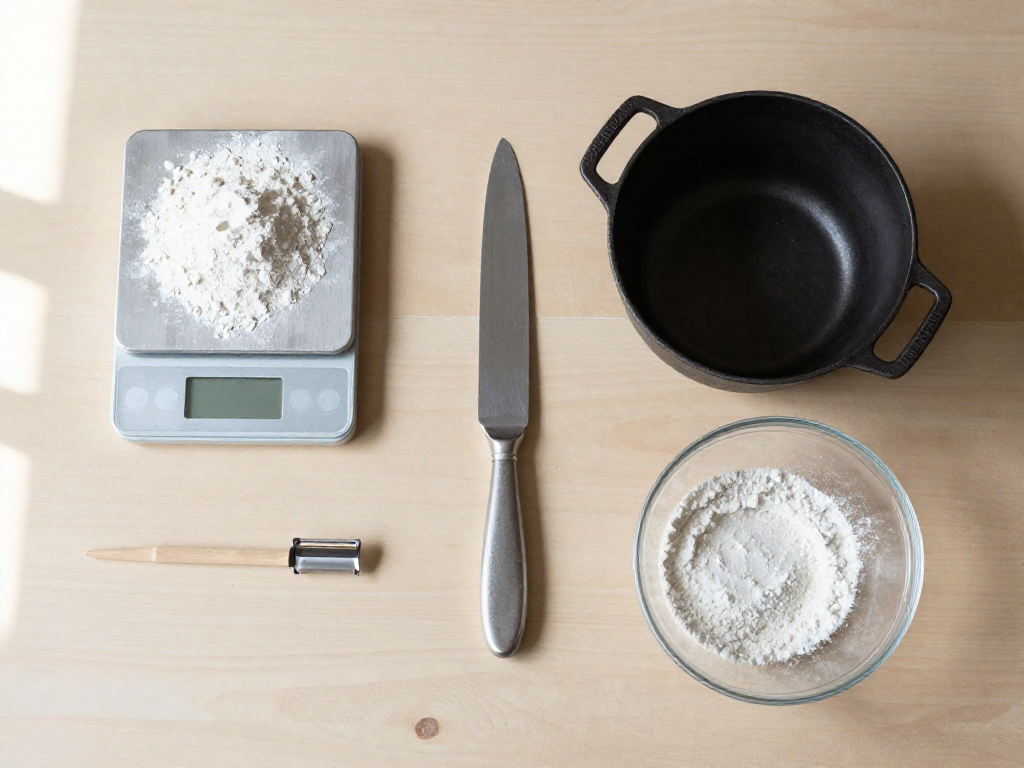
The Only 5 Tools You Really Need for Your First Sourdough Loaf
Start baking sourdough without the clutter and expense. These are the only 5 tools you really need—and the ones you can skip.
Jul 20, 2026 · 3 min read
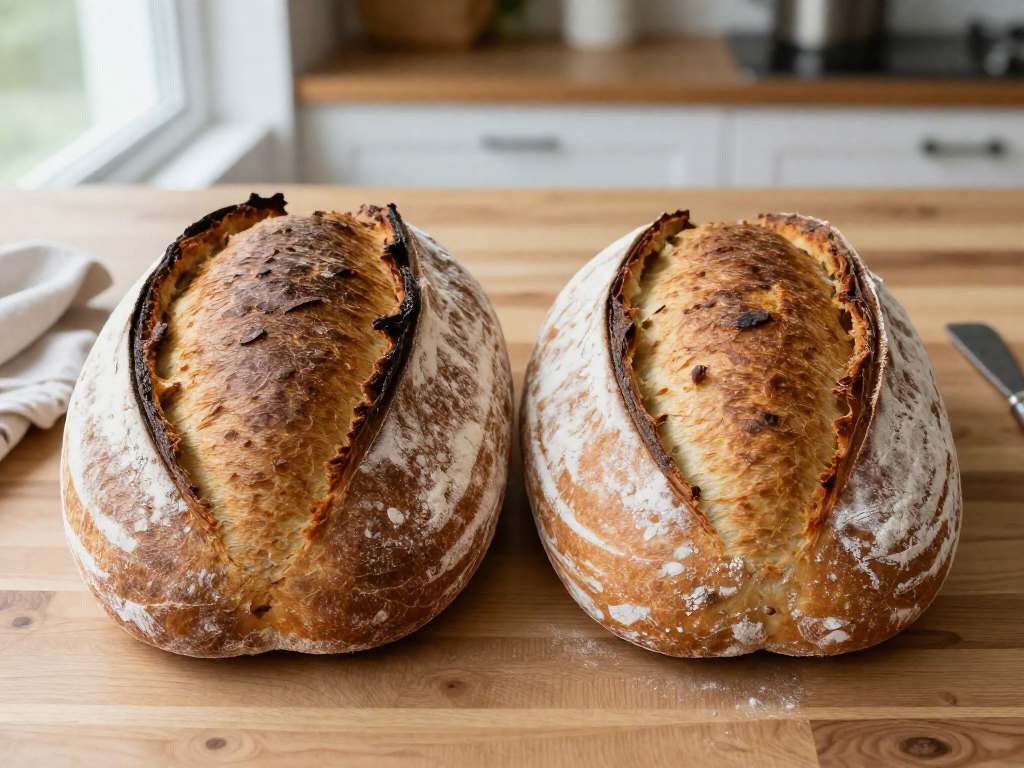
Dutch Oven vs. Open Bake: Which Sourdough Method Is Best for Beginners?
Dutch oven or open baking with steam for sourdough? Compare ease, cost, and crust so beginners can pick the right method and bake a great loaf.
Jul 14, 2026 · 4 min read