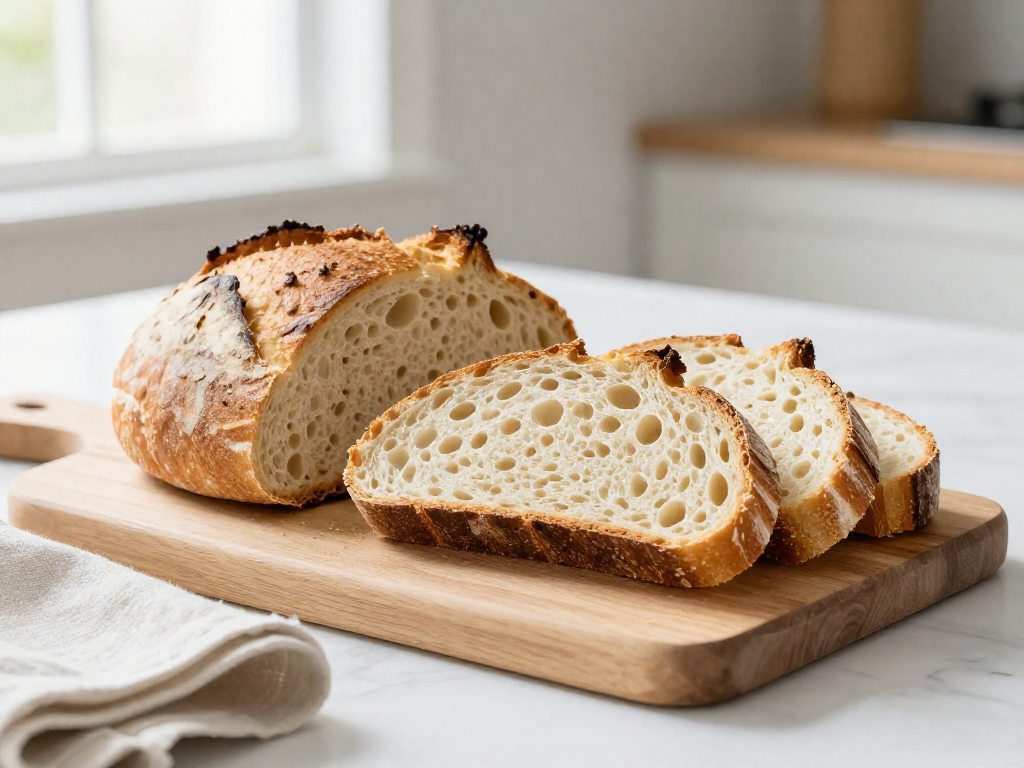
Soft Sourdough Sandwich Bread in a Loaf Pan
How do I make a soft sourdough sandwich loaf?
On this page
Open by naming the frustration: most sourdough recipes give you a crusty, chewy artisan boule, but you wanted soft sandwich bread that slices clean for toast and lunches. Promise an enriched, milk-and-butter pan loaf that needs no dutch oven and no fancy scoring—just a loaf pan and a healthy starter. Reassure the beginner that this is one of the most forgiving sourdough recipes to start with.
Why This Sandwich Loaf Works for Beginners

If past sourdough attempts left you with dense, flat, or gummy bricks, this recipe is built to fix that. It's an enriched dough, meaning we add milk, butter, and a little honey (or sugar). These extra ingredients give you a soft, tender crumb (the inside texture of the bread) instead of the chewy, holey interior of rustic loaves.
Here's why it's so much friendlier for a first attempt:
- No special equipment. You bake it in a standard loaf pan—no Dutch oven required.
- No scoring or shaping. You won't need to slash the top with a blade or shape a perfect round boule (a free-form ball of dough). You just roll the dough and drop it in the pan.
- A more forgiving timing window. Rustic loaves can turn on you if the bulk ferment (the first long rise, where the dough roughly doubles) runs a little long or short. Enriched pan loaves are far more relaxed about exact timing.
What "soft sandwich bread" means here: think squishy, sliceable, sturdy-enough-for-toast bread with a thin, soft crust—not the thick, crackly, chewy crust of an artisan sourdough.
One honest note: results vary by kitchen temperature, flour, and how active your starter is, so treat the times below as guides and watch the dough's cues (size, feel, jiggle) instead of the clock.
Ingredients You'll Need
Here's everything that goes into one standard loaf pan (about 9x5 inches). Weights in grams are the most accurate, so use a kitchen scale if you can—cups are included as a backup.
| Ingredient | Grams | Cups (approx.) | What it does |
|---|---|---|---|
| Active sourdough starter | 100 g | ½ cup | Your leavening (the thing that makes the bread rise). "Active" means recently fed and bubbly. It should pass the float test: drop a small spoonful in water—if it floats, it's ready. |
| Bread flour | 400 g | 3⅓ cups | Builds structure (the chewy framework that traps gas and gives a tall loaf). All-purpose flour also works but has less protein, so the crumb will be a touch softer and the rise slightly lower. |
| Whole milk | 180 g | ¾ cup | Adds tenderness and a soft crumb. Warm it to lukewarm (not hot) to help fermentation along. |
| Unsalted butter, softened | 40 g | 3 Tbsp | More tenderness and a richer flavor. Soft, not melted, so it blends evenly into the dough. |
| Sugar or honey | 25 g | 2 Tbsp | Feeds the starter, adds gentle softness, and helps the crust brown. |
| Salt | 8 g | 1½ tsp | Flavor, plus it tightens the gluten so the dough holds its shape. Don't skip it—without salt the loaf tastes flat and ferments too fast, often turning gummy. |
Optional add-ins
- 1 egg (about 50 g): a slightly richer, more golden crumb. If you add it, reduce the milk by 50 g to keep the moisture balanced.
- Dough conditioner (½ tsp): a store-bought softener that extends shelf life. Totally optional—the milk and butter already do most of this job.
Substituting? Stick close to the listed weights for the flour and liquids. Swapping flour types or sweeteners is safe; changing the milk-to-flour ratio is what most affects the final texture.
Equipment: What You Actually Need
Good news: this loaf needs almost nothing special. If you already bake, you probably own most of it.
The essentials:
- A 9x5-inch loaf pan. This is the standard size and gives you a tall, even sandwich loaf. If you only have an 8.5x4.5-inch pan, that works too—it's slightly smaller, so your dough will rise a little higher above the rim. Either is fine; just don't grease-skip the corners.
- A digital kitchen scale. Strongly recommended. Baking by weight (grams) instead of cups is the single biggest thing that helps beginners get consistent results, since a "cup" of flour can vary a lot. We'll give cups too, but the scale wins.
- A mixing bowl and a bench scraper. The scraper (a flat metal or plastic blade) helps you handle sticky dough and clean your counter. A stand mixer is optional and just saves your arms.
What you don't need: no Dutch oven, no banneton (proofing basket), and no lame (scoring blade). This is a forgiving, beginner-friendly loaf—a pan and your hands are enough.
Step-by-Step: Making the Dough
Work through these stages in order. Total hands-on time is about 20 minutes; the rest is waiting.
1. Mix the wet ingredients and starter
In a large bowl, combine:
- Active sourdough starter — 100 g (about ½ cup), bubbly and doubled
- Whole milk — 240 g (1 cup), warmed to lukewarm (~90°F / 32°C)
- Honey or sugar — 30 g (1½ tbsp)
Active starter means your starter has been fed and has roughly doubled in size, looking puffy with bubbles. Drop a small spoonful in water — if it floats, it's ready.
Whisk until the starter dissolves and the mix looks cloudy.
2. Add flour and salt
Add:
- Bread flour — 480 g (4 cups, spooned and leveled)
- Salt — 9 g (1½ tsp)
- Softened butter — 40 g (3 tbsp)
Stir with a spatula until no dry flour remains. It will look shaggy and rough — that's correct. Cover and rest 30 minutes (this is an autolyse: a rest that lets the flour fully absorb the liquid, so the dough becomes easier to knead).
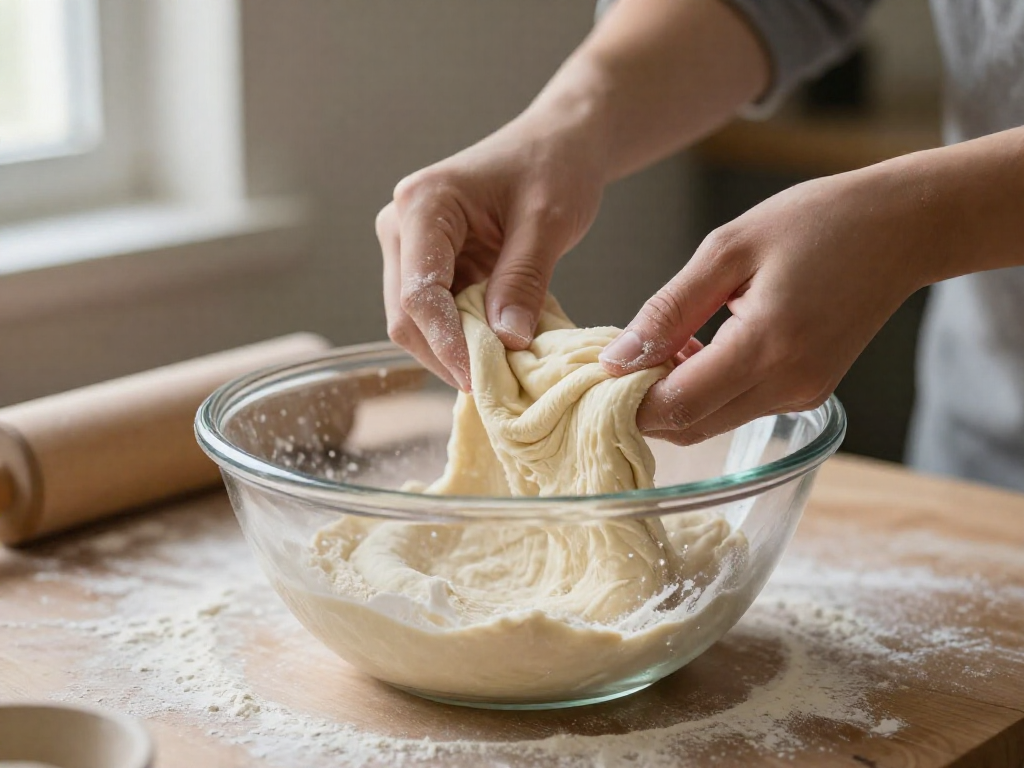
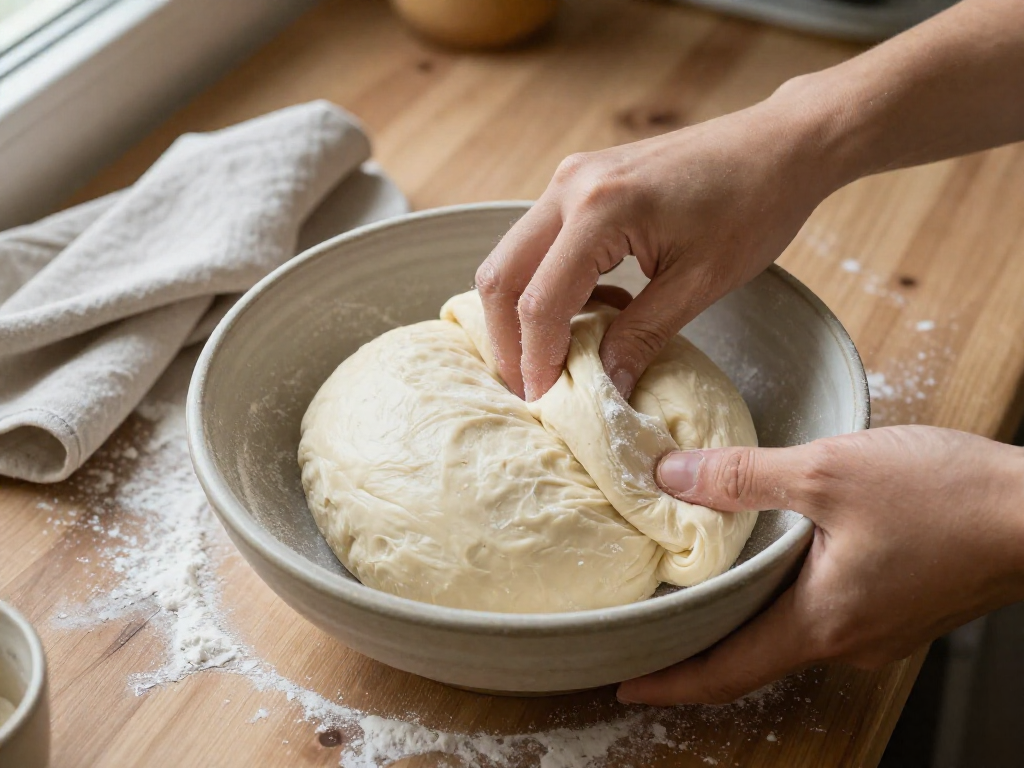
3. Build gluten
This is an enriched dough (it contains milk, butter, and sweetener), so it needs help developing gluten — the protein network that traps gas and gives bread its soft, stretchy structure. Choose one method:
- Kneading: Turn the dough onto a clean counter and knead 8–10 minutes until smooth.
- Stretch-and-fold (less effort): Every 30 minutes, grab one edge, stretch it up, and fold it over the center. Rotate the bowl and repeat 4 times. Do this for 4 rounds total (2 hours).
What to look for: The dough should turn from sticky and lumpy to smooth, soft, and slightly tacky — like Play-Doh that doesn't quite stick to dry fingers. Pull a small piece thin; if it stretches to a translucent "window" without tearing, the gluten is ready.
4. Bulk fermentation
Bulk fermentation (bulk ferment) is the first rise, when the whole batch of dough ferments together and the starter inflates it with gas.
- Cover the bowl and leave at room temperature (~75°F / 24°C).
- Expect 4–6 hours. Warmer kitchens go faster; cooler ones much slower.
How to read the rise: Stop when the dough has grown by 50–75% (not fully doubled — this is enriched dough), looks puffy, and jiggles softly. A few surface bubbles are a good sign.
Results vary with your kitchen's temperature and starter strength. Watch the dough, not the clock.
Once risen, you're ready to shape and pan the loaf in the next section.
Shaping and the Second Rise
After bulk fermentation (the long first rise where your dough roughly doubles), it's time to shape. For a sandwich loaf, you want a tight cylinder that fits snugly in your pan.
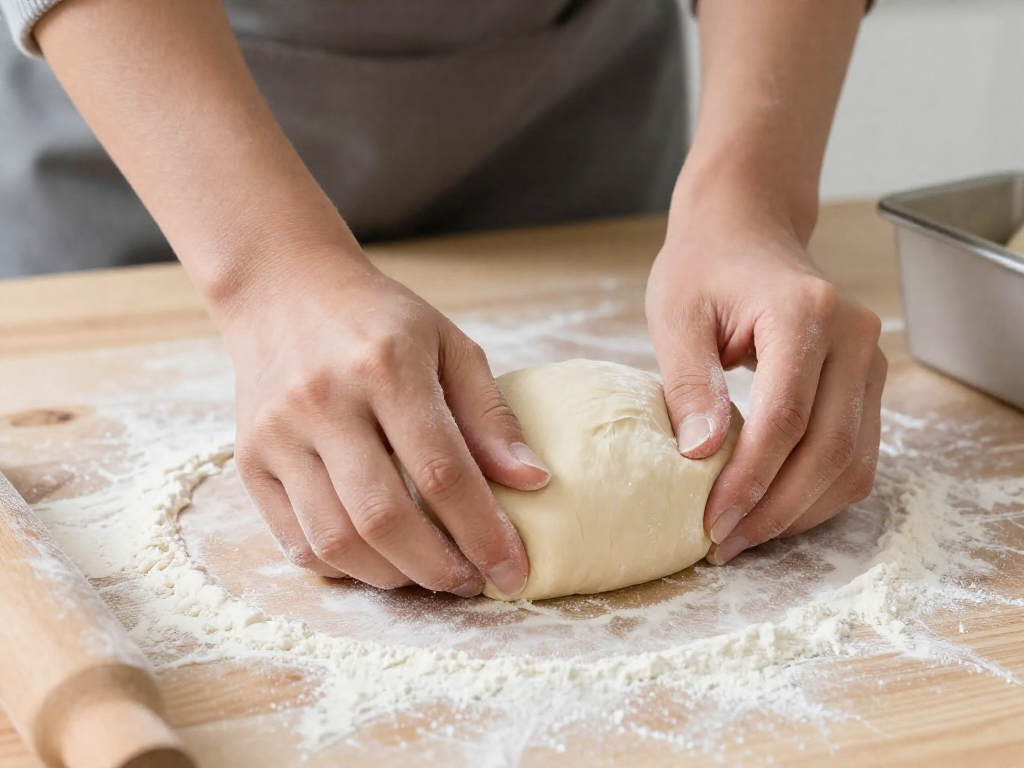
How to shape a cylinder
- Lightly flour your counter and tip the dough out, smooth side down.
- Gently pat it into a rectangle about the same width as your loaf pan is long (for a standard 9×5 inch / 23×13 cm pan, aim for roughly an 8-inch-wide rectangle).
- Roll it up tightly from the short end, like a sleeping bag, pressing gently after each turn to remove large air pockets.
- Pinch the seam closed along the bottom and the ends.
- Place it seam-side down in a greased loaf pan.
Why surface tension matters
As you roll and tuck, you're stretching the outer "skin" of the dough tight. This surface tension is what gives you a rounded, domed top instead of a flat or saggy one. A loose, slack shape spreads sideways; a tight one pushes up. If the surface tears, you've pulled too hard—stop and let it rest 10 minutes, then try again.
The second rise (proofing)
Cover the pan loosely with a damp towel or plastic. Let it proof at room temperature (about 70–75°F / 21–24°C) until the dough crowns about 1 inch (2–3 cm) above the pan rim. This usually takes 2–4 hours, but warm kitchens go faster and cool ones slower—watch the dough, not the clock.
The poke test
When you think it's ready, lightly flour a finger and poke the side of the dough about ½ inch deep:
- Springs back slowly, leaving a small dent → perfectly proofed, bake now.
- Springs back instantly → underproofed, give it more time.
- Doesn't spring back at all and feels deflated → overproofed; bake right away to salvage it.
Note: Times vary by kitchen and starter strength, so treat these as guidelines, not guarantees. The visual cues above are your most reliable signal.
Baking for a Soft Crust
Here's the goal: a golden top that stays soft enough to slice for sandwiches, not a thick, crackly crust. The trick is a moderate oven, a little fat on top, and patience while it cools.
The Bake
- Preheat your oven to 375°F (190°C). Unlike rustic sourdough, this loaf bakes in a regular pan with no steam or Dutch oven needed.
- Bake for 35–45 minutes, with the pan on the center rack.
- Around the 25-minute mark, peek at the top. If it's already deep brown, loosely lay a sheet of foil over the pan (this is called "tenting"). Tenting blocks direct heat so the crust stops browning while the inside finishes baking.
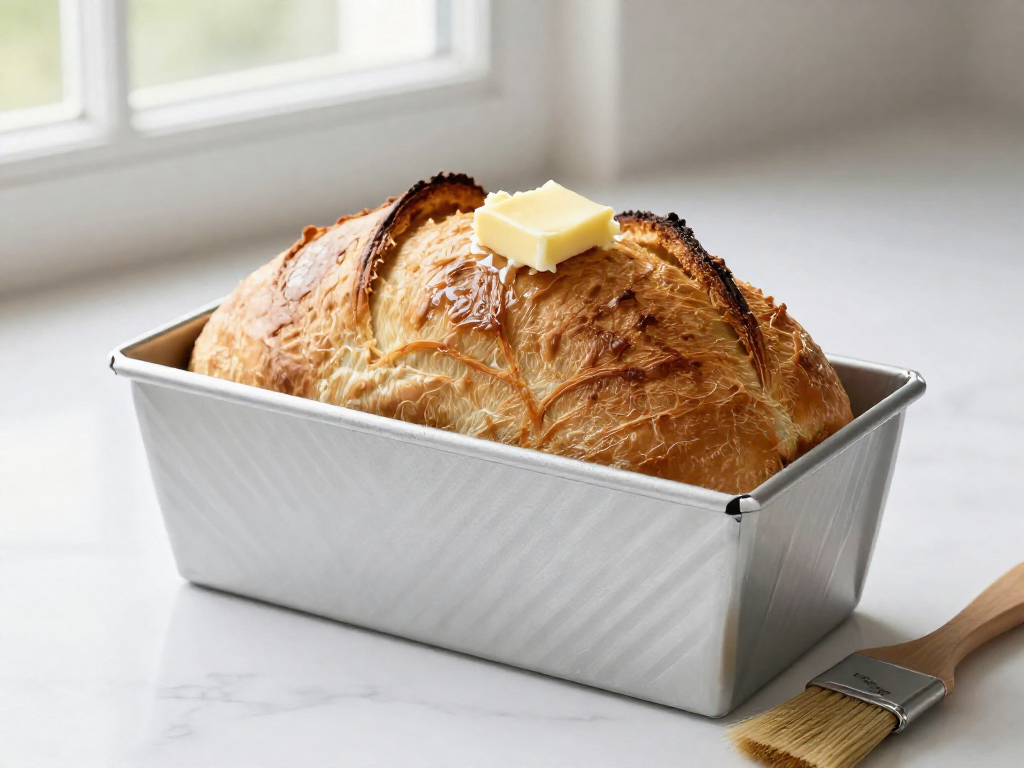
Soft Top Trick
For a tender, sliceable top, brush the crust with melted butter or milk:
- Right after baking — brush warm butter over the hot loaf. As it cools, the fat softens the crust.
- Optional: brush a second light coat once cooled for extra softness.
Skip this step and you'll still get a fine loaf, just with a slightly firmer top.
Know When It's Done
Color alone can fool you. Use an instant-read thermometer pushed into the center of the loaf:
- 190–205°F (88–96°C) = fully baked
- Below 190°F = needs a few more minutes (gummy crumb risk)
Sensory cue: The loaf should sound hollow when you tap the bottom, and it will have pulled slightly away from the pan sides.
The Cooling Rule
This is where most beginners go wrong. Turn the loaf out of the pan and cool it on a wire rack for at least 1 hour before slicing — ideally 2.
Cutting early traps steam and makes the crumb feel gummy and wet, even when the bake was perfect. The loaf is still cooking from residual heat as it rests. Wait it out, and you'll get clean, soft slices.
Results vary by oven and climate — let your thermometer and these cues guide you rather than the clock alone.
Timing & Sample Schedules
Sourdough runs on temperature, not the clock. Use these schedules as a guide, then trust the visual cues over the times. The biggest variable is your kitchen temperature: warm rooms speed everything up, cool rooms slow it down.
Quick note on terms: Bulk ferment is the first long rise after mixing, while the dough is still in one mass. Cold-proof means slowing the final rise by putting the shaped dough in the fridge.
Same-Day Schedule (warm kitchen, ~75°F / 24°C)
| Time | Step |
|---|---|
| 8:00 AM | Mix dough |
| 8:30 AM | Knead, then begin bulk ferment |
| 12:30 PM | Bulk ferment done — dough has roughly doubled and looks puffy |
| 12:45 PM | Shape and place in loaf pan for second rise |
| 2:15 PM | Dough crests ~1 inch above the pan rim |
| 2:30 PM | Bake (~40 min) |
| 3:10 PM | Out of the oven; cool fully before slicing |
Overnight Cold-Proof (bake in the morning)
| Time | Step |
|---|---|
| 6:00 PM | Mix and knead |
| 6:30 PM | Bulk ferment |
| 10:30 PM | Shape, place in pan, cover, and refrigerate overnight |
| 7:00 AM | Take pan out; let it finish rising on the counter (~1–2 hrs) |
| 8:30 AM | Bake when dough crests the pan rim |
How room temperature shifts everything
- Cool kitchen (65°F / 18°C): Add 1–3 hours to bulk ferment and the second rise.
- Warm kitchen (80°F / 27°C): Subtract 1–2 hours; check early so it doesn't over-proof.
Watch the dough, not the time. Bulk ferment is done when the dough is puffy and roughly doubled. The second rise is done when the dough crests about 1 inch above the pan rim and springs back slowly when poked. Results vary by kitchen and climate, so let these checkpoints — not exact clock times — tell you when to move on.
Troubleshooting Dense, Gummy, or Flat Loaves
If your loaf didn't turn out, find your symptom below. Each problem maps to its most common cause and a fix you can try next time. Results vary by kitchen temperature and starter strength, so treat these as starting points, not guarantees.
Dense, tight crumb
Most likely cause: Under-proofing (the dough didn't ferment long enough to fill with gas) or a weak starter.
Fix: Give the bulk ferment more time. "Bulk ferment" is the first long rise after mixing, where the whole batch of dough rises together. At a warm room temperature (around 24–25°C / 75–77°F), this often takes 4–6 hours. Look for the dough to roughly double and feel airy and jiggly, not the clock. If your kitchen is cold, find a warmer spot or extend the time.
Gummy, sticky interior
Most likely cause: Under-baking, or slicing while still warm.
Fix: Bake until the internal temperature reaches 93–96°C (200–205°F) on an instant-read thermometer. Then wait. Cutting too soon traps steam and makes the crumb feel wet and pasty. Let the loaf cool completely on a wire rack for at least 2 hours before slicing.
Flat or collapsed top
Most likely cause: Over-proofing (the dough fermented too long and the gas structure gave out).
Fix: Shorten the rise. If the dough looks puffy and a gentle poke leaves a dent that doesn't spring back at all, it has gone too far. Aim for a poke that springs back slowly and only partway.
Pale crust or barely any rise
Most likely cause: Starter not active enough.
Fix: Bake only when your starter reliably doubles within 4–6 hours of feeding and floats in water. Feed it once or twice more before your next bake and keep it somewhere warm.
Storing, Slicing, and Serving
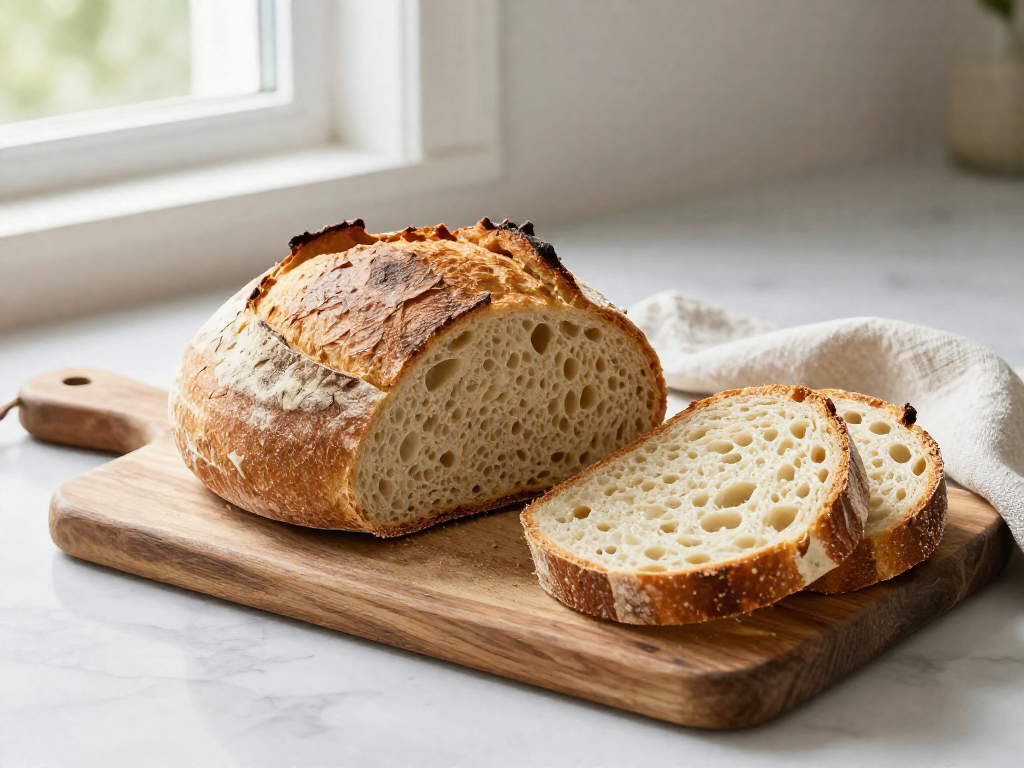
Cool completely first. Let the loaf rest on a wire rack for at least 2 hours before slicing. Cutting while warm makes the inside feel gummy and squishes the slices, because the crumb is still setting.
Slice it right. Once cool, use a serrated knife and a gentle sawing motion. For sandwiches, aim for slices about 1.5 cm (just over ½ inch) thick.
Best storage options:
- Counter (1–2 days): Keep cut-side down on a board, or in a bread box or paper bag for a crisper crust. Avoid the fridge—it dries bread out faster.
- Plastic bag (2–4 days): Softens the crust and keeps the crumb moist; best if you want it sandwich-soft.
- Freezer (up to 3 months): Slice first, then freeze in a zip-top bag. Pull out slices as needed and toast straight from frozen.
How long it stays soft: This loaf is at its softest for the first 2–3 days. After that, it's still great toasted.
Serving ideas: Toast for grilled cheese, breakfast eggs, or avocado toast. Untoasted, it's soft enough for classic deli sandwiches, PB&J, or French toast.
FAQ
Can I make this sourdough sandwich bread without a dutch oven?
Yes. This recipe is designed for a standard loaf pan (about 9x5 inches / 23x13 cm), not a dutch oven. The pan shapes the dough into a tall, even sandwich loaf and holds in moisture for a soft crust, so no special baking vessel is needed. Just grease the pan well or line it with parchment, and bake on the center rack until the internal temperature reaches about 200–205°F (93–96°C).
Why is my sourdough sandwich loaf dense or gummy?
Dense or gummy crumb usually comes from one of three causes. First, an underactive starter: it should double within 4–8 hours and pass the float test (a spoonful floats in water) before you mix. Second, underproofing: the dough should rise noticeably and feel pillowy before baking, not tight and firm. Third, slicing too soon: cutting while warm traps steam and creates a gummy, doughy texture. Let the loaf cool completely (at least 2 hours) before slicing. If the inside still looks wet after cooling, bake a few minutes longer next time and confirm the internal temperature hits 200–205°F (93–96°C).
Can I use all-purpose flour instead of bread flour?
You can, but expect a softer, slightly less structured loaf. Bread flour has more protein (about 12–13%), which builds the gluten network that gives sandwich bread its height and chew. All-purpose flour (around 10–11% protein) works for a tender, everyday loaf but may rise a bit less and feel more delicate. If using all-purpose, handle the dough gently and consider reducing the water by about 10–15 grams, since lower-protein flour absorbs less liquid.
How active does my starter need to be for this recipe?
Your starter (the living mix of flour and water that leavens the bread) should be at its peak when you mix the dough. That means it has been fed 4–8 hours earlier, has roughly doubled in size, looks bubbly and domed, and passes the float test (a small spoonful floats in a glass of water). A sluggish, flat, or just-fed starter won't have the strength to lift the dough and is the most common reason for a dense loaf. If your starter is new or weak, feed it once or twice a day for several days until it reliably doubles before baking.
Can I do an overnight rise in the fridge?
Yes, and it makes the timing more flexible. After bulk fermentation (the first long rise where the dough roughly doubles), shape the dough, place it in the loaf pan, cover it, and refrigerate for 8–14 hours. The cold slows fermentation so you can bake in the morning. Take the pan out and let it finish rising at room temperature until the dough crowns just above the rim and springs back slowly when poked, which can take 1–3 hours depending on your kitchen. Cold dough can also go straight into the oven if it has already risen enough, but a short warm-up usually gives better oven spring.
How do I keep the crust soft instead of crusty?
A few simple steps keep this loaf soft. Bake it in the loaf pan (the enclosed sides trap moisture), and brush the top with melted butter or milk right after it comes out of the oven. Adding a small amount of fat to the dough, such as butter or oil, also softens the crust and crumb. Once fully cooled, store the loaf in a sealed bag or airtight container at room temperature; this lets the moisture redistribute and softens any crust that firmed up during baking.
How long does homemade sourdough sandwich bread stay fresh?
Stored in a sealed bag or airtight container at room temperature, this loaf stays soft and fresh for about 3–4 days; the natural acidity of sourdough helps it last a little longer than typical homemade bread. Avoid the refrigerator, which dries bread out faster. For longer storage, slice the fully cooled loaf, freeze it in a sealed bag for up to 3 months, and toast slices straight from frozen or thaw at room temperature.
See also
- How to make and maintain a sourdough starter
- Sourdough float test: is your starter ready?
- Beginner's guide to bulk fermentation
- Easy beginner sourdough recipes
- How to fix a dense sourdough loaf
Related articles
Sourdough Pizza Dough for Beginners: A Forgiving Way to Practice Shaping
Can I use my sourdough starter to make pizza dough, and is it easier than a loaf?
Jul 20, 2026 · 9 min read
The Hardest Loaf to Mess Up: A 60% Hydration Sourdough for Absolute Beginners
What is the easiest sourdough bread recipe that minimizes handling and hydration issues?
Jul 20, 2026 · 8 min read
How to Store Sourdough Bread So It Stays Fresh
Learn how to store sourdough bread so it stays fresh for days, how to freeze loaves and slices, and how to revive a stale crust. Simple beginner steps.
Jun 29, 2026 · 9 min read