Same-Day Sourdough Bread: Bake Without an Overnight Wait
Can I make sourdough bread in one day?
On this page
Open by validating the reader's frustration with overnight schedules and the fear that "real" sourdough must take 24+ hours. Promise a doable, single-day timeline that uses warmth (not time) to speed fermentation, and reassure them this works even for beginners with an active starter. Set expectation: a realistic ~8-9 hour active day, mostly hands-off, with a clear hour-by-hour map.
Can You Really Make Sourdough in One Day?
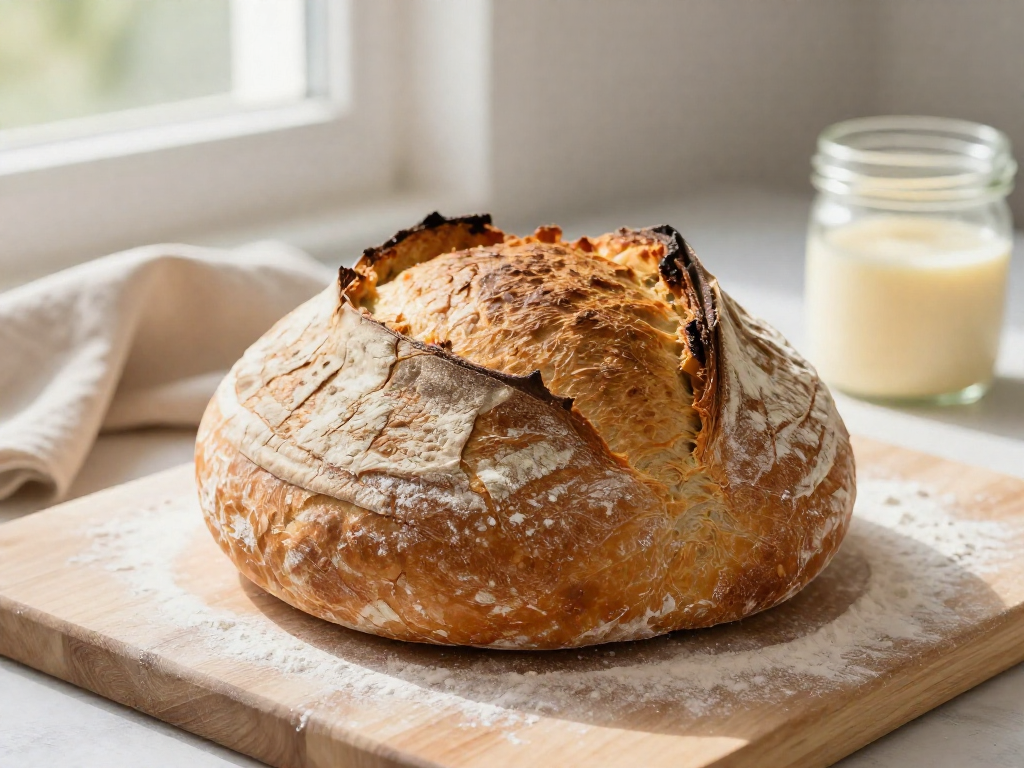
Short answer: yes. With an active starter and a warm kitchen, you can mix in the morning and pull a finished loaf from the oven that same evening—roughly 8–10 hours start to finish. No overnight refrigerator rest required.
The secret is warm fermentation. Fermentation is simply the stage where the wild yeast and bacteria in your starter eat the flour and produce gas, which makes the dough rise and develop flavor. Yeast works faster when it's warm, so keeping your dough at 75–85°F (24–29°C) speeds everything up. That warmth is the single lever that replaces the slow, overnight cold rise most recipes rely on.
The honest trade-offs
Same-day bread is real, but it isn't identical to a long-fermented loaf:
- Slightly less tang. Sour flavor builds over time, especially during a cold rise. A fast, warm bake tastes mild and wheaty rather than sharply sour.
- A tighter timing window. Because warm dough moves quickly, it can go from perfect to over-fermented (slack and sticky) in under an hour. You'll need to watch the dough, not just the clock.
Results vary with your kitchen's temperature and your starter's strength, so treat the times here as a guide and trust what you see and feel.
What you need before you start
The one non-negotiable is a healthy, active starter at peak. "At peak" means you fed it 4–8 hours ago and it has:
- Roughly doubled in its jar
- A domed, bubbly surface
- A pleasant, yogurty smell
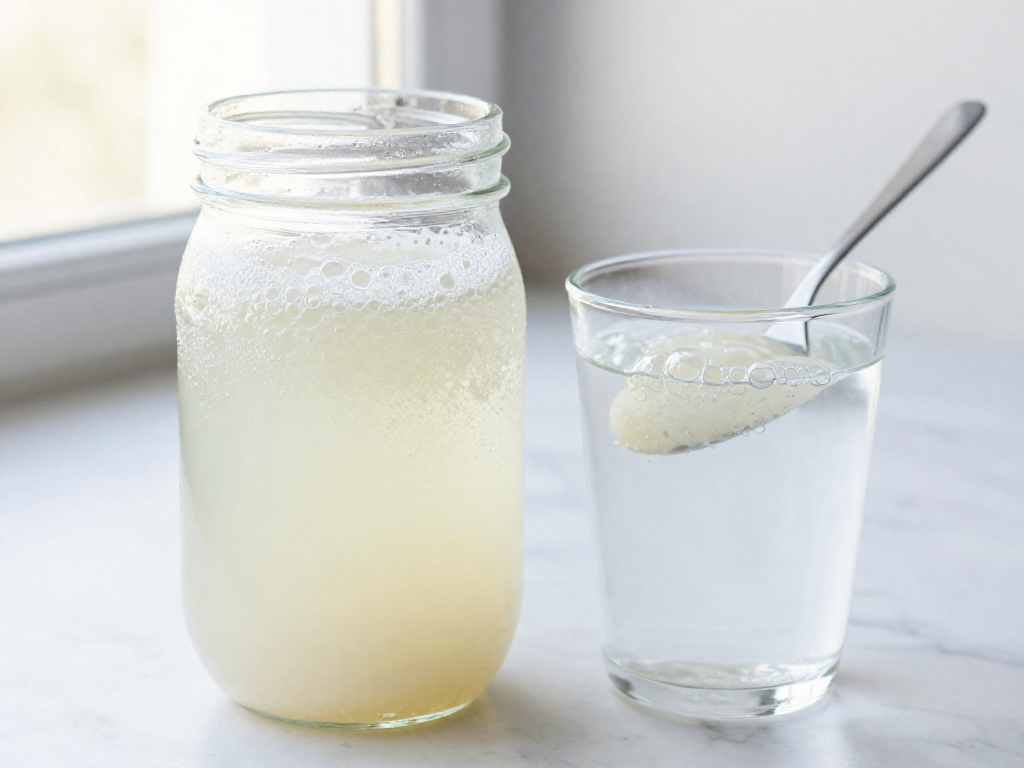
A quick test: drop a spoonful of starter into water. If it floats, it's full of gas and ready to bake with. If it sinks, feed it again and wait. Starting with a sluggish starter is the most common reason a same-day loaf comes out dense and flat—so don't skip this check.
What You Need: Ingredients & Equipment
Here's everything for one loaf. Weigh your ingredients with a kitchen scale—cups are included as a backup, but grams are far more reliable for sourdough.
Ingredients
| Ingredient | Grams | Cups (approx.) |
|---|---|---|
| Bread flour | 500 g | ~4 cups |
| Water (lukewarm) | 350 g | ~1½ cups |
| Active sourdough starter | 100 g | ~½ cup |
| Fine salt | 10 g | ~1¾ tsp |
This is a 70% hydration dough. Hydration just means the weight of water compared to the weight of flour (350 ÷ 500 = 70%). It's kept moderate on purpose so the dough stays tacky but easy to handle—not a sticky mess on your hands.
Equipment
- Kitchen scale — non-negotiable; it's the single biggest upgrade for consistent loaves.
- Dutch oven (with a lid) — traps steam for a crisp crust and good rise.
- Large mixing bowl — for mixing and the rise.
- Banneton, OR a bowl lined with a floured kitchen towel — to hold the shaped dough while it proofs.
No banneton? The bowl-and-towel trick works just as well.
Is Your Starter Ready?
Your starter needs to be lively before you begin. Look for all three signs:
- Doubled in size within 4–6 hours of its last feeding.
- Bubbly on top and throughout.
- Passes the float test: drop a teaspoon of starter into a glass of water. If it floats, it's full of gas and ready to bake with. If it sinks, feed it and wait a few hours.
Results vary with your kitchen's temperature, so trust these visual cues over the clock.
The Same-Day Timeline at a Glance
Here is the full same-day schedule in one place. The clock below assumes a warm kitchen (about 76–78°F / 24–26°C). If your kitchen is cooler, each stage runs longer, so watch the visual cues, not just the clock.
| Time | Step | What to look for |
|---|---|---|
| 7:00 AM | Feed starter (or confirm it's at peak) | Doubled, domed, bubbly; floats in water |
| 9:00 AM | Mix + autolyse | Shaggy, no dry flour left |
| 9:30 AM | Add salt, begin bulk ferment | Dough starts to feel less sticky |
| 9:30 AM–1:00 PM | Bulk ferment with 3–4 stretch-and-folds | Risen ~50%, jiggly, domed, bubbles on top |
| 1:00 PM | Pre-shape + bench rest (20 min) | Holds a loose round |
| 1:20 PM | Final shape + short proof | Slightly puffy, springs back slowly |
| 2:30 PM | Score + bake | Deep golden crust, sounds hollow |
| 4:00 PM | Cool (don't skip!) | Fully cool before slicing |
Key terms, defined once:
- Starter at peak: Your starter (the live flour-and-water culture that makes the bread rise) has risen to its highest point and is full of bubbles. This is when it has the most lifting power. A reliable test: drop a small spoonful in water—if it floats, it's ready.
- Autolyse (AW-toh-lize): A short rest after mixing only flour and water, before adding salt. It lets the flour fully absorb water, which makes the dough easier to handle and the crumb more open. 30 minutes is plenty for same-day baking.
- Bulk ferment: The first and longest rise, when the whole batch ("bulk") of dough ferments together. This is where most of the rise and flavor develop. Warmth speeds it up, which is why same-day baking works.
- Stretch-and-fold: Instead of kneading, you grab one side of the dough, stretch it up, and fold it over the center, turning the bowl a quarter and repeating. It builds strength gently. Do a set every 30–45 minutes during the first ~2 hours.
Sample clock: Start at 7 AM and you'll pull a finished loaf around 2:30 PM, cooled and ready for a dinner-time slice. Results vary by kitchen temperature and starter strength, so treat these times as a guide and trust the dough's cues.
Step-by-Step Instructions
Follow the cues, not just the clock. Your kitchen's temperature changes everything, so watch the dough.
Recipe (one loaf): 500g (4 cups) bread flour · 350g (1½ cups) warm water (~29°C/85°F) · 100g (½ cup) active, bubbly starter · 10g (1¾ tsp) fine salt. This is a 70% hydration dough (hydration = the weight of water as a percentage of flour weight; higher means a wetter, stickier dough).
1. Mix and autolyse (20–40 min)
Stir the flour and water together until no dry bits remain, then cover and rest. This rest is the autolyse: the flour fully absorbs the water, which makes the dough easier to work and improves rise. Cue: the shaggy mass becomes smoother and slightly stretchy.
2. Add starter and salt (5 min)
Spread the starter and salt over the dough and squeeze them in with wet hands, then pinch and fold until evenly combined. Cue: no streaks of starter, no gritty salt pockets.
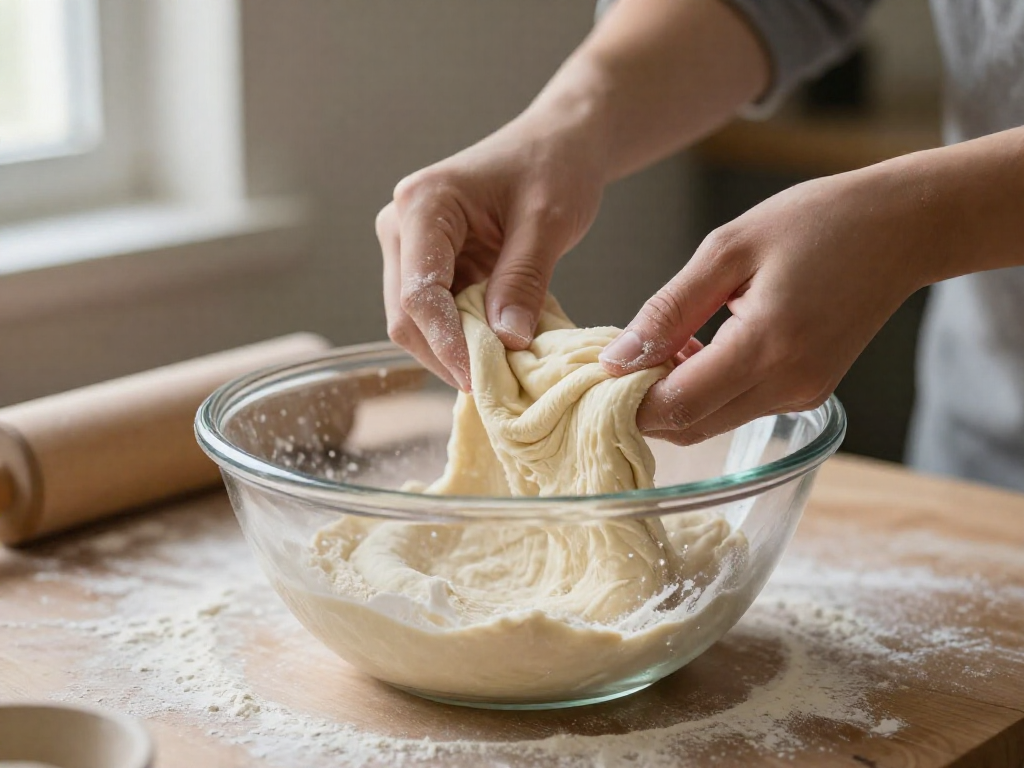
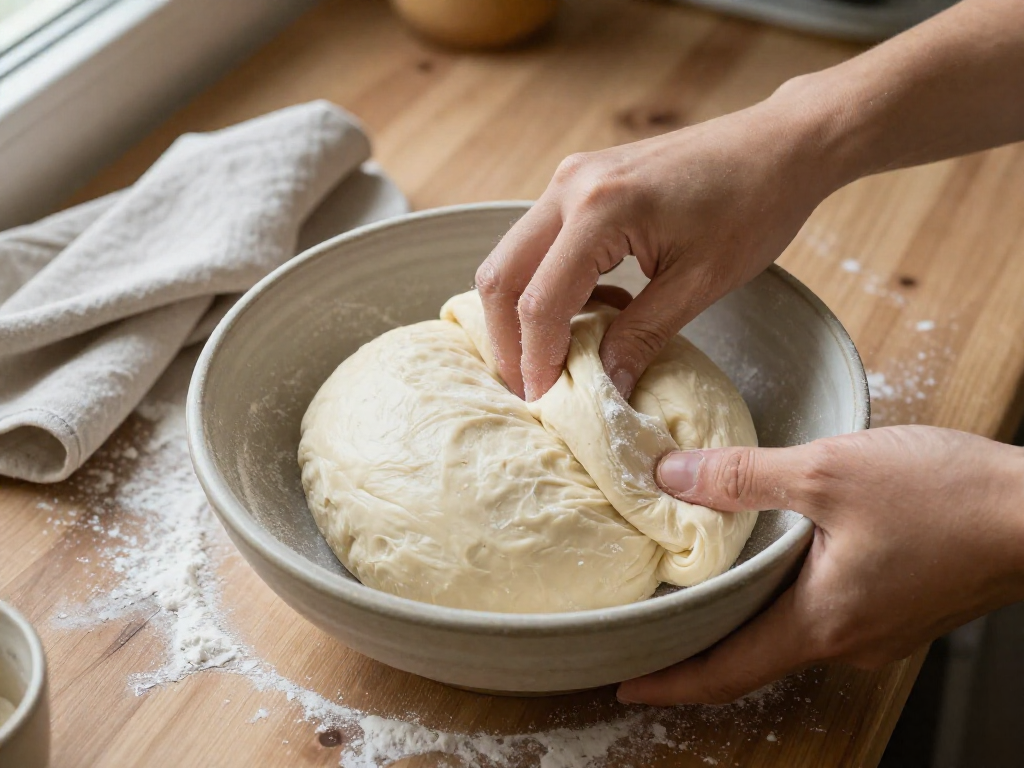
3. Stretch-and-folds (over ~2 hours)
Every 30 minutes, with a wet hand grab one side of the dough, stretch it up, and fold it over the center. Turn the bowl and repeat four times (one "set"). Do 4 sets total. Cue: by the last set the dough feels tighter, smoother, and holds its shape instead of slumping flat.
4. Know when bulk is done — read the dough
Bulk ferment is the first long rise where the dough develops flavor and gas. Don't trust the timer alone (usually 3–5 hours at warm room temp). Cues: the dough has grown about 50% larger, looks domed and jiggly, shows bubbles on the surface and sides, and pulls away cleanly from the bowl.
5. Shape with light tension (10 min)
Tip the dough onto a lightly floured counter. Fold the edges into the middle, flip it seam-side down, and gently drag it toward you a few times to build a smooth, taut surface. Beginner tip: less is more — over-handling tears the structure.
6. Final proof + poke test (1–2 hours)
Rest the shaped dough seam-side up in a floured bowl. To test readiness, lightly poke it: it's ready when the dent springs back slowly and leaves a faint mark. Springs back instantly = needs more time; stays fully dented = overproofed, bake now.
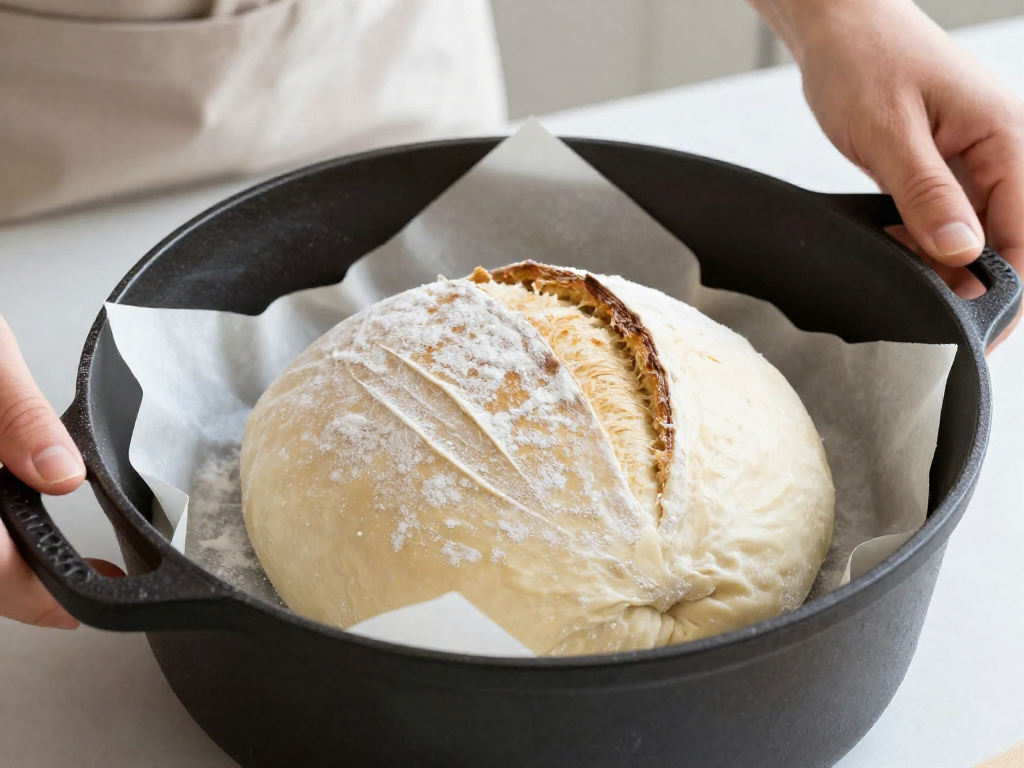
7. Score and bake
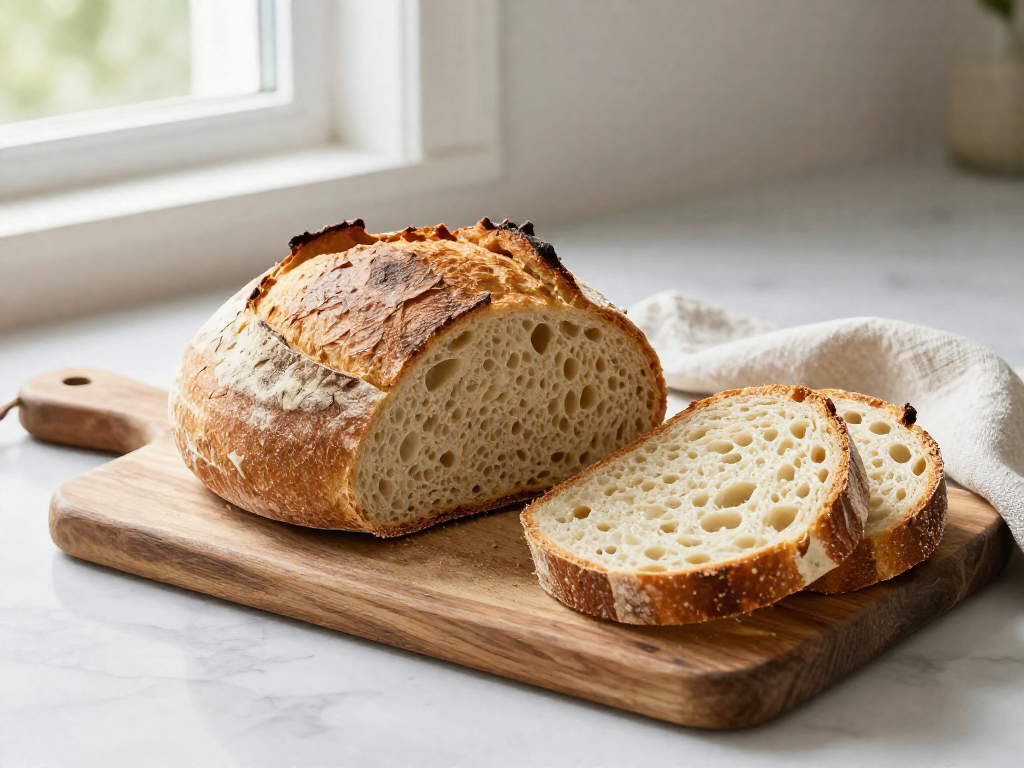
Preheat your Dutch oven to 245°C (475°F). Flip the dough onto parchment, slash one confident ½-inch-deep cut with a sharp blade or razor (this controls where it expands), and lower it in. Bake 20 min covered, then 20–25 min uncovered until deep golden. Cue: a hollow tap on the base and an internal temp of ~99°C (210°F).
Cool at least 1 hour before slicing — cutting too early causes a gummy crumb. Results vary by flour, starter strength, and climate, so expect to fine-tune.
How to Speed Fermentation Safely (Without Ruining the Loaf)
The single biggest lever for same-day sourdough is temperature. Warmth speeds up fermentation (the process where wild yeast in your starter eats flour sugars and releases gas to make the dough rise). The warmer the dough, the faster it ferments—up to a point.
Aim for a dough temperature of 78–82°F (26–28°C). Here's how to get there:
- Find a warm spot. Use your oven with only the interior light on, a proofing box, or a counter near a sunny window. Check the temperature with a probe thermometer before trusting it.
- Use more starter. Raising your starter (the live flour-and-water culture that leavens the bread) from 20% to about 30% of the flour weight shortens the bulk ferment—the first big rise after mixing. For 500g flour, that means roughly 150g starter instead of 100g.
- Warm your water. Mixing with water around 90°F (32°C) nudges the final dough into the target range without overheating it.
Don't overshoot. Above 90°F (32°C), the dough ferments too fast and becomes hard to time. You'll likely overproof—the gluten weakens, the loaf collapses, and the crumb turns dense and gummy. Faster is not always better.
Cooler kitchen? Below 70°F (21°C), expect bulk ferment to take 1–2 hours longer. Watch the dough, not the clock: it's ready when it has risen 50–75%, looks puffy and domed, and jiggles slightly when nudged.
Results vary by kitchen and climate—use these cues, not fixed times, to guide you.
Troubleshooting Same-Day Loaves
A rushed one-day bake leaves less room for error, so most problems trace back to the speed itself. Match your symptom below, apply the quick fix, then adjust next time.
Flat loaf (spread wide, little rise)
- Cause: An underactive starter (the fermented flour-and-water mix that leavens your bread) or overproofed dough — meaning it fermented too long and the gas-holding structure collapsed.
- Quick fix now: Bake it anyway; it will still taste good as sandwich bread.
- Next time: Use starter that has doubled and passes the float test (a teaspoon floats in water). Cut the final rise by 20–30 minutes.
Gummy crumb (sticky, paste-like inside)
- Cause: Underbaked, or sliced before fully cool.
- Quick fix now: Return the loaf to a 230°C (450°F) oven for 8–10 minutes. Always cool at least 1 hour before slicing.
- Next time: Bake until the internal temperature reads 96–99°C (205–210°F) and the bottom sounds hollow when tapped.
Dense loaf (tight, heavy, few holes)
- Cause: Under-fermented bulk (the first rise after mixing), common in a cool kitchen where dough ferments slowly.
- Quick fix now: None mid-bake — note it for next time.
- Next time: Proof somewhere warm (24–27°C / 75–80°F), like an oven with the light on. Watch for the dough to grow about 50% and look puffy with a few surface bubbles.
Results vary by kitchen and climate, so treat these as starting points and tweak one variable at a time.
FAQ
Can I make sourdough bread in one day without an overnight rise?
Yes. Same-day sourdough works when you start with an active starter (one that has doubled within the last 4–6 hours) and keep your dough warm, around 78–82°F (25–28°C). Warmth speeds up the bulk ferment (the first, longest rise where the dough develops flavor and structure), so the whole process fits into a single day. You will mix in the morning, do a few stretch-and-folds, let it rise, shape it, and bake by late afternoon. The trade-off is a slightly milder flavor than an overnight loaf, but the method is fully beginner-friendly.
How long does same-day sourdough take from start to finish?
Plan on roughly 7–9 hours of mostly hands-off time. A typical schedule: mix and autolyse (resting flour and water so it absorbs moisture before adding starter and salt) for 30–60 minutes; bulk ferment for 4–6 hours with stretch-and-folds in the first 2 hours; shape and bench rest for 20–30 minutes; final proof for 1–2 hours; then bake for about 45 minutes. Your kitchen temperature is the biggest variable: warmer kitchens finish faster, cooler ones slower. Watch the dough, not the clock — it should grow about 50–75% in size and look puffy with a few bubbles.
Does same-day sourdough taste less tangy than overnight sourdough?
Usually, yes — and that is normal. Tang comes from acids that build up slowly during fermentation, especially during a long, cool overnight rise. A faster, warmer same-day bake produces less acid, so the loaf tastes milder, slightly sweet, and more wheaty than sharply sour. Many beginners actually prefer this flavor. If you want more tang in a same-day loaf, use a little more starter, keep the dough slightly cooler (around 74°F / 23°C) to stretch out the bulk ferment, or use a starter that smells more acidic before mixing.
Can I do same-day sourdough if my kitchen is cold?
Yes, but you will need to add warmth or extra time, since cold dough ferments slowly. Find a warm spot around 78–82°F (25–28°C): inside your oven with just the light on, near (not on) a warm appliance, or in a turned-off microwave next to a mug of hot water. You can also use slightly warm water (about 85–90°F / 29–32°C) when mixing. If you cannot reach those temperatures, expect the bulk ferment to take longer — judge by how the dough looks (puffy, jiggly, grown 50–75%) rather than by time, and don't rush to shape it before it's ready.
How do I know my starter is active enough for a one-day bake?
Use the float test and the timing test together. Feed your starter, then watch it: it should at least double in 4–6 hours and look bubbly and domed at its peak. At that peak, drop a small spoonful into a glass of water — if it floats, it's full of gas and ready to use. It should smell pleasantly yeasty or slightly tangy, not flat or sharply alcoholic. For best results, mix your dough when the starter is at or just before its peak. A sluggish starter that takes 8+ hours to double isn't strong enough for a same-day loaf yet; feed it once or twice more first.
Why did my same-day loaf turn out dense or gummy?
Dense or gummy crumb in a same-day loaf almost always traces to one of these causes. Underproofing: the dough didn't ferment long enough, often because the starter was weak or the kitchen was cold — fix it by using a peak-active starter and keeping the dough at 78–82°F (25–28°C) until it grows 50–75%. Gummy crumb: usually slicing while still warm or underbaking — let the loaf cool fully (1–2 hours) and bake until the internal temperature reaches about 205–210°F (96–99°C). Weak structure: too few stretch-and-folds — do 3–4 sets in the first 2 hours. Flat and dense together often means overproofing in a warm kitchen, so shape a little earlier next time. Results vary by kitchen and climate, so adjust one variable at a time.
See also
- How to Make a Sourdough Starter from Scratch
- Beginner Sourdough Bread Recipe (Overnight Method)
- Sourdough Troubleshooting: Why Is My Loaf Dense or Gummy?
- Understanding Sourdough Hydration for Beginners
- The Float Test: Is Your Starter Ready to Bake?
Related articles
Sourdough Pizza Dough for Beginners: A Forgiving Way to Practice Shaping
Can I use my sourdough starter to make pizza dough, and is it easier than a loaf?
Jul 20, 2026 · 9 min read
The Hardest Loaf to Mess Up: A 60% Hydration Sourdough for Absolute Beginners
What is the easiest sourdough bread recipe that minimizes handling and hydration issues?
Jul 20, 2026 · 8 min read
How to Store Sourdough Bread So It Stays Fresh
Learn how to store sourdough bread so it stays fresh for days, how to freeze loaves and slices, and how to revive a stale crust. Simple beginner steps.
Jun 29, 2026 · 9 min read