How to Shape a Sourdough Boule (Beginner Technique)
How do I shape sourdough dough into a round loaf?
On this page
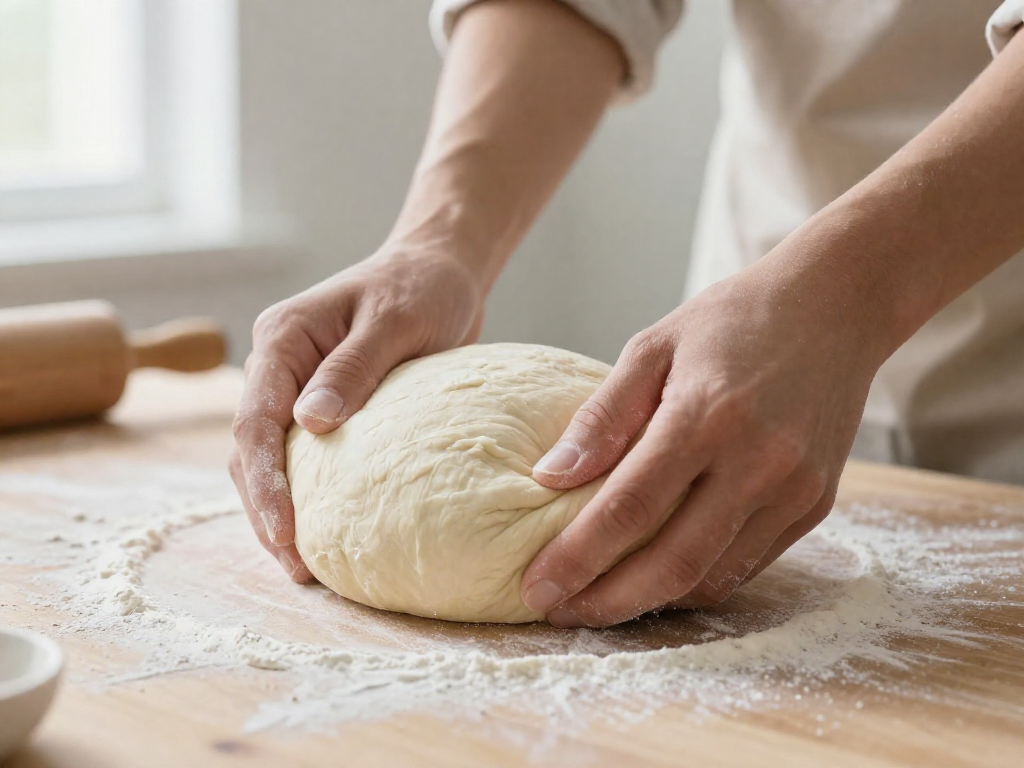
Open by naming the exact frustration—flat, spreading loaves—and reframe the fix as one skill: building surface tension. Promise a no-jargon, hands-on walkthrough that works even on the first try, and clarify that shaping (not the recipe) is usually what's holding a boule back.
What Shaping Actually Does (and Why Flat Loaves Happen)
The short version: shaping pulls the dough's surface tight so the loaf holds its height instead of spreading into a puddle. That taut "skin" is the whole game.
Think of it like inflating a balloon. The stretchy outer layer is what lets the balloon hold air under pressure. When you shape a boule (a round loaf), you're dragging the dough across the counter to stretch its outer surface into a smooth, tight skin. This is called surface tension. The tighter that skin, the more your dough stands up tall rather than oozing outward.
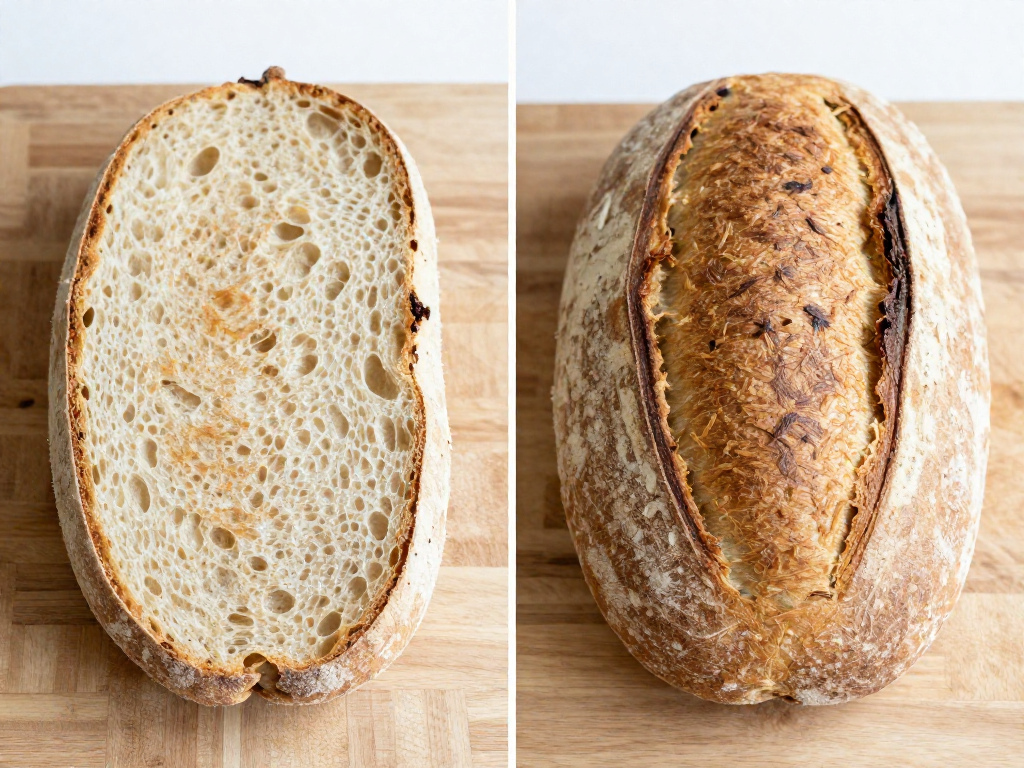
Here's why that matters in the oven. As the loaf bakes, trapped gas from fermentation expands and pushes upward — a burst of rise called oven spring. A tight skin traps that gas and channels it up, giving you a domed, open loaf. A loose, slack skin lets the gas escape sideways, and the loaf flattens.
That's exactly why under-shaped dough bakes into a flat, pancake-like boule. It wasn't a starter problem or a flour problem — there simply wasn't enough tension to hold the structure up.
Two shapes use the same idea:
- Boule — a round, ball-shaped loaf (French for "ball")
- Batard — an oval, torpedo-shaped loaf
This guide focuses on the boule, since the round shape is the easiest place to feel how tension works in your hands. Once the steps below make sense, you'll understand why each pull and tuck matters — not just memorize them.
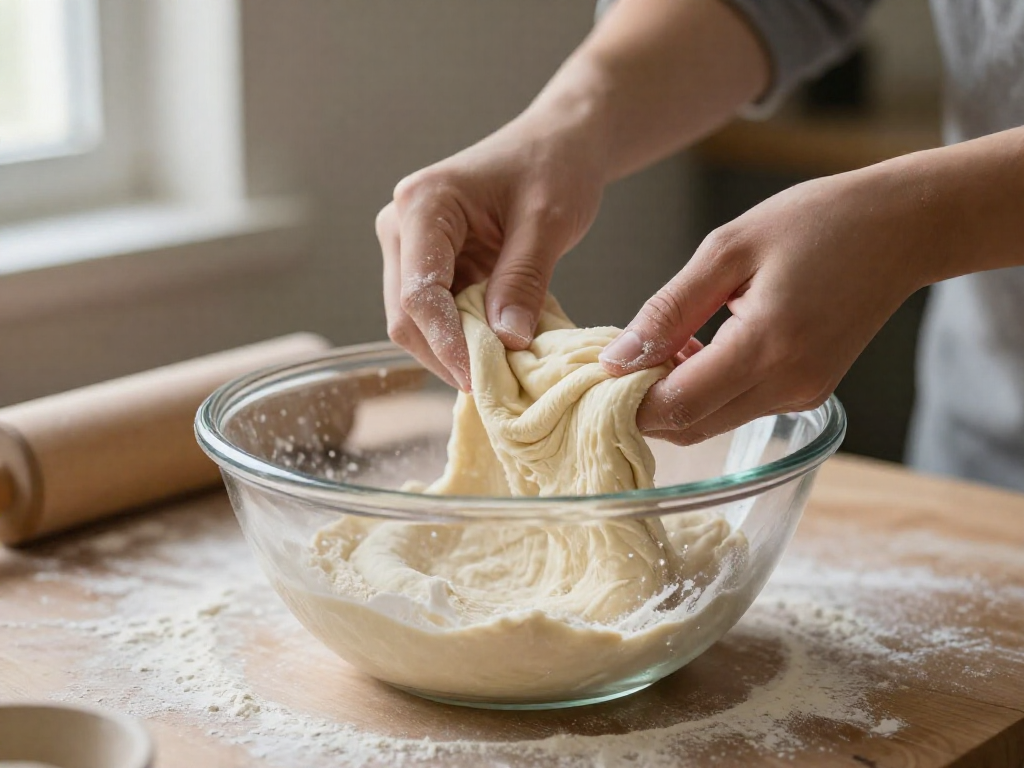
When Your Dough Is Ready to Shape
Shape when your dough has finished bulk fermentation (the first long rise after mixing, where wild yeast inflates the dough). Look for these cues:
- Risen 30–50% in volume (not doubled—doubled is often over-proofed for beginners)
- Puffy and domed on top, with a few bubbles visible on the surface and edges
- Jiggly, like a soft jelly, when you shake the bowl gently
- Pulls away from the side of the bowl cleanly
Why timing matters: Shape too early and the dough is weak and slack, so it spreads into a flat pancake. Shape too late (over-proofed) and the structure has collapsed, so it also spreads and bakes dense.
Bench rest first. After your rough "pre-shape," let the dough sit uncovered on the counter for 20–30 minutes. This relaxes the gluten so the dough is easier to shape tightly without tearing.
Note: timing varies with your kitchen temperature—watch the dough, not the clock.
Tools and Setup You Need (Minimal)
Good news: shaping needs almost nothing. Here's the short list:
- Bench scraper — a flat metal or plastic blade for lifting and turning sticky dough without tearing it. A wide spatula works in a pinch.
- A work surface — your counter, lightly floured.
- A banneton or a bowl — a banneton is a round proofing basket. No basket? Use a medium bowl lined with a flour-dusted kitchen towel.
Wet vs. dry surface: A bare, lightly floured surface gives the dough just enough grip to drag against the counter and build surface tension (the tight, smooth "skin" that helps the loaf rise up instead of out). Too much flour makes it slide and skid, so it never tightens.
Flour for dusting: Rice flour resists soaking into wet dough, so it keeps your dough from sticking to the banneton better than all-purpose. All-purpose works too, just dust a bit more generously.
Step-by-Step: How to Shape a Boule
A boule is simply a round loaf (French for "ball"). Shaping builds surface tension—a taut outer skin that holds the dough's structure so it rises up instead of spreading flat. Work gently and with intention; you're tightening the skin, not squeezing out the air. Total hands-on time is about 5 minutes, plus a 20–30 minute rest in the middle.
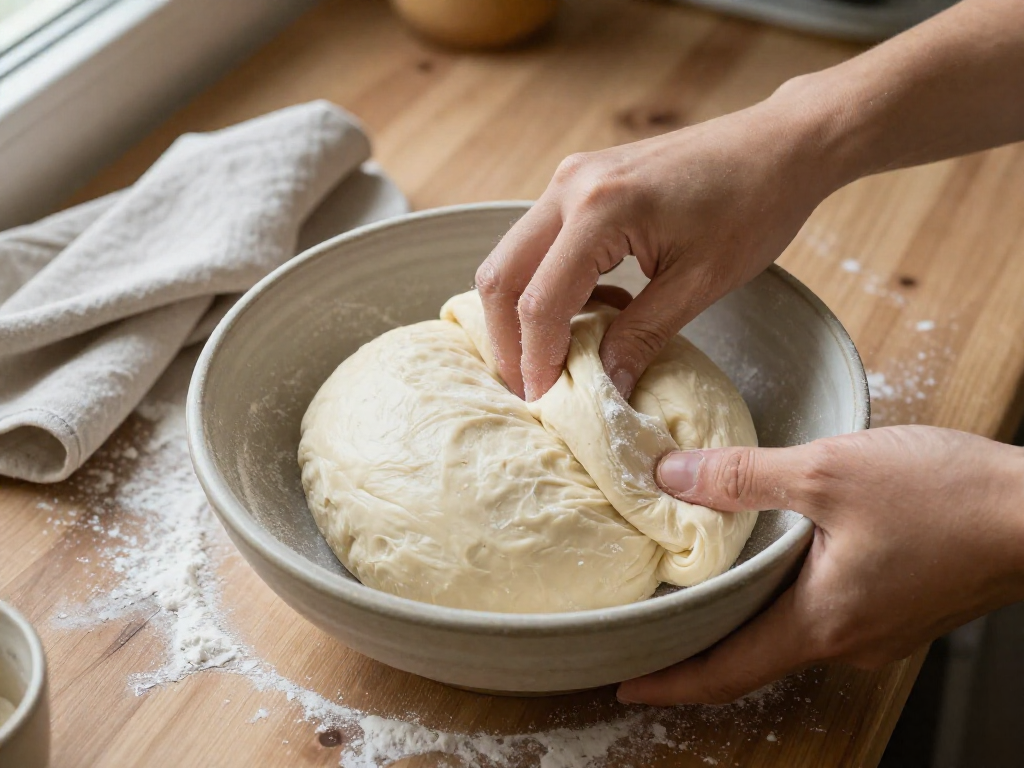
1. Pre-shape (round and rest)
Scrape your bulk-fermented dough onto a lightly floured counter. With a bench scraper or cupped hands, gently push the dough in a circular motion to gather it into a loose, rough ball. Don't tighten it yet—just bring it together.
- Rest 20–30 minutes, uncovered, seam-side down.
- Visual cue: The dough relaxes and spreads slightly but still holds a domed shape. If it flattens into a puddle, your dough may be over-fermented (see troubleshooting in earlier sections).
This rest lets the gluten relax so the final shape isn't fighting you.
2. Flour and flip
Lightly dust the top of the dough with flour. Slide your bench scraper underneath and flip it so the seam side faces up (the floured side now sits on the counter). The sticky, jiggly side is the one you'll fold.
3. Fold into a package
Imagine the round dough as a clock. Working around it:
- Grab the top edge, stretch it gently upward, and fold it into the center.
- Repeat with the bottom, then the left and right edges.
- Press each fold lightly so it sticks. You'll end up with a tidy little package with all the seams meeting in the middle.
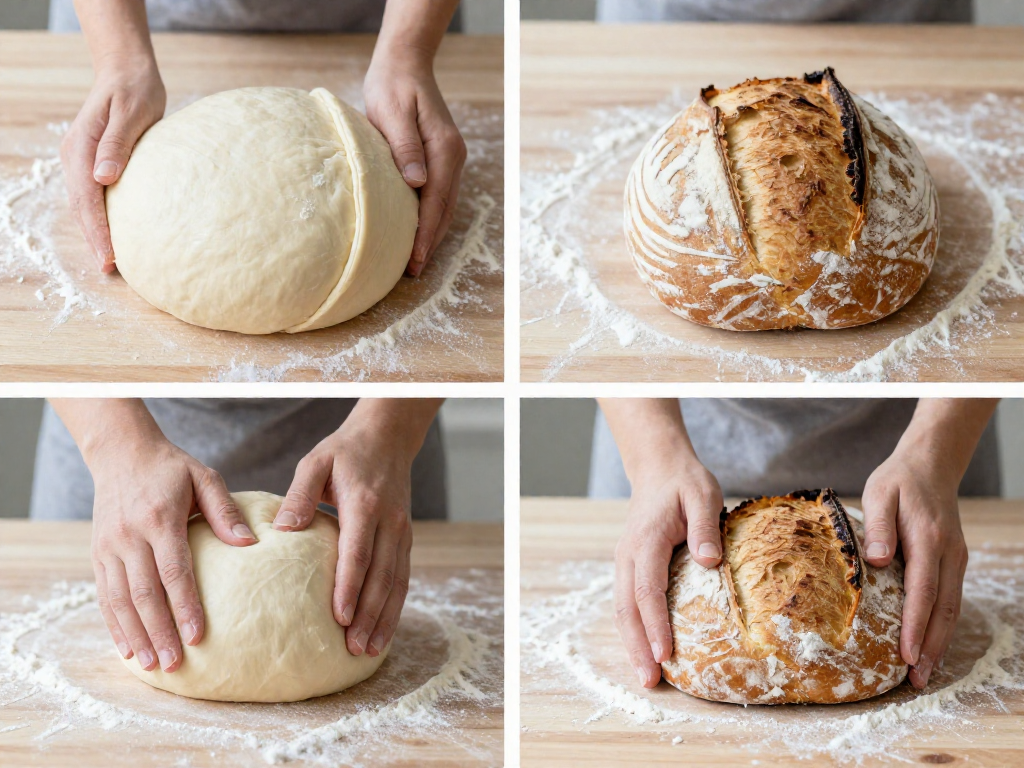
4. Flip and cup
Flip the package over so the seam side is down and the smooth side faces up. Cup both hands around the back of the dough, pinkies touching the counter.
5. Drag to build tension
This is the key move:
- Pull the dough toward you across the counter, letting the friction of the unfloured surface grip the bottom and tighten the skin.
- Rotate the dough a quarter-turn and drag again.
- Repeat 4–6 times until the surface is taut.
Tip: If the dough slides without gripping, you have too much flour on the counter. Wipe a small spot clean.
6. Check the tension
You've got it right when the surface is smooth, domed, and slightly resistant—a light poke should spring back slowly. If it's slack or wrinkled, drag a few more times.
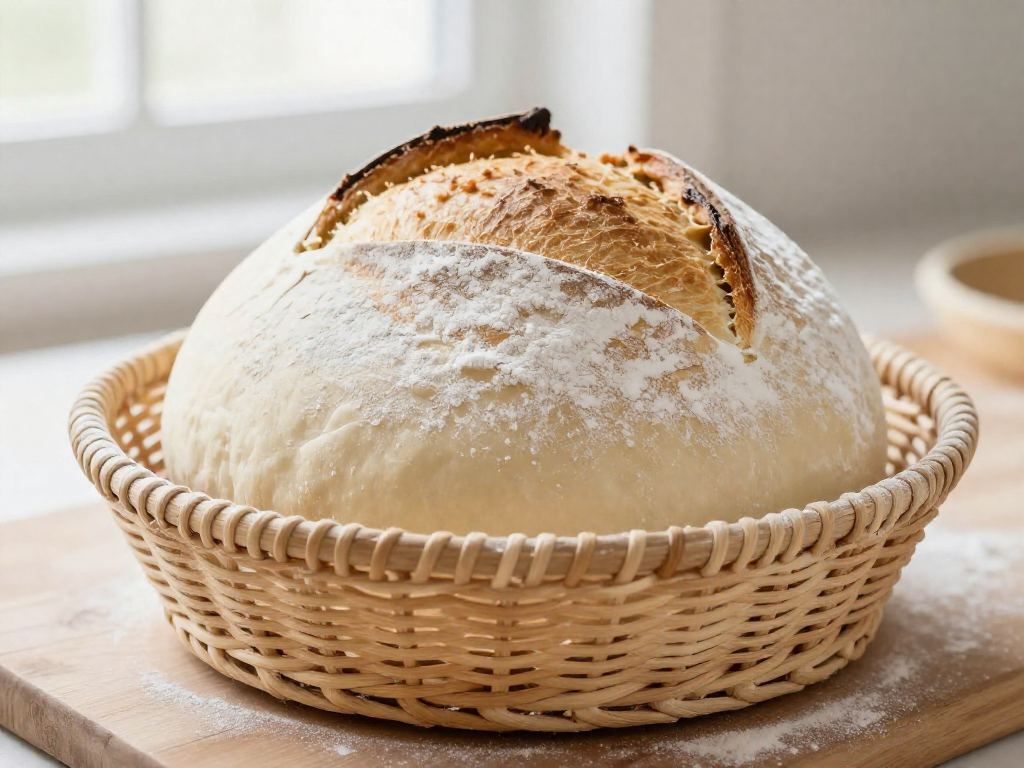
7. Into the banneton
Lightly flour the dough's top, then transfer it seam-side up into your floured banneton (proofing basket). Pinch any open seam closed. It's now ready for the final proof.
Results vary by flour, hydration, and kitchen temperature—expect to refine your touch over a few bakes.
Common Shaping Mistakes (and Quick Fixes)
If your boule (the round loaf shape) keeps fighting you, one of these five problems is almost always the cause. Find your symptom, apply the fix, and try again.
Too much flour on the surface → no grip, no tension. Flour on the top of the dough is fine, but flour on the bench under it acts like a lubricant, so the dough slides instead of gripping. Tension is the tightness in the dough's outer skin that helps it hold a round shape. Fix: Shape on a clean, dry, bare section of the counter. Only flour your hands lightly.
Skin tearing from over-tightening. If you drag too aggressively, the surface rips and gas escapes. Fix: Use slower, gentler pulls. Stop the moment you see the surface go smooth and slightly shiny—that's enough.
Sticky dough clinging to hands and bench. Common with higher-hydration dough (hydration = the weight of water as a percentage of flour weight). Fix: Lightly wet your hands with water instead of adding flour, and use a bench scraper to lift and fold rather than your fingers.
Loose, floppy dough that won't hold a ball. Usually under-developed gluten or over-fermented dough. Fix: Do a "pre-shape": gently round it, rest 20–30 minutes uncovered, then shape again to build structure.
Boule spreads flat after transfer to the banneton (proofing basket). The dough was too slack or the basket wasn't floured. Fix: Flour the banneton well, place the dough seam-side up, and chill 30+ minutes before baking to firm it up.
Results vary by kitchen temperature and flour, so adjust as you learn your dough.
After Shaping: Final Proof and Scoring Setup
Once your boule is shaped, place it seam-side up in a floured banneton (a proofing basket) and pick one of two paths for the final proof (the last rise before baking):
- Room-temp proof: Cover and rest 1–3 hours at ~70°F (21°C). Faster, but harder to time.
- Cold retard (recommended for beginners): Cover and refrigerate 8–16 hours. "Retard" just means slowing the rise in the fridge so you bake on your schedule and get easier scoring.
Confirm it's ready with the poke test: Lightly flour a finger and press the dough about ½ inch (1 cm).
- Springs back slowly, leaving a faint dent → ready to bake.
- Springs back instantly → needs more time (underproofed).
- Stays fully dented, no spring → overproofed; bake now.
Why seam-side up now? When you tip the basket onto your baking surface, the dough flips over—so the seam ends up seam-side down, giving a smooth top to score.
Up next: scoring and baking.
FAQ
Why does my sourdough boule spread flat instead of staying round?
A flat boule usually means the dough lacks surface tension or is over-proofed. To fix it: shape with a tighter pull (drag the dough across an unfloured patch of counter to build a taut skin), make sure your dough isn't over-fermented during bulk ferment (the first rise after mixing, when the dough roughly doubles and looks puffy with a few bubbles), and bake in a Dutch oven so the dough holds its shape. Very wet, slack doughs also spread more, so if you're a beginner, start with a lower-hydration dough (hydration = the weight of water as a percent of flour; aim for around 70% rather than 80%+). Quick check: a well-shaped boule should hold a domed, slightly springy shape that slowly relaxes, not puddle outward within a minute.
How tight should I shape a sourdough boule?
Aim for taut but not torn. The surface should feel smooth and slightly tight, like the skin of a balloon that's about 80% inflated. Drag the shaped dough across a clean, unfloured section of counter a few times so it grips and builds tension. If the surface tears or you see the dough ripping (a 'blowout'), you've gone too tight; let it rest 5 minutes and gently reshape. Visual cue: a properly tensioned boule will hold a round dome and bounce back slowly when you poke it. Too loose and it sags flat; too tight and the skin splits during baking instead of in your scored line.
Do I need a banneton to shape a boule?
No. A banneton (a coiled cane proofing basket) helps the dough hold a round shape during its final rise, but you can substitute a medium mixing bowl lined with a clean, well-floured kitchen towel. Dust the towel generously with rice flour or all-purpose flour so the dough releases cleanly. Place the shaped boule seam-side up in the bowl for the final proof, then tip it out onto parchment to bake. If your dough sticks, you didn't use enough flour on the towel. The basket is a convenience, not a requirement for a good loaf.
Should I shape my boule with wet or floured hands?
Lightly floured hands work best for shaping a boule. A small amount of flour on your hands and the counter keeps the dough from sticking while you build surface tension. Avoid wet hands for the final shape, because moisture makes the dough slip and prevents the taut skin you need to hold a round form. Use the unfloured part of the counter for the final tension drags so the dough can grip, and keep flour only on your hands and the dough's outer surface. A tip: too much flour and the seam won't seal; just a light dusting is enough.
How long should dough rest between pre-shape and final shape?
Rest the dough 20 to 30 minutes between pre-shape and final shape (this rest is called the bench rest). Pre-shaping gathers the dough into a loose round and starts building structure; the rest relaxes the gluten so the final shape goes smoothly without tearing. Cover the dough with a bowl or towel so it doesn't dry out. Visual cue: it's ready when the dough has relaxed and spread slightly but still holds a soft mound, not when it has flattened into a puddle. If it spreads out completely, your dough may be over-fermented; if it's still tight and resists, give it another 5 to 10 minutes.
Can I reshape my boule if the first attempt fails?
Yes, you can reshape once or twice if the first attempt is loose or lopsided. Let the dough rest 5 to 10 minutes first so the gluten relaxes, then reshape gently. Avoid reshaping repeatedly, because each handling degasses the dough and can tighten it too much, leading to a denser crumb. If the dough has already over-proofed (it feels slack, very jiggly, and won't hold tension no matter how you shape it), reshaping won't fully save it; bake it anyway as a flatter loaf and adjust your timing next bake. Results vary by kitchen temperature and flour, so treat each loaf as practice.
See also
- Beginner Sourdough Boule Recipe (Step-by-Step)
- How to Tell When Bulk Fermentation Is Done
- How to Score Sourdough Bread for Beginners
- Sourdough Troubleshooting: Why Is My Loaf Flat and Dense?
- How to Make a Sourdough Starter from Scratch
Related articles
Sourdough Pizza Dough for Beginners: A Forgiving Way to Practice Shaping
Can I use my sourdough starter to make pizza dough, and is it easier than a loaf?
Jul 20, 2026 · 9 min read
The Hardest Loaf to Mess Up: A 60% Hydration Sourdough for Absolute Beginners
What is the easiest sourdough bread recipe that minimizes handling and hydration issues?
Jul 20, 2026 · 8 min read
How to Store Sourdough Bread So It Stays Fresh
Learn how to store sourdough bread so it stays fresh for days, how to freeze loaves and slices, and how to revive a stale crust. Simple beginner steps.
Jun 29, 2026 · 9 min read