5 Beginner Sourdough Recipes to Bake in Your First Month
Which sourdough recipes should I try first as a beginner?
On this page
Open by naming the beginner's real fear: wasting flour and time on a flat, gummy loaf. Reassure that the fix is sequencing—doing the right recipes in the right order. Frame the article as a 4-week confidence-building path where each recipe teaches one new skill before adding complexity, so the reader never feels overwhelmed.
Before You Start: What Your First Month Actually Needs
You need far less than the internet suggests. Here's the short list before recipe #1.
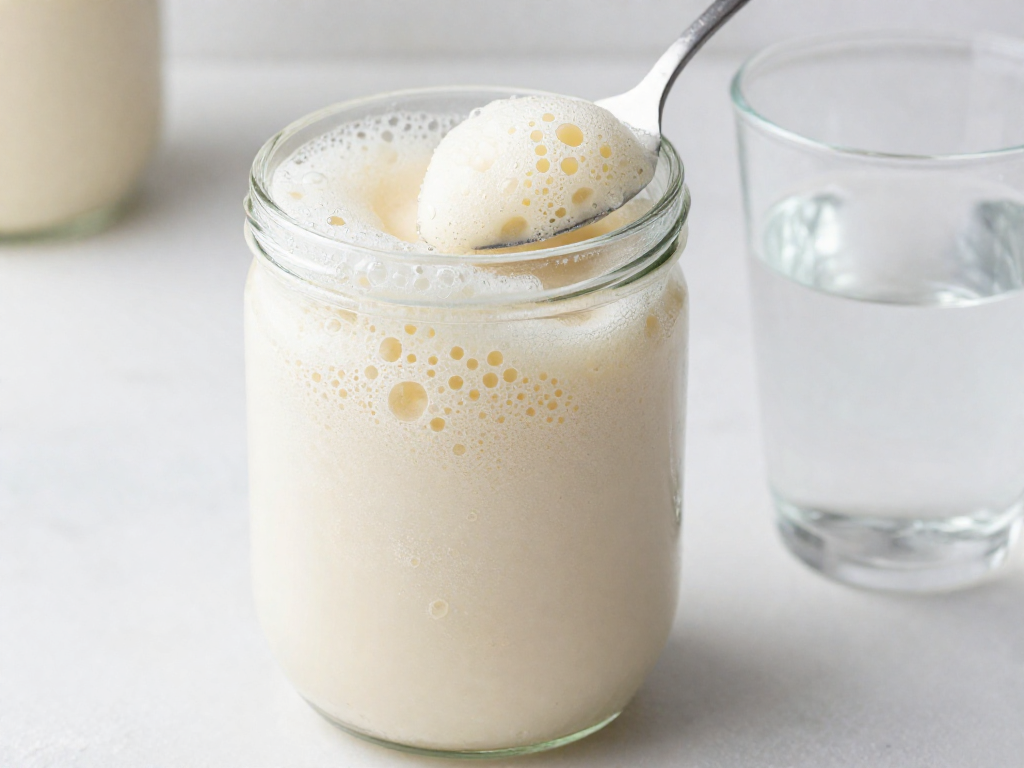
The one non-negotiable: an active starter. This is the living mix of flour and water that replaces commercial yeast. It's ready when it doubles in size 4–6 hours after feeding and passes the float test—drop a teaspoon into water, and if it floats, it's bubbly enough to bake with. If it sinks or barely rises, feed it again and wait. Everything else is optional; this isn't.
Your minimal tool list:
- A Dutch oven (traps steam for a good crust) or a simple loaf pan
- A kitchen scale—this matters more than any fancy gadget
- A banneton (proofing basket) or just a bowl lined with a floured towel
Why weigh, not measure cups. A cup of flour can vary by 30+ grams depending on how you scoop. That swing alone causes dense, gummy loaves. Grams give you the same dough every time, so when something goes wrong you can actually fix it.
Relax about timing. Sourdough is forgiving. If life interrupts, put the dough in the fridge—cold slows fermentation way down, letting you pause for hours without ruining anything.
Recipe 1: No-Knead Beginner Sourdough Loaf

Start here. This loaf skips kneading entirely, uses a forgiving dough, and asks you to watch the dough instead of the clock—so a slow kitchen won't ruin it.
Why it's the ideal first bake: The hydration (the amount of water relative to flour, by weight) is moderate at about 70%, so the dough is soft but manageable. There's no tight shaping to master, which removes the biggest source of beginner stress.
What it teaches: Reading the bulk ferment—the first long rise after mixing, when your starter raises the whole batch of dough. You'll learn to judge readiness by how the dough looks and feels, not by a timer.
The ratio (makes one loaf)
| Ingredient | Grams | Cups (approx) |
|---|---|---|
| Bread flour | 500 g | 4 cups |
| Water (warm) | 350 g | 1½ cups |
| Active starter | 100 g | ½ cup |
| Salt | 10 g | 1¾ tsp |
Basic schedule
- Mix everything into a shaggy ball. Rest 1 hour.
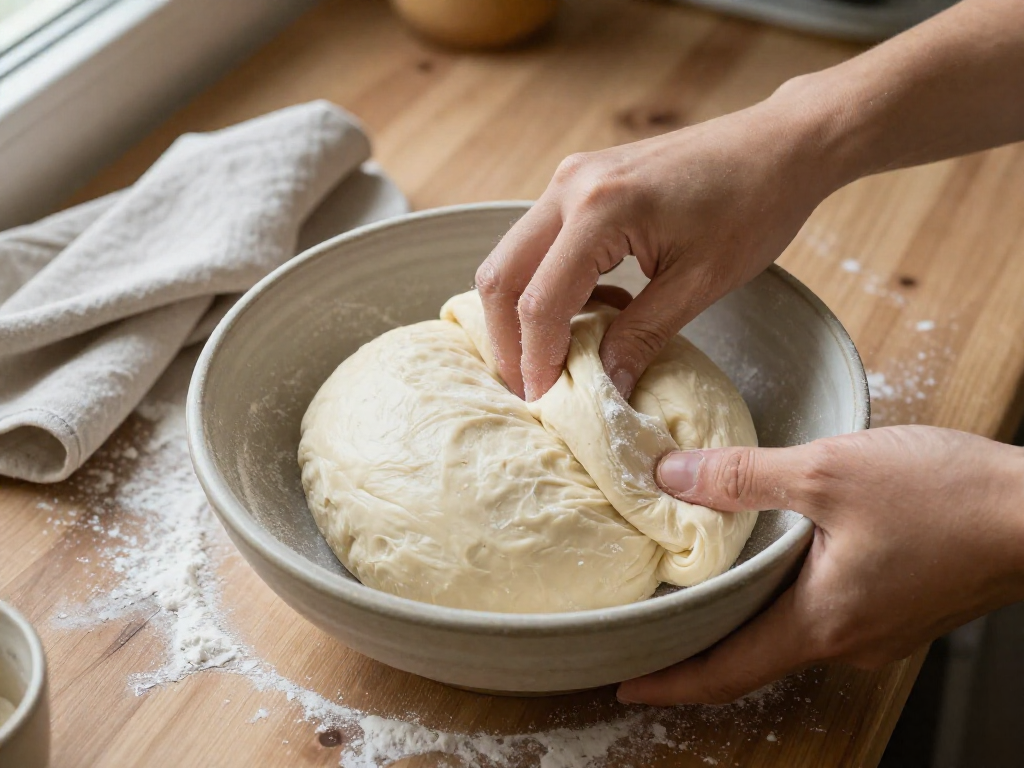
- Fold the dough over itself 3–4 times, once every 30–45 minutes during the first 2 hours.
- Bulk ferment at room temperature until the dough is puffy, jiggly, and has grown by about 50%, with a few bubbles on the surface (roughly 4–8 hours).
- Cold-proof in the fridge overnight (8–14 hours).
- Bake in a preheated Dutch oven at 230°C / 450°F: 20 minutes covered, 20–25 minutes uncovered until deep golden-brown.
What "good enough" looks like: A loaf that holds its round shape, sounds hollow when tapped on the bottom, and shows an open-but-uneven crumb. It won't be a bakery loaf—and it doesn't need to be. A sliceable, tangy, non-gummy loaf is a real first win. Results vary with your kitchen's temperature, so trust the dough cues over the times above.
Recipe 2: Everyday Sandwich Sourdough (Loaf Pan)
This is the loaf to bake when free-form shaping feels scary. You drop the dough into a standard loaf pan, and the walls do the shaping for you—no tight surface tension, no scoring, no peel. The result is a soft, even crumb (the holes inside the bread) that's perfect for toast and sandwiches, even for picky eaters.
Why the pan forgives beginners: A loaf pan holds the dough's sides up, so even if your gluten (the stretchy protein network that traps gas) is underdeveloped, the loaf still rises tall instead of spreading flat.
Ingredients
| Ingredient | Grams | Cups (approx.) |
|---|---|---|
| Bread flour | 450 g | 3¾ cups |
| Water (lukewarm) | 320 g | 1⅓ cups |
| Active starter | 90 g | scant ½ cup |
| Salt | 9 g | 1½ tsp |
| Soft butter (optional) | 25 g | 2 tbsp |
This is about 71% hydration (water weight ÷ flour weight = how wet the dough is). It stays soft but manageable.
Timing Schedule
- 9:00 a.m. — Mix everything; rest 1 hour.
- 10:00 a.m.–1:00 p.m. — Bulk ferment (the first long rise) with 3 gentle folds, 30 min apart. Look for a 50% rise and a few surface bubbles.
- 1:00 p.m. — Gently roll into a log, seam-side down in a buttered pan.
- 1:30–4:00 p.m. — Rise until dough domes just above the rim.
- Bake — 425°F (220°C), 40–45 min, until deep golden and 205°F (96°C) inside.
Troubleshooting
- Gummy crumb: Underbaked—bake to internal temp and cool fully before slicing.
- Dense, short loaf: Starter wasn't active, or rise was too short—wait for the dome.
- Pale, soft crust: Oven too cool—preheat fully and extend bake 5 min.
Results vary by kitchen temperature, so trust the visual cues over the clock.
Recipe 3: Sourdough Focaccia
If one recipe is going to build your confidence fast, it's this one. Focaccia is nearly foolproof: there's no shaping, no scoring, and no transferring a fragile loaf. You mix, fold, and bake it right in the pan.
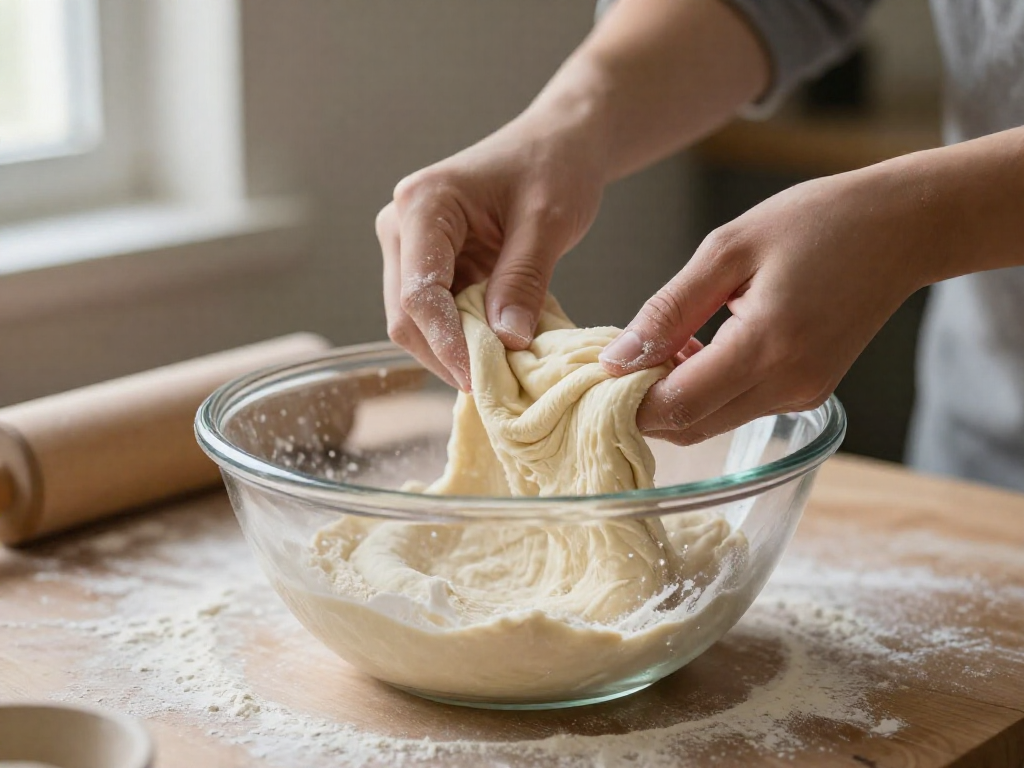
This is also the recipe that teaches you to stop fearing high-hydration dough (dough with a lot of water relative to flour—this one is sticky and loose on purpose). Wet hands are your friend here, and the signature finger-dimpling means a few pokes in the surface before baking.
Ingredients
| Ingredient | Grams | Cups |
|---|---|---|
| Bread flour | 400 g | 3⅓ cups |
| Water (warm) | 320 g | 1⅓ cups |
| Active starter | 80 g | ⅓ cup |
| Salt | 9 g | 1½ tsp |
| Olive oil (for pan + top) | 40 g | 3 tbsp |
Timing at a Glance
- 9:00 AM – Mix dough until no dry flour remains; it will be shaggy and wet.
- 9:30 AM–1:30 PM – Bulk ferment (the first long rise where the dough develops flavor and gas). Do 3–4 sets of stretch-and-folds in the first 2 hours.
- 1:30 PM – Transfer to an oiled pan, cover, rest 1–2 hours until puffy and jiggly.
- 3:00 PM – Dimple, top, and bake at 220°C / 425°F for 22–28 minutes until deep golden.
Topping Ideas
Cherry tomatoes and rosemary, thin lemon slices, or red onion with flaky salt all make it Pinterest-worthy. Press toppings into the dimples so they stay put.
Because it's served from the pan and slices into shareable squares, this is the recipe to bring to a gathering. Results vary by kitchen and climate, so watch the dough, not just the clock.
Quick troubleshooting: Gummy center? It was underbaked—give it 5 more minutes. Flat and dense? Your starter likely wasn't active, or the bulk ferment was too short.
Recipe 4: Classic Boule with Scoring
This is the round, rustic loaf most people picture when they hear "sourdough." You already know fermentation from Recipes 1–3, so the only new skills here are shaping (building tension on the dough's surface so it rises up, not out) and scoring (slashing the top so the loaf expands where you want it to).
Ingredients
| Ingredient | Grams | Cups (approx.) |
|---|---|---|
| Bread flour | 450 g | 3¾ cups |
| Water | 320 g | 1⅓ cups |
| Active starter | 90 g | ⅓ cup |
| Salt | 9 g | 1½ tsp |
This is about 71% hydration (water weight ÷ flour weight) — slightly stiffer than the no-knead loaf, which makes shaping easier for your first try.
Timing schedule
- Morning: Mix, then rest 1 hour.
- Mid-morning to afternoon: Bulk ferment 4–6 hours (the dough should grow ~50% and look puffy and domed). Bulk ferment = the main rise before shaping.
- Late afternoon: Shape into a tight ball, then cold-proof in the fridge overnight (12–16 hours).
- Next morning: Bake straight from the fridge.
Shaping and scoring
Cold-proofing overnight firms the dough so it holds its shape and scores cleanly — warm dough drags and tears. Pull the dough into a round, then drag it across the counter to build a taut "skin." Just before baking, hold a sharp blade at a low angle and make one confident slash, about ¼ inch deep.
Bake in a Dutch oven at 245°C / 475°F: 20 minutes covered (the lid traps steam for a tall oven spring and a crisp "ear"), then 20–25 minutes uncovered until deep golden.
Troubleshooting
| Symptom | Likely cause | Fix |
|---|---|---|
| Loaf spread flat | Weak surface tension or over-proofed | Shape tighter; shorten bulk ferment |
| Score sealed shut, no ear | Dough too warm or cut too shallow | Cold-proof fully; cut deeper at a low angle |
| Gummy crumb | Sliced while hot | Cool at least 2 hours before cutting |
Honest expectation: your first slashes will probably look ragged, and the ear may be small or uneven. That's normal — tension and a steady hand come with practice, and the loaf will still taste great.
Recipe 5: Same-Day Discard Bread or Simple Batard
By now you've baked four loaves and probably have a jar of discard (the portion of starter you'd normally throw away when feeding it) building up in the fridge. This last recipe puts it to work, so nothing is wasted.
Quick Recipe
| Ingredient | Grams | Cups (approx.) |
|---|---|---|
| Bread flour | 400 g | 3⅓ cups |
| Starter discard | 150 g | ¾ cup |
| Water (lukewarm) | 260 g | 1 cup + 2 Tbsp |
| Salt | 9 g | 1½ tsp |
Timing schedule
- 0:00 — Mix everything; rest 30 min.
- 0:30–4:30 — Bulk ferment at room temp. Cue: dough rises ~50% and feels airy.
- 4:30 — Shape into a batard (an oval loaf). Cue: surface holds tension and doesn't slump.
- 4:45–5:45 — Final rise. Cue: dough springs back slowly when poked.
- 5:45 — Score, then bake at 230°C (450°F): 20 min covered, 20 min uncovered.
Why this is the right place to stop
This recipe makes you combine shaping and flexible timing on your own—the two skills earlier recipes trained separately. Once you can do that, you've touched every core beginner technique: mixing, bulk fermenting, shaping, scoring, and baking.
Where to go next: start tweaking one variable at a time—higher hydration (more water relative to flour), longer cold ferments, or whole-grain flours.
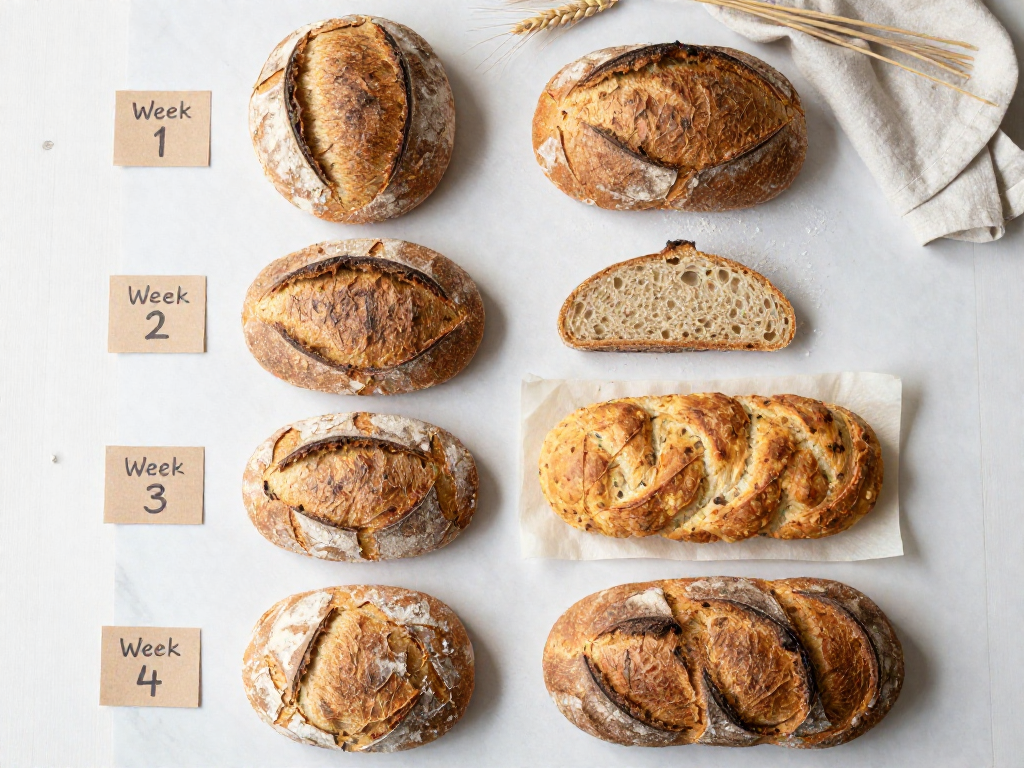
Your 4-Week Baking Plan at a Glance
Here's the order to bake these five recipes so each one adds just one new skill. Follow it top to bottom and you'll go from a hands-off first loaf to confident scoring by the end of the month.
| Week | Recipe | New skill you'll practice |
|---|---|---|
| Week 1 | No-Knead Loaf | Mixing dough and reading a basic timing schedule |
| Week 2 | Sandwich Loaf | Shaping into a loaf pan for an even, sliceable crumb |
| Week 3 | Focaccia | Handling wetter, higher-hydration dough (more water relative to flour) |
| Week 4 | Boule, then Discard Bread | Shaping a round loaf and scoring it; then using leftover starter (discard) with no waste |
Each recipe builds on the last, so bake them in this order rather than jumping ahead. Pin this table and check off a week as you go—results will vary with your kitchen's temperature and your flour, so treat it as a path, not a promise.
See also
- How to Make a Sourdough Starter from Scratch
- Sourdough Troubleshooting: Why Is My Loaf Dense or Gummy?
- Sourdough Hydration Explained for Beginners
- Essential Sourdough Tools for Beginners
- What to Do With Sourdough Discard
Related articles
Sourdough Pizza Dough for Beginners: A Forgiving Way to Practice Shaping
Can I use my sourdough starter to make pizza dough, and is it easier than a loaf?
Jul 20, 2026 · 9 min read
The Hardest Loaf to Mess Up: A 60% Hydration Sourdough for Absolute Beginners
What is the easiest sourdough bread recipe that minimizes handling and hydration issues?
Jul 20, 2026 · 8 min read
How to Store Sourdough Bread So It Stays Fresh
Learn how to store sourdough bread so it stays fresh for days, how to freeze loaves and slices, and how to revive a stale crust. Simple beginner steps.
Jun 29, 2026 · 9 min read