Why Your Sourdough Starter Isn't Rising (7 Causes and Fixes)
Why won't my sourdough starter rise or bubble?
On this page
First, Is Your Starter Actually Failing?
Before you toss anything, confirm your starter is truly struggling. Many "dead" starters are just behaving normally.
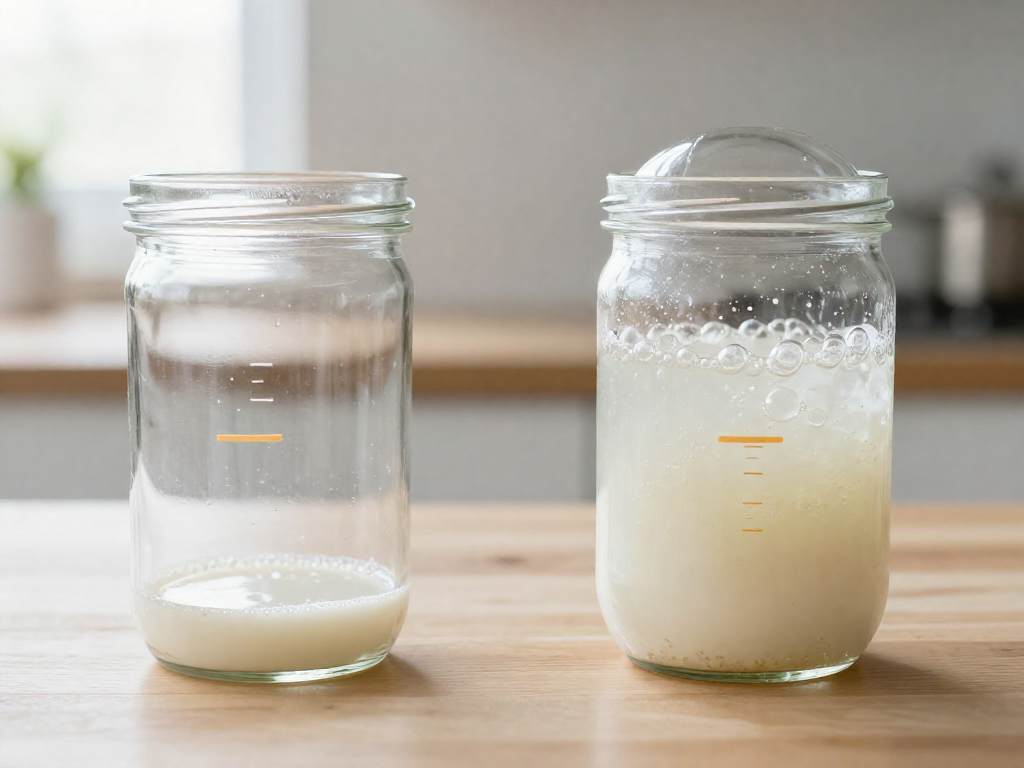
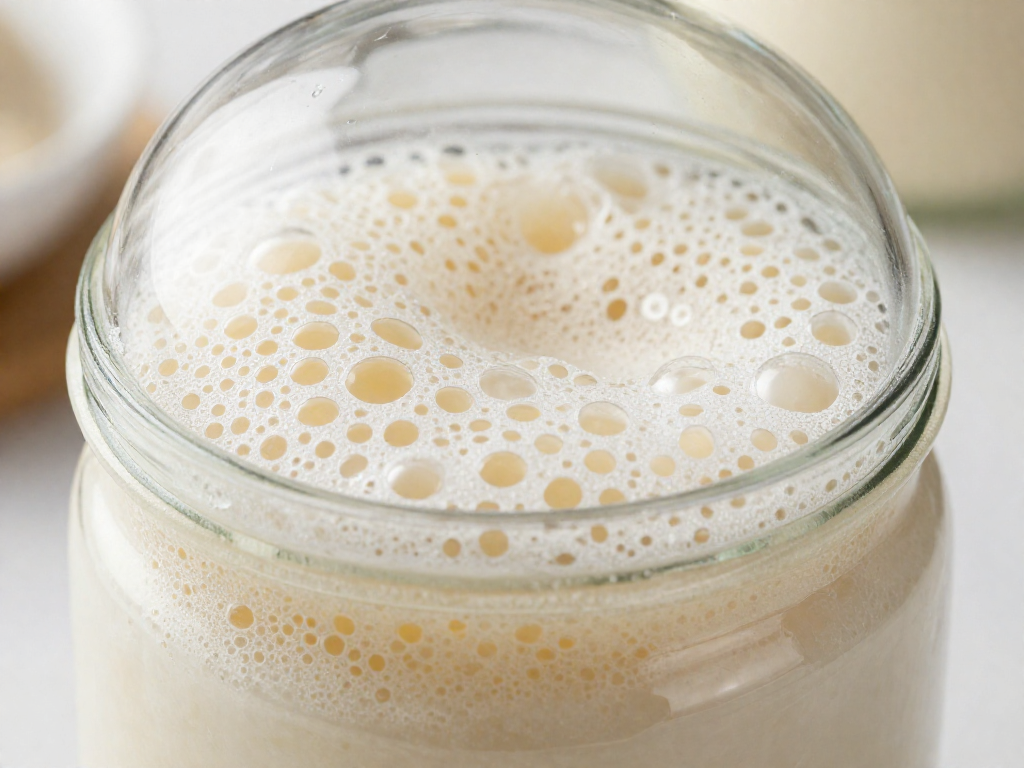
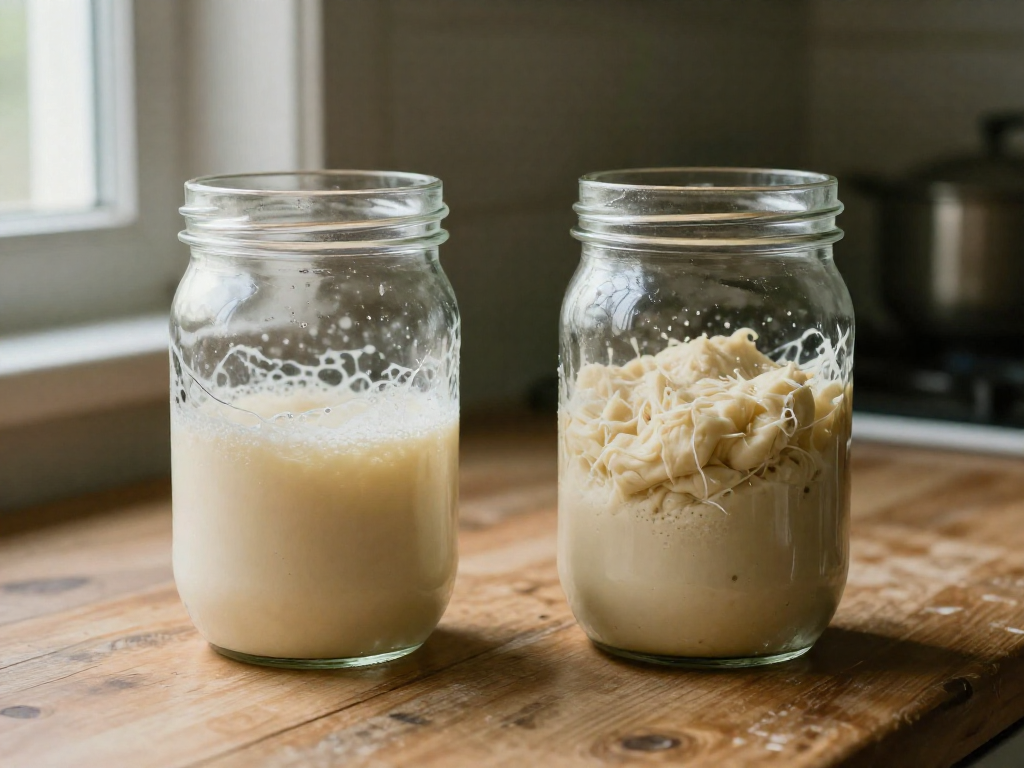
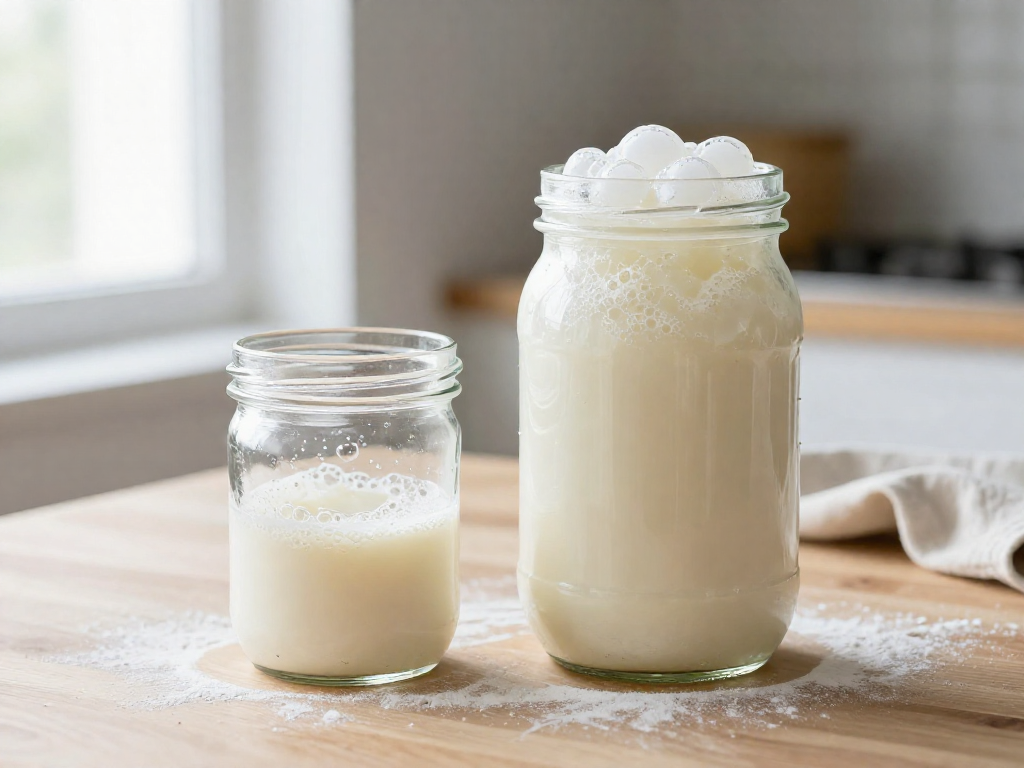
What a healthy rise looks like: A mature, active starter should roughly double in volume within 4–8 hours after feeding, with a domed top covered in bubbles. After it peaks, it sinks back down—that's expected, not failure.
If your starter is brand new, relax. It's completely normal for a starter to surge with bubbles around days 2–3 (a "false rise" caused by the wrong bacteria), then go quiet and seem stalled around days 3–5. This pause is part of the process. Most starters take 1–2 weeks to become reliably active.
Track the rise instead of guessing:
- Rubber band test: Wrap a rubber band around the jar at the level of the starter right after feeding. Now you can see exactly how much it climbs.
- Float test: Drop a small spoonful into water. If it floats, it's full of gas and likely ready to bake with. (A sinking starter isn't necessarily bad—just not at peak.)
Be patient if: your starter is under two weeks old, or you've recently changed flour or kitchen temperature. Start troubleshooting if: a previously active starter (2+ weeks old) hasn't risen at all in 24 hours despite regular feedings. If that's you, keep reading.
Cause 1: Your Kitchen Is Too Cold
If your starter looks sluggish, temperature is the first thing to check—it's the single most common reason a starter won't rise. Wild yeast and bacteria (the microbes that make your starter bubble and grow) are slow and lazy when they're cold.
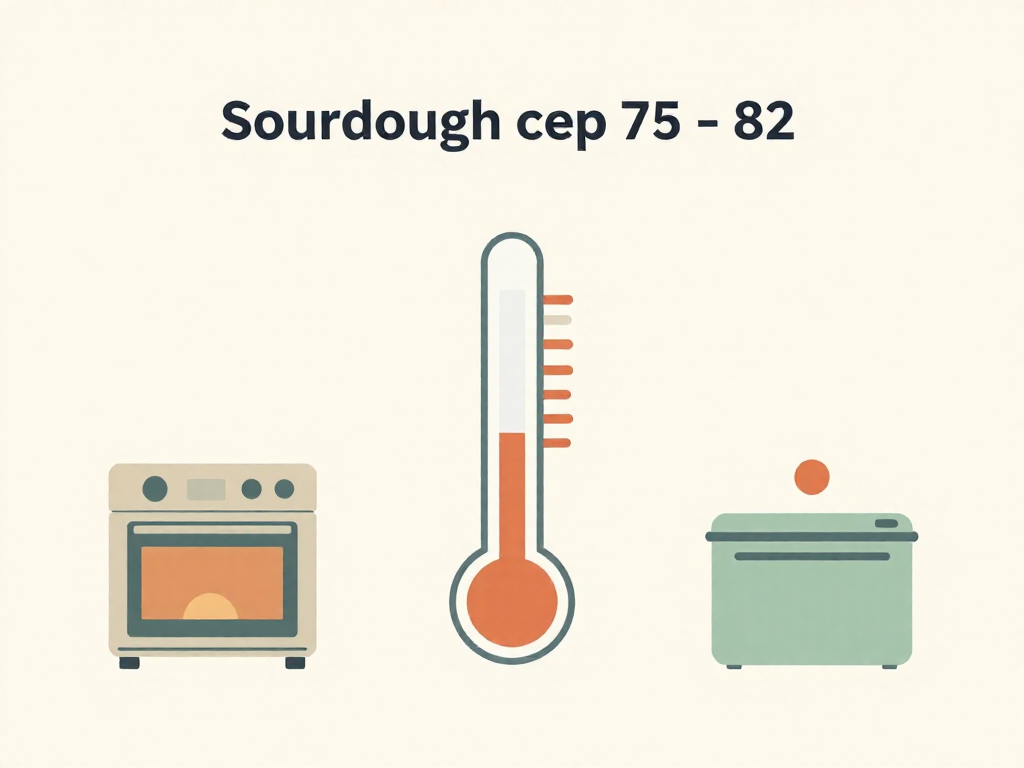
The quick fix: Move your starter somewhere warm, between 75–82°F (24–28°C), and watch it for the next 8–12 hours.
Where to find a warm spot
Try any of these, from easiest to most reliable:
- Oven with the light on (oven OFF): The bulb alone often holds the inside around 75–80°F. Stick a thermometer in to confirm, since some ovens run warmer.
- Top of the fridge: Warm air rises here, and the motor gives off gentle heat.
- Near (not on) the stove: A spot warmed by cooking earlier in the day works well.
- Inside a turned-off microwave with a cup of just-boiled water: The steam warms the enclosed space.
- A seedling heat mat or proofing box: The most consistent option if you want to keep baking through winter.
Avoid placing the jar directly on a hot surface or radiator—above ~95°F you can harm the culture.
How to tell cold is the culprit
Cold doesn't kill a healthy starter; it just slows it down. Look for these signs:
- Slow but steady bubbles appearing over many hours, not stalling completely.
- A delayed rise—your starter eventually doubles, but it takes 12+ hours instead of 4–8.
- Faster activity once warmed. Move it somewhere warm and recheck; if it perks up within a day, temperature was the problem.
Quick test: Mark the jar's starting level with a rubber band. If it climbs noticeably overnight in a warm spot, you've found your fix.
Results vary by flour and climate, so use these temperatures as a starting point and adjust to what your starter shows you.
Cause 2: You're Not Feeding It Often Enough (or Enough)
A starter is a living colony of wild yeast and bacteria, and they eat the flour you give them. Feed too little or too rarely and they run out of food, go dormant, and stop rising. This is one of the most common reasons a starter looks dead.
Signs your starter is hungry:
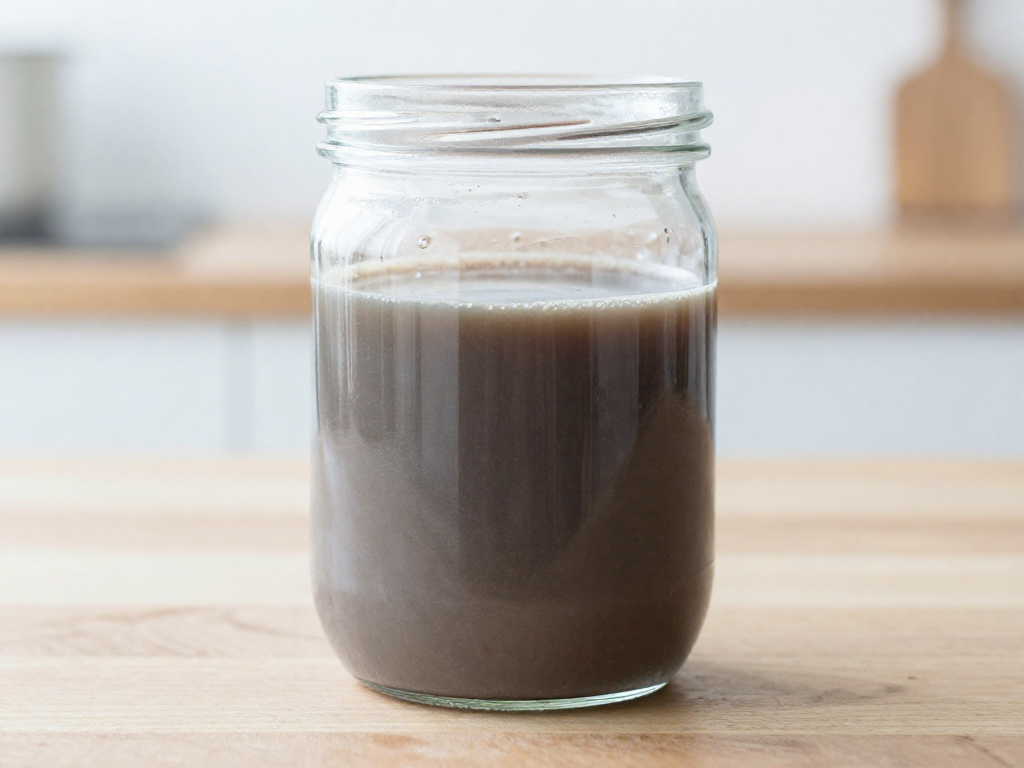
- A layer of grey or brown liquid on top, called hooch (this is alcohol the yeast produces when starving — pour it off or stir it in)
- A sharp, sour, or acetone/nail-polish smell instead of a pleasant tangy-yeasty one
- A weak, slow rise, or no rise at all
The fix: feed it on a simple 1:1:1 ratio. That means equal parts starter, flour, and water by weight (not volume). A reliable beginner feed:
- 50 g existing starter
- 50 g flour (all-purpose or bread flour)
- 50 g lukewarm water (around 26°C / 80°F)
Use a kitchen scale — measuring by grams is far more consistent than cups for starters. Stir until no dry flour remains, then mark the jar level with a rubber band so you can track the rise.
How often to feed:
- At room temperature (around 21°C / 70°F): feed once or twice a day. The starter is active and burns through food quickly.
- In the fridge: feed about once a week. The cold slows the yeast down, so it eats much more slowly.
To revive a starved starter: discard all but about 50 g, then feed it 50 g flour and 50 g water once or twice daily. Keep it at room temperature and watch for it to roughly double within 4–8 hours after feeding. Once it doubles reliably for two or three days in a row, it's strong enough to bake with.
Results vary with your flour, water, and kitchen temperature, so use the rise and smell as your real guides rather than the clock alone.
Cause 3: Your Flour Isn't Giving It Enough to Eat
The quick fix: Feed your starter with 25–50% whole grain flour (whole wheat or rye) for the next 2–3 feedings. Many sluggish starters wake up within a day or two of this change.
Your starter is alive, and like anything alive, it needs good food. The wild yeast and bacteria in it ferment the sugars and starches in flour. If the flour is poor quality or stripped of nutrients, fermentation (the bubbling, rising process that makes your starter active) slows down or stalls.
Why all-purpose and bleached flour can struggle:
- Bleached flour is chemically treated, which can strip nutrients and microbes that help kick-start fermentation. Switch to unbleached flour.
- Plain all-purpose flour works, but it's low in the minerals and wild yeast your starter loves, so it can be slow.
Why whole grain flour helps: Whole wheat and rye flours keep the bran and germ (the nutrient-rich outer layers of the grain). These carry extra wild yeast, enzymes, and minerals that supercharge activity. Rye is especially powerful.
The feeding fix (by weight):
| Ingredient | Grams | Cups (approx.) |
|---|---|---|
| Existing starter | 50 g | ~1/4 cup |
| Whole wheat or rye flour | 25 g | ~3 tbsp |
| Unbleached all-purpose | 25 g | ~3 tbsp |
| Filtered water (room temp) | 50 g | ~3.5 tbsp |
What to watch for: Within 4–8 hours you should see more bubbles and some rise. Timing varies by kitchen temperature.
Also check your flour itself: Old flour loses potency, and rancid flour smells stale or bitter. If yours has been open for months, buy a fresh bag of unbleached or whole grain flour and try again.
Cause 4: Your Water Is Working Against You
If your starter still won't rise after fixing temperature and feeding, look at what you're mixing it with. Most city tap water contains chlorine or chloramine—disinfectants that keep drinking water safe but also suppress the wild yeast and bacteria (the living microbes that make your starter bubble and grow). Strong enough doses can stall fermentation or even kill an already-weak starter.
Water temperature matters too. Too hot and you cook the microbes; too cold and they go sluggish. Aim for lukewarm water around 80°F (27°C)—it should feel barely warm on your wrist, never hot.
The quick fix: Stop feeding straight from the tap and switch to water that won't fight your starter.
- Filtered water (a fridge pitcher or faucet filter works) — removes most chlorine.
- Bottled spring water — reliable, no treatment needed.
- Dechlorinated tap water — pour tap water into an open container and leave it on the counter overnight. Chlorine evaporates within 12–24 hours. (Note: this does not remove chloramine, common in many cities—use filtered or bottled if you're unsure.)
Try this for two or three feedings. If you start seeing more bubbles and a taller rise, water was likely part of the problem.
Cause 5: You're Reading the Rise Wrong (Timing & Container)
Sometimes your starter is rising—you're just not there to see it. A healthy, well-fed starter can double, peak, and then deflate back down all within a few hours. If you only check it twice a day, you can easily miss that peak and find a flat surface that looks "dead" when it actually did its job hours ago.
The fix: catch the peak. After you feed your starter, check it every 2–4 hours so you can see how high it climbs and when it starts to fall. Most beginner starters peak somewhere between 4 and 8 hours after feeding, but yours depends on your kitchen temperature and flour.
To make the rise easy to see:
- Use a tall, straight-sided jar. Sloped or wide bowls hide the rise. Straight sides show a clear, measurable climb.
- Mark the starting level. Right after feeding, put a rubber band or a strip of tape at the top of the starter. When it reaches roughly double that line, it's at or near peak.
- Write down the peak time. Once you know it peaks at, say, 6 hours, you can feed it on a schedule and use it for baking right when it's strongest.
A starter at its peak looks domed, bubbly, and smells pleasantly tangy—not flat and watery. Results vary by kitchen and climate, so use your own marks and timing rather than a fixed clock.
Cause 6: It's Too Young (Give It Time)
The fix: If your starter is under two weeks old, keep feeding it on schedule and wait. It probably isn't broken—it's just not mature yet.
A new starter typically needs 1–2+ weeks of consistent feedings before it rises reliably. The wild yeast (the microbes that make your starter rise) takes time to outgrow the early bacteria.
Many beginners panic around day 4 or 5. Here's why: that big rise you saw on day 3 usually comes from bacteria, not yeast. It's normal for the starter to then go quiet for several days—the "false start" stall fools almost everyone.
The single most helpful habit is consistency, not intervention. Resist the urge to switch flours, add yeast, or change your routine. Feed on the same schedule and give it time.
What progress looks like week by week:
- Days 1–3: Early bubbles, possibly a big bacterial rise, sometimes a sharp smell.
- Days 4–7: Often quiet and discouraging—this is normal.
- Days 7–14: Bubbles return, a tangy-yeasty smell develops, and rises become more predictable.
Results vary by kitchen temperature and flour, so use these as rough guides, not deadlines.
Cause 7: Hydration or Ratio Is Off
This one is rare, but if you've ruled out the first six causes, check your consistency. Hydration simply means how much water your starter holds compared to flour, by weight. A starter that's too thick or too thin ferments unevenly and can look like it isn't rising.
The quick fix: feed by weight, not by eye. Use a kitchen scale and stick to a measured ratio every time.
A reliable beginner ratio (1:1:1 at 100% hydration):
- 50 g (about 1/4 cup) existing starter
- 50 g (about 1/3 cup) flour
- 50 g (about 3 1/2 tablespoons) water
"100% hydration" just means equal weights of flour and water. The result should look like a thick batter or soft pancake dough — pourable but not runny.
Why this matters: Dumping in lots of fresh flour relative to your starter dilutes the active microbes, so the rise slows or stalls. If yours looks stiff like bread dough or thin like milk, adjust water or flour back toward equal weights.
Results vary by flour and kitchen, so give an adjusted starter 2–3 feeds to settle before judging it.
Quick Diagnostic Checklist
Save this checklist and run through it top to bottom—the causes are listed from most to least common.
- Too cold? If your kitchen is below 75°F (24°C), your starter is just sluggish, not dead. This is the #1 culprit.
- Underfed? Feed once or twice a day on a consistent schedule. Skipping days stalls activity.
- Weak flour? Switch to (or add) whole wheat or rye for more food and natural yeast.
- Bad water? Chlorinated tap water can slow things down. Use filtered or leave tap water out overnight.
- Misreading the rise? Use a straight-sided jar and mark the start level so you can actually see a doubling.
- Too young? A brand-new starter often takes 7–14 days to get strong. Patience counts here.
- Off ratio? Feed equal parts by weight: 50g starter, 50g flour, 50g water (1:1:1 hydration—equal water and flour).
Try this first: Move it somewhere warm (top of the fridge, inside the oven with the light on) and feed it at the same time every day. Warmth plus consistency fixes most stalled starters.
Start over only if you see pink, orange, or fuzzy mold. Otherwise, keep going—most starters bounce back within a few days.
FAQ
How long does it take for a sourdough starter to start rising?
A brand-new starter usually begins showing real, reliable rising around days 5–10, though many starters go through a confusing false-rise burst around days 2–3 (driven by bacteria, not the yeast you want) that then dies down. Don't panic during that quiet middle stretch. Keep feeding once or twice a day at a 1:1:1 ratio (equal weights starter, flour, and water—for example 50g starter, 50g flour, 50g water) and watch for the starter to roughly double within 4–8 hours of feeding, smell pleasantly tangy, and show lots of bubbles. An established starter that's gone sluggish should perk up within 2–3 days of consistent feeding in a warm spot. Results vary by kitchen temperature, flour, and climate.
Can I save a starter that hasn't risen in days?
Yes—most "dead" starters are just hungry, cold, or out of balance, and can be revived. First, move it somewhere warm (around 24–27°C / 75–80°F). Then feed it more often and discard more aggressively: pour off all but about 20g of starter, then add 40g flour and 40g water (a 1:2:2 ratio) once or twice a day. This dilutes built-up acid that can stall the yeast. Try switching to or adding a spoonful of whole wheat or rye flour, which carries more wild yeast and nutrients. Give it 3–5 consistent days before giving up. Signs it's responding: more bubbles, a milder smell, and a slow climb up the jar. If after a week there's still zero activity and it smells rotten or shows pink/orange streaks, start fresh.
How do I know if my sourdough starter is dead?
True death is rare—real starters are tough. Genuine warning signs are pink, orange, or fuzzy mold growth, or a smell of rot or vomit rather than sour tang. If you see colored mold, throw it out and start over; don't try to scrape it off. What looks like death is usually just dormancy: no bubbles, no rise, and a layer of grey or brown liquid (called "hooch") on top. Hooch simply means the starter is hungry—pour it off or stir it in and feed. Before declaring a starter dead, give it 5–7 days of warm temperatures and twice-daily feedings. A starter that produces even a few bubbles is alive and worth saving.
Why did my starter rise then stop?
A starter that rises beautifully then collapses is actually healthy—you just missed its peak. The yeast eats the fresh flour, produces gas, and the starter climbs and domes; once the food runs out, it deflates and falls back down. That fall is your signal to feed it, not a problem. The fix is timing: watch how many hours it takes to reach its highest point (the peak) after feeding, and use it or feed it at that peak rather than hours later. If it's peaking and crashing very fast, your kitchen is warm and the starter is hungry—feed with a larger ratio (like 1:2:2) or use cooler water to slow it down. Tip: loop a rubber band around the jar at feeding height to track the rise and fall easily.
What temperature is best for a sourdough starter to rise?
Aim for roughly 24–27°C (75–80°F). In that range the wild yeast is most active and you'll get a strong, predictable rise. Below about 21°C (70°F) the starter slows dramatically and may look like it isn't working at all; above about 29°C (85°F) it can sour and collapse too quickly. Cold kitchens are the single most common reason a starter "won't rise." Warm it up by placing the jar in your oven with just the light on, on top of the fridge, near (not on) a warm appliance, or inside a cooler with a cup of warm water. Avoid direct heat sources above 35°C (95°F), which can harm the yeast. Consistency matters more than chasing a perfect number.
Should I stir my starter between feedings?
Stirring between feedings is optional and won't hurt your starter—it just redistributes the yeast and any liquid (hooch) that's separated on top, and can release built-up gas. It will not "feed" the starter or make it rise, since stirring adds no new flour or water. If you see hooch (a grey or clear liquid layer), you can either stir it back in for a slightly more sour flavor or pour it off for a milder one. The thing that actually drives rising is feeding fresh flour and water on a regular schedule in a warm spot. So stir if you like, but don't rely on it as a fix for a sluggish starter—feed it instead.
See also
- How to Make a Sourdough Starter From Scratch (Beginner Guide)
- Sourdough Starter Feeding Schedule for Beginners
- What Is Hooch and Is My Starter Ruined?
- The Float Test: Is Your Starter Ready to Bake?
- Beginner Sourdough Bread Recipe (No Fancy Equipment)
- Sourdough Discard: What to Do With It
Related articles
The Emotional Side of Sourdough: Dealing with Starter Anxiety and Failure
How do I cope with the stress and disappointment when my sourdough starter fails or seems to die?
Jul 20, 2026 · 7 min read
Sourdough Starter Fasting: What to Do When You Go on Vacation
How do I prepare my sourdough starter for a multi-week absence and revive it smoothly?
Jul 20, 2026 · 9 min read
Can You Make a Sourdough Starter Without Discarding Flour?
Tired of throwing flour away? Learn whether you can make a sourdough starter without discarding, plus a low-waste method that actually works for beginners.
Jun 29, 2026 · 5 min read