The Emotional Side of Sourdough: Dealing with Starter Anxiety and Failure
How do I cope with the stress and disappointment when my sourdough starter fails or seems to die?
On this page
The Silent Struggle: When Your Starter Feels Like a Failure

That pit in your stomach when you peek at your starter and see no bubbles — it’s not just you. The disappointment is sharp, made worse by glossy social media feeds that make every other baker’s bread look effortless. A flat, watery starter can feel like proof you just don’t have the touch. Staring at a blob of flour paste and questioning your life choices is practically a rite of passage. But here’s the first thing to hold onto: it’s genuinely hard to kill a starter through neglect — it’s more often just taking a very long nap (King Arthur Baking). That anxious knot in your chest? It’s real, and naming it is the only way to move past it. More often than not, what looks like death is just hunger. You’re not failing; you’re learning the rhythm.
What’s Actually Normal: The Hidden Life Stages of a Starter
Most new sourdough bakers hit the same panic points. The good news? Almost all of them are signs that your starter is on the right track, not dying. Starters go through predictable life stages, and once you know what’s actually supposed to happen, you can relax.
The Day 3 Collapse. Many beginners see a flurry of bubbles on Day 2 or 3, then wake up to a flat, lifeless jar on Day 4. This is the most common anxiety trigger. The early activity isn’t yeast — it’s a bloom of bacteria like Leuconostoc. Once the pH drops, those bacteria die off, and the starter goes quiet while the true yeast and lactic acid bacteria slowly establish themselves. That’s not failure; it’s the starter transitioning from chaos to stability (A Beautiful Plate). Don’t toss it. Keep feeding; the real rise will return by Day 7 or later.
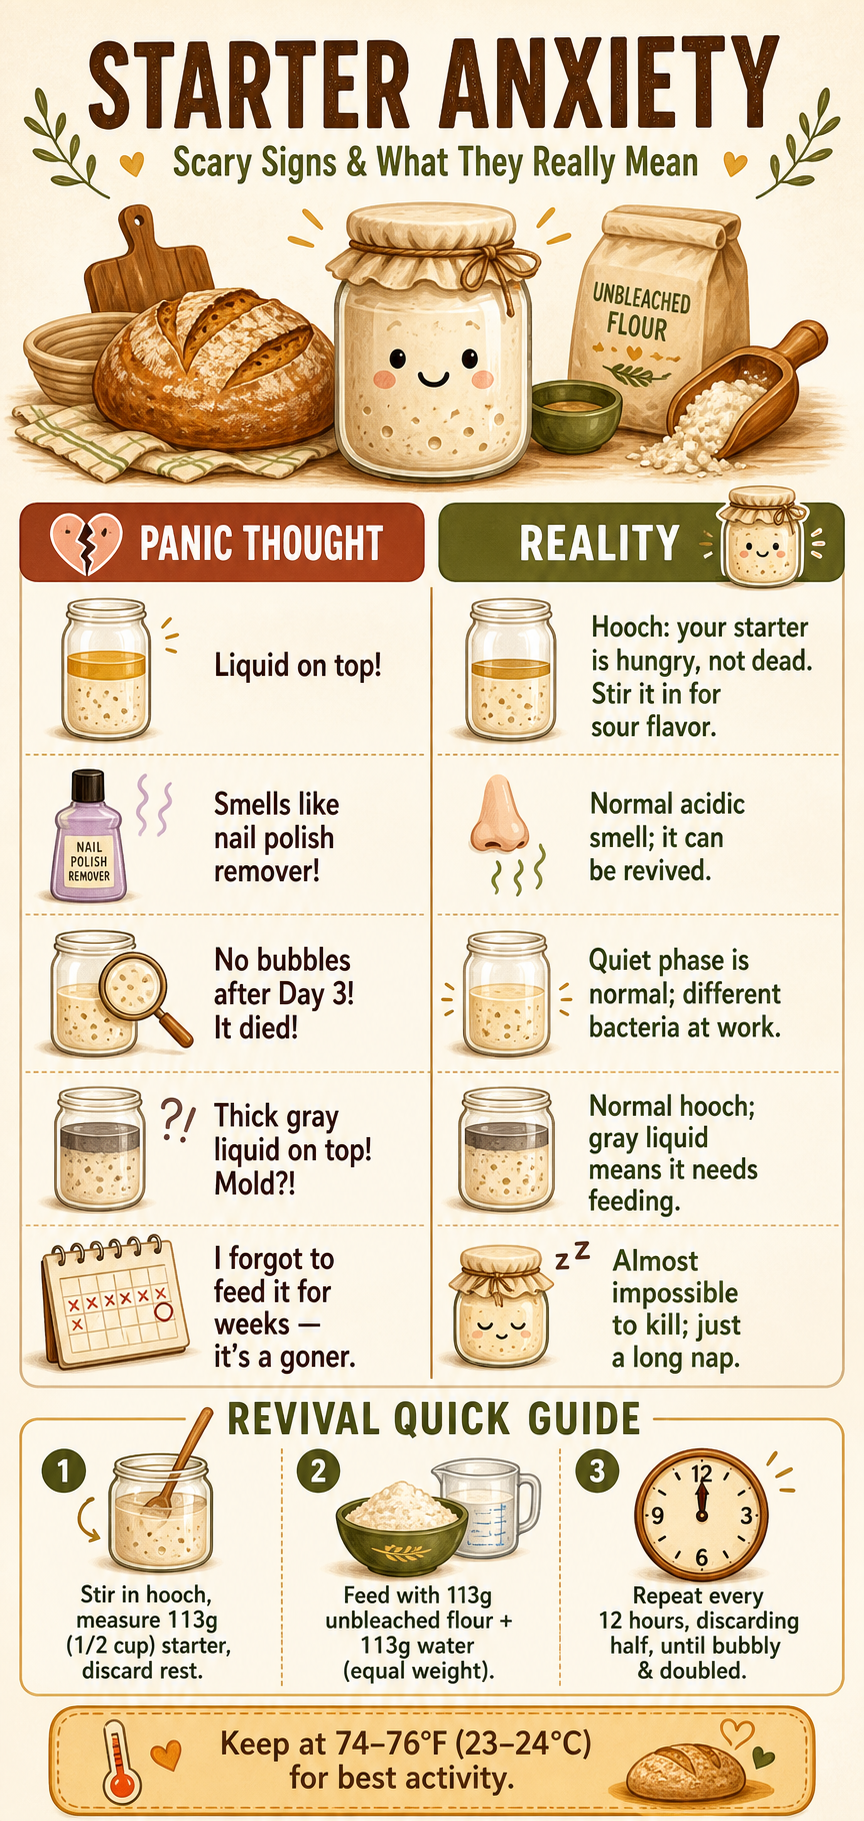
The Liquid on Top Is Hooch, Not Mold. If you see a grey, brown, or clear liquid pooling on the surface, your starter is just hungry. This alcohol-rich byproduct (hooch) forms when the microbes run out of food. It’s a protective sign, not rot. You have two choices: pour it off for a milder flavor, or stir it back in for extra sourness. Either way, your starter is very much alive. Stir in any hooch, then measure out about 113g (1/2 cup) of starter, discard the rest, and feed it with equal parts flour and water by weight. A 1:2:2 feeding ratio (one part starter, two parts each flour and water) can help if the starter is sluggish.
That Nail Polish Smell. A sharp, solvent-like odor — acetone — is another stage that frightens people. It happens when the starter has exhausted its sugars and moved into an alcohol-heavy phase. It’s fixable: just feed it. In fact, a starter that smells like nail polish remover is still fermenting and worth saving. Stir it down, discard all but a small amount, and feed it with unbleached white flour (not whole grain, which can introduce competing organisms while reviving). Keep it warm, ideally 74–76°F (23–24°C), for a faster comeback.
Above all, remember: it’s incredibly hard to actually kill a sourdough starter through benign neglect. Forgetting to feed it just puts it into a nap, not the grave. If your jar has sat in the back of the fridge for months, you can almost always bring it back.
The Unkillable Truth: How Starters Survive Neglect
Sourdough starters are shockingly hard to kill. The murky gray liquid pooling on top? That’s hooch, a natural byproduct of fermentation—it means your starter is hungry, not dead. A sharp, nail-polish-remover smell is equally normal. As the bakers at King Arthur Baking put it, you didn’t kill your starter; it’s just taking a very long nap. Even starters forgotten in the back of the fridge for months, cloaked in liquid, will roar back to life after a few feedings.
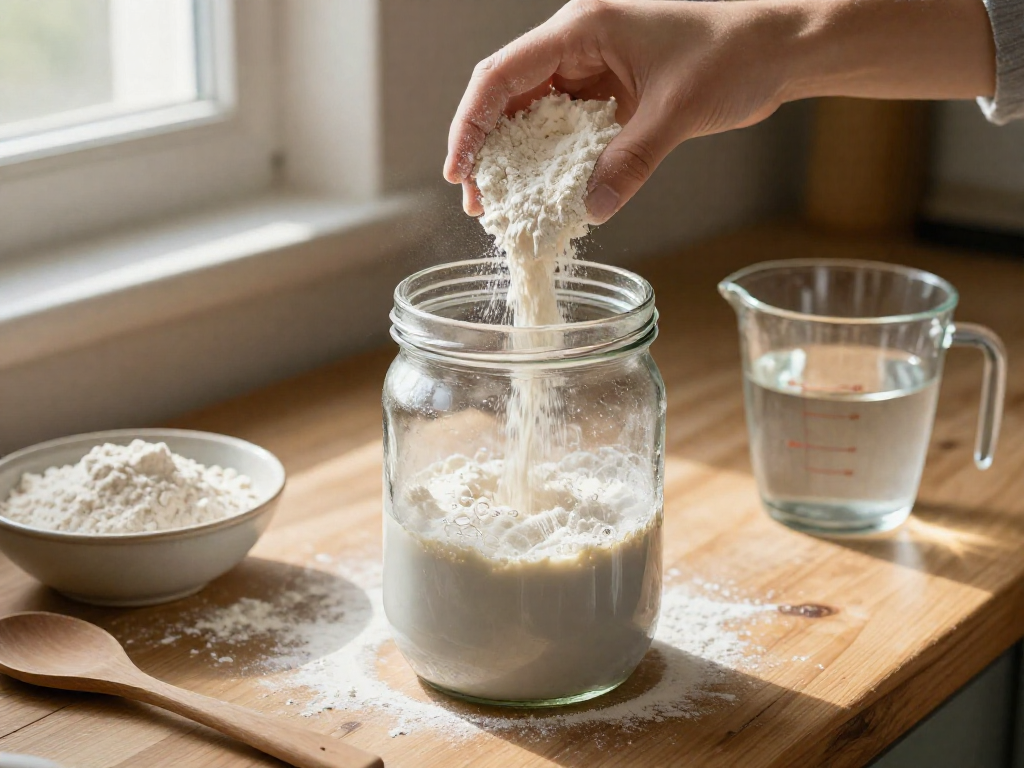
Reviving a neglected starter is straightforward. Stir any hooch back in—that extra sourness adds character—then measure 113g (about ½ cup) into a clean bowl. Feed it with equal weights of unbleached, unbromated white flour and room-temperature water. Sticking to white flour gives your starter the best revival odds, since whole grains introduce competing organisms. Keep the mixture between 74–76°F if you can; that cozy range wakes up the yeast and bacteria faster.
Discard half every 12 hours and repeat the feeding. Within a couple of days you’ll see bubbles and a pleasant, yogurt-like tang. If the 1:1:1 ratio doesn’t spark activity, switch to 1:2:2 (one part starter, two parts each flour and water) to give the microbes more to eat. True starter death is extremely rare—it usually takes extreme heat or chemical contamination. And on the off chance your starter truly quits, starting fresh costs pennies and less than a week of patience. Benign neglect is the norm, not the exception, so take a deep breath: your starter wants to live.
Turning Panic into Practice: Simple Steps to Revive Your Starter
When your starter looks sluggish or dead, the first thing to remember is that it’s almost certainly just fine — it’s simply hungry or cold. Instead of spiraling, you can channel that panic into a straightforward revival plan. Here’s exactly how to bring it back.
Start with warmth. Sourdough microbes love temperatures between 74°F and 76°F (23–24°C). If your kitchen is cooler, find a spot like the top of the fridge or near a warm appliance. Just a few degrees can dramatically wake up a sleepy starter.
Next, adjust the feeding. If your usual 1:1:1 ratio (equal parts starter, flour, and water by weight) isn’t producing bubbles, try a 1:2:2 ratio — for instance, 25g starter, 50g flour, 50g water. This gives the microorganisms more food to feast on and dilutes any accumulated acidity that might be slowing things down.
Now, the flour matters. When reviving a struggling starter, stick with unbleached, unbromated white flour. Whole grain flours, while excellent for building a new starter from scratch, carry their own wild organisms that can compete with the ones you’re trying to strengthen. Sourdough Home advises avoiding whole grains for revivals to give your starter the best shot.
Get into a regular rhythm: discard (remove) half the starter and feed it with fresh flour and water every 12 hours. In just a few feedings, you should see it double in size within several hours of feeding and develop a pleasant, tangy aroma. If a layer of gray liquid (hooch) has formed on top, just stir it back in — it’s a sign the starter is hungry, not ruined.
Finally, know when to let go. Sometimes, despite all your efforts, a starter stalls and revival becomes a source of stress rather than joy. Here’s the liberating truth: flour and water cost very little. Starting over from scratch is not a failure; it’s a reset. As the team at Modernist Cuisine points out, beginning anew can be simpler than wrestling with a stubborn, sluggish culture. So if the mental load is too much, grant yourself permission to start fresh. You’ll have a vigorous new starter in about a week, and you’ll be a more experienced baker for it.
From Fear to Flourish: Mindset Shifts for the Long Haul
Think of each feeding as a tiny, low-stakes experiment. You’re not trying to ace a test—you’re just observing: add a little less water, switch to unbleached flour, or keep the jar at 74–76°F for a few hours. If nothing happens, no disaster. Tomorrow you tweak one thing and try again. Over time, these small observations build your intuition far more than any perfect Instagram reel.
Celebrate small wins fiercely. A handful of bubbles, a faint tang, a rise of just half an inch—that’s progress. Your starter isn’t supposed to double on day three; that early flurry is normal bacteria, not yeast. A layer of hooch is a signal it’s hungry, not dead. King Arthur Baking notes that simply forgetting to feed your starter won’t kill it—it’s just taking a very long nap. This thing is tougher than you think.
Let go of the highlight reel. Your starter has its own timeline, and comparing it to someone else’s glossy 14-day loaf is a fast track to anxiety. The real goal isn’t a perfect boule every time—it’s the joy of watching flour and water come alive, and the delicious, occasionally flat, lessons you learn along the way. You’re building a relationship, not chasing a pin.
A Final Word: You Are Not Your Starter’s Keeper
Every baker—yes, even the ones with glossy, ear-scored loaves—has doubted their starter. Your worth as a baker isn't measured by a jar of flour and water. It's actually hard to kill a starter through neglect—King Arthur Baking confirms that simple forgetting just puts it into a deep nap—so release the guilt. Reach out, share your sticky disasters, and you'll discover you're in abundant, understanding company. We've all been there, and the community is warmer for it.
Sources
- 21 Common Sourdough Starter Problems with Solutions | The Perfect Loaf — theperfectloaf.com
- Troubleshooting Common Issues with Your Sourdough Starter - Modernist Cuisine — modernistcuisine.com
- Sourdough Starter Troubleshooting Guide and FAQ - A Beautiful Plate — abeautifulplate.com
- 30 Common Sourdough Starter Problems - The Pantry Mama — pantrymama.com
- SOURDOUGH STARTER TROUBLESHOOTING - What's Wrong & How To Fix It — youtube.com
- Do you think you killed your sourdough starter? | King Arthur Baking — kingarthurbaking.com
- How to Revive a Sourdough Starter - Melissa K. Norris — melissaknorris.com
- Reviving A Sourdough Starter — sourdoughhome.com
- How To Revive Your Starter after Months in the Fridge — youtube.com
See also
- /sourdough-starter-troubleshooting
- /how-to-make-sourdough-starter
- /beginner-sourdough-recipe
Related articles
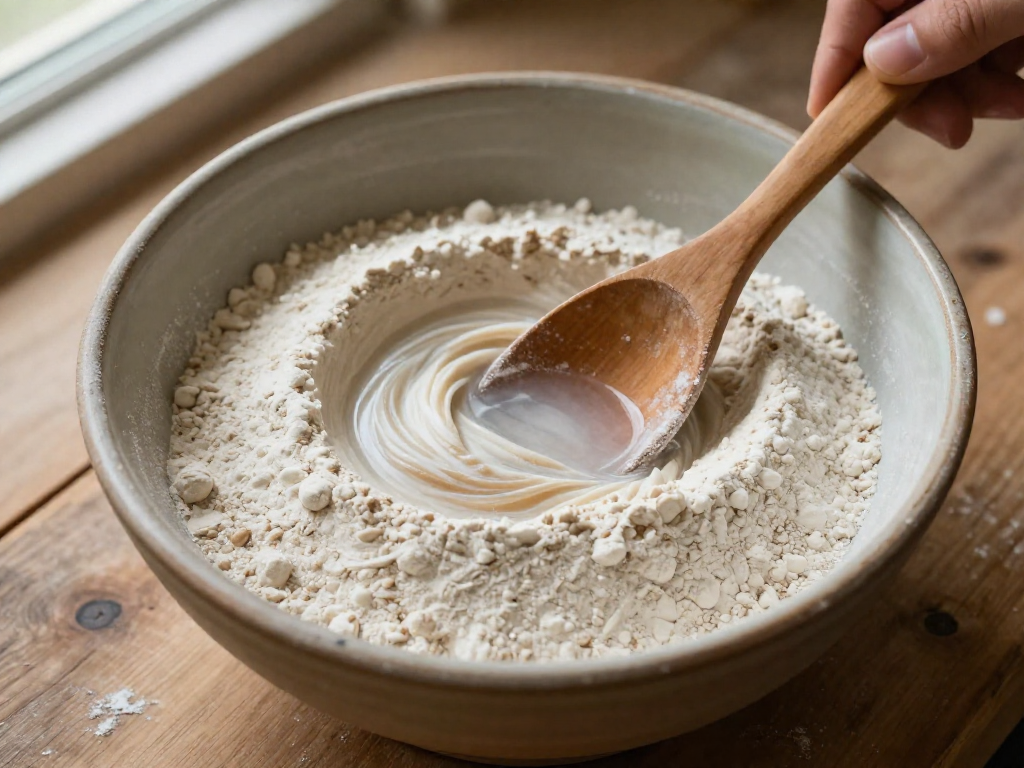
Why a Rye Starter Might Be Your Best Beginner Sourdough Hack
Is a rye sourdough starter easier for beginners? Yes! Learn why rye flour ferments faster, is more forgiving, and how to create your own 100% rye starter with step-by-step instructions, plus tips for using it in any recipe.
Jul 28, 2026 · 8 min read

Sourdough Starter Fasting: What to Do When You Go on Vacation
How do I prepare my sourdough starter for a multi-week absence and revive it smoothly?
Jul 20, 2026 · 9 min read

Can You Make a Sourdough Starter Without Discarding Flour?
Tired of throwing flour away? Learn whether you can make a sourdough starter without discarding, plus a low-waste method that actually works for beginners.
Jun 29, 2026 · 5 min read