What Is Hydration in Sourdough? Percentages Made Simple
What does hydration percentage mean in sourdough?
On this page
Hydration in One Sentence (No Math Yet)
Here's the whole idea in one breath: hydration is just how much water your dough has compared to the flour. That's it. No calculator required to understand the concept.
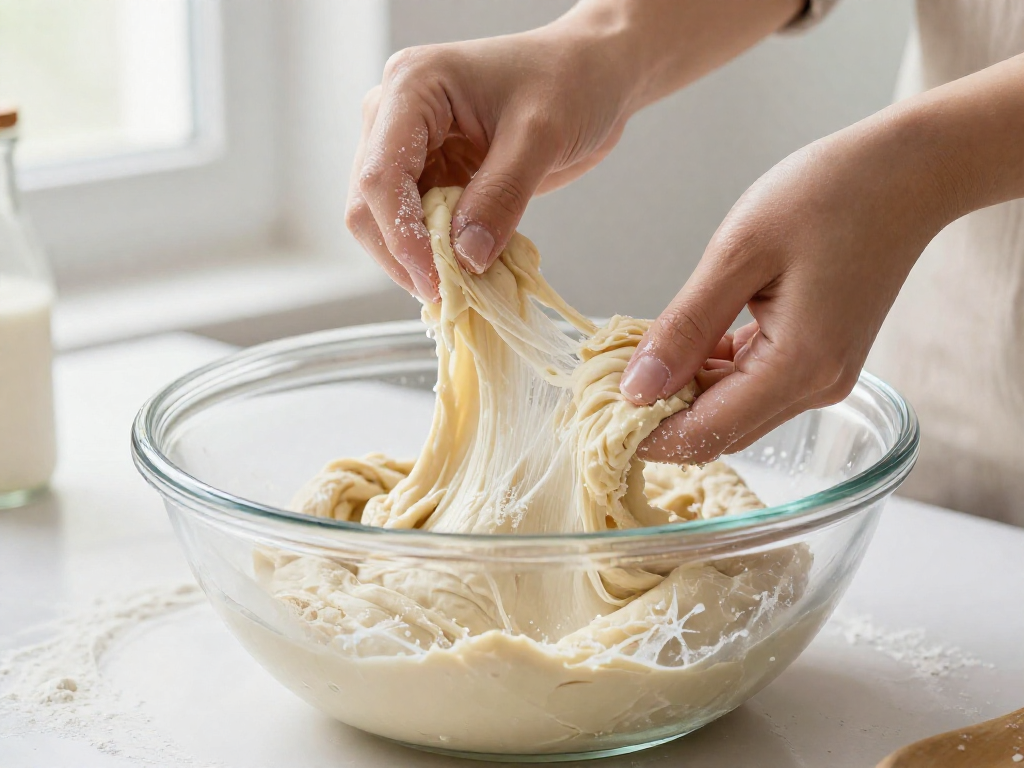
More water = a wetter, stickier, looser dough. Less water = a stiffer, drier, easier-to-handle dough. When people say a loaf is "high hydration," they simply mean it's on the wet, sticky end of the scale.
To picture the two extremes, imagine:
- Pancake batter — the soupy, pourable end (way more water than you'd ever use for bread)
- Play-dough — the stiff, barely-tacky end
Real sourdough lives comfortably between those two, usually closer to a soft, slightly sticky dough that holds its shape but still feels alive in your hands. You don't need to know the exact spot yet — just know wetter and drier are the two directions you can move.
So why do bakers talk in percentages instead of "a cup of this, a splash of that"? One reason: a percentage works no matter how much bread you're making. "70% hydration" describes the same dough feel whether you're baking one small loaf or five big ones, while "one cup of water" means something totally different at each size. Percentages keep the dough consistent and let you compare any two recipes at a glance.
That's the relief part: hydration is a feel before it's a formula. We'll add the simple math in the next section — and it really is simple — but you already understand what hydration is.
The Simple Formula: Water ÷ Flour × 100
Here's the whole thing in one line:
Hydration % = (water weight ÷ flour weight) × 100
That's it. Hydration just means how much water is in your dough compared to the flour, written as a percentage. More water = a wetter, stickier dough. Less water = a stiffer, easier-to-handle dough.
One Worked Example
Say your recipe uses 350g of water and 500g of flour:
- 350 ÷ 500 = 0.70
- 0.70 × 100 = 70% hydration
So this is a 70% hydration dough. A great, beginner-friendly range to aim for is roughly 65–75% — wet enough for an open crumb, but not so sticky it glues itself to your hands.
Why Flour Always Equals 100%
Bakers measure everything against the flour. The flour is the "100%" anchor, and every other ingredient is described as a percentage of that flour weight. This is called a baker's percentage.
So in the example above:
| Ingredient | Weight | Baker's % |
|---|---|---|
| Flour | 500g | 100% |
| Water | 350g | 70% |
| Salt | 10g | 2% |
Notice the percentages add up to more than 100 — that's normal and expected. Flour is the baseline, not the total.
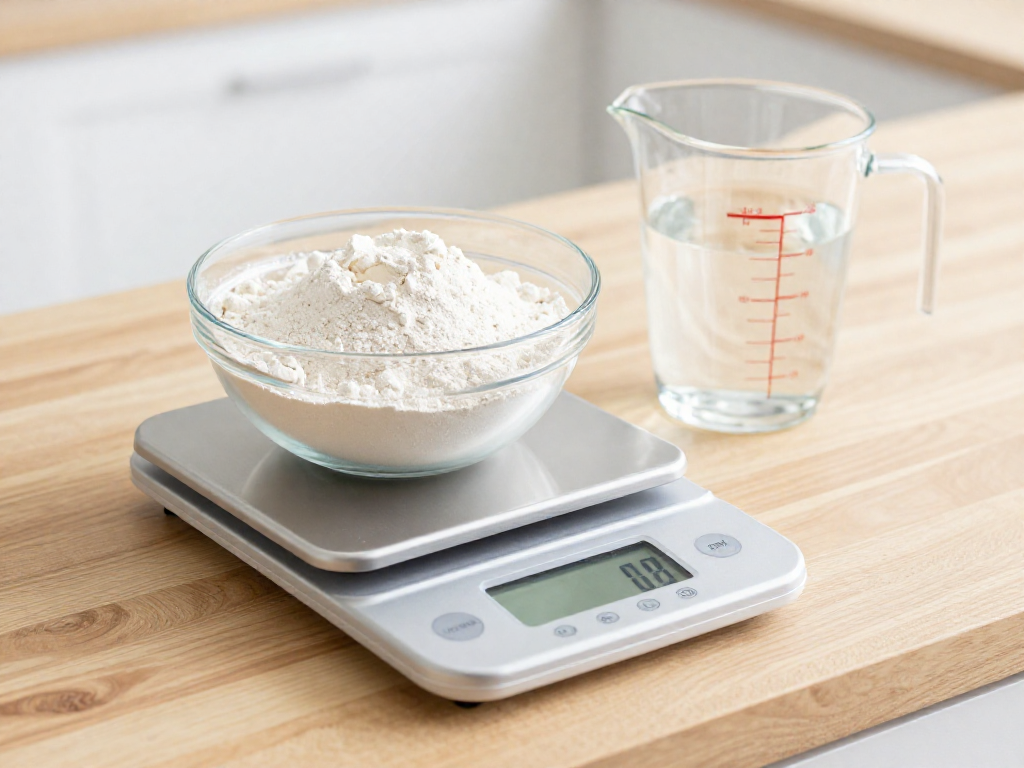
You Need a Scale, Not Cups
This math only works if you weigh in grams. Measuring cups can't do it reliably because a "cup of flour" varies a lot depending on how you scoop and pack it — sometimes by 30–50g. That swing alone can turn a 70% dough into a dense, dry brick or a sloppy puddle.
A basic digital kitchen scale (the cheap ones are fine) removes the guesswork. Set your bowl on it, hit tare to zero it out, and add each ingredient by weight. This single habit fixes more beginner loaves than almost anything else.
The 30-Second Mental Shortcut
Want to check any recipe's hydration fast? Round the numbers and divide in your head:
Water ÷ flour, then move the decimal two places.
For example, 400g water and 500g flour → 400 ÷ 500 = 0.8 → 80% hydration (quite wet — expect a sticky, hard-to-shape dough).
If a recipe doesn't list weights in grams, that's your signal to find a better-written one. Results still vary by your flour, kitchen temperature, and humidity, so treat the percentage as a reliable starting point — not a guarantee.
Does the Starter Count? (The Part That Trips People Up)
Short answer: yes, your starter counts toward your total hydration. This is the single biggest reason a beginner's "70% recipe" comes out wetter or stickier than expected.
Here's why. A 100% hydration starter (the most common kind) is made of equal weights of water and flour. So if you add 100g of starter, you're really adding 50g water and 50g flour to your dough — not 100g of some separate ingredient.
To get your true hydration, fold those amounts into your totals before you do the math from the last section (water ÷ flour × 100).
Worked example
Say your recipe is:
| Ingredient | Weight (grams) | Cups (approx.) |
|---|---|---|
| Bread flour | 500g | 4 cups |
| Water | 350g | 1½ cups |
| 100% hydration starter | 100g | scant ½ cup |
| Salt | 10g | 1¾ tsp |
If you ignore the starter: 350 ÷ 500 × 100 = 70% hydration
If you count the starter properly: Split the 100g starter into 50g water + 50g flour, then add them in.
- Total water = 350 + 50 = 400g
- Total flour = 500 + 50 = 550g
- 400 ÷ 550 × 100 = about 73% hydration
That 3% gap is enough to make the dough feel noticeably stickier in your hands — which is exactly the kind of surprise that makes beginners think they measured wrong.
When it's okay to keep it rough
If you're brand new and just trying to get a loaf out of the oven, don't let this stall you. For a first few bakes, weighing ingredients accurately matters far more than perfect hydration math. Pick a tested beginner recipe, follow the gram weights exactly, and let the starter "hide" inside the recipe's numbers.
Start folding the starter into your calculations once you want to adjust a recipe or compare two formulas — that's when the few-percent difference actually changes how the dough behaves.
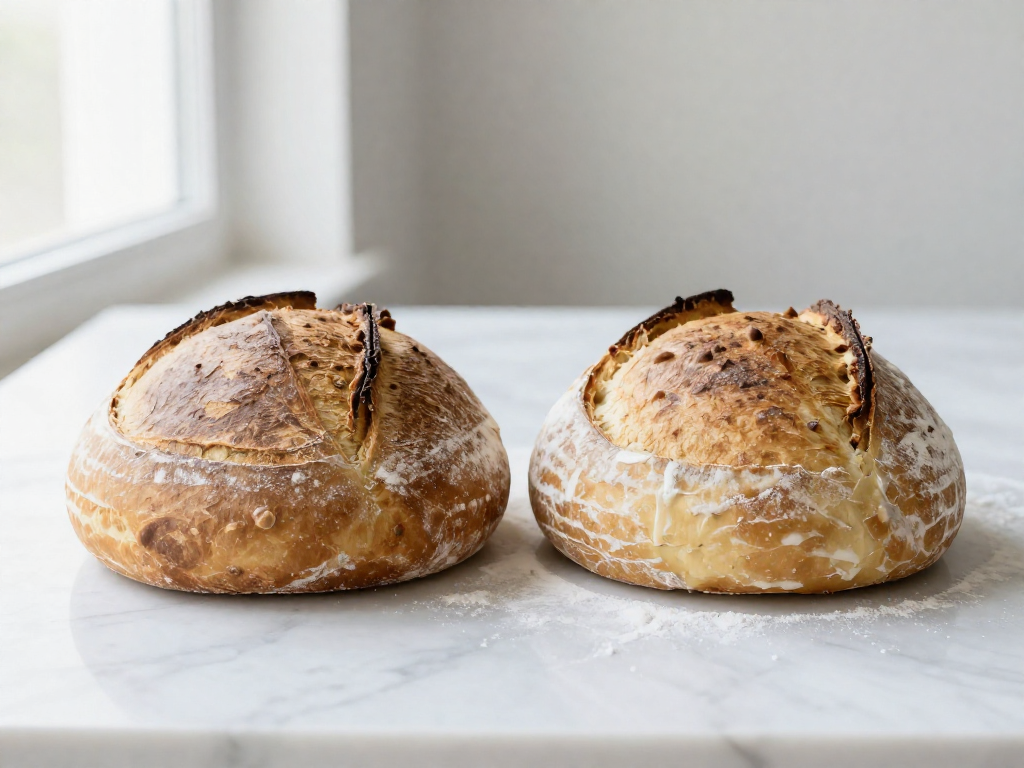
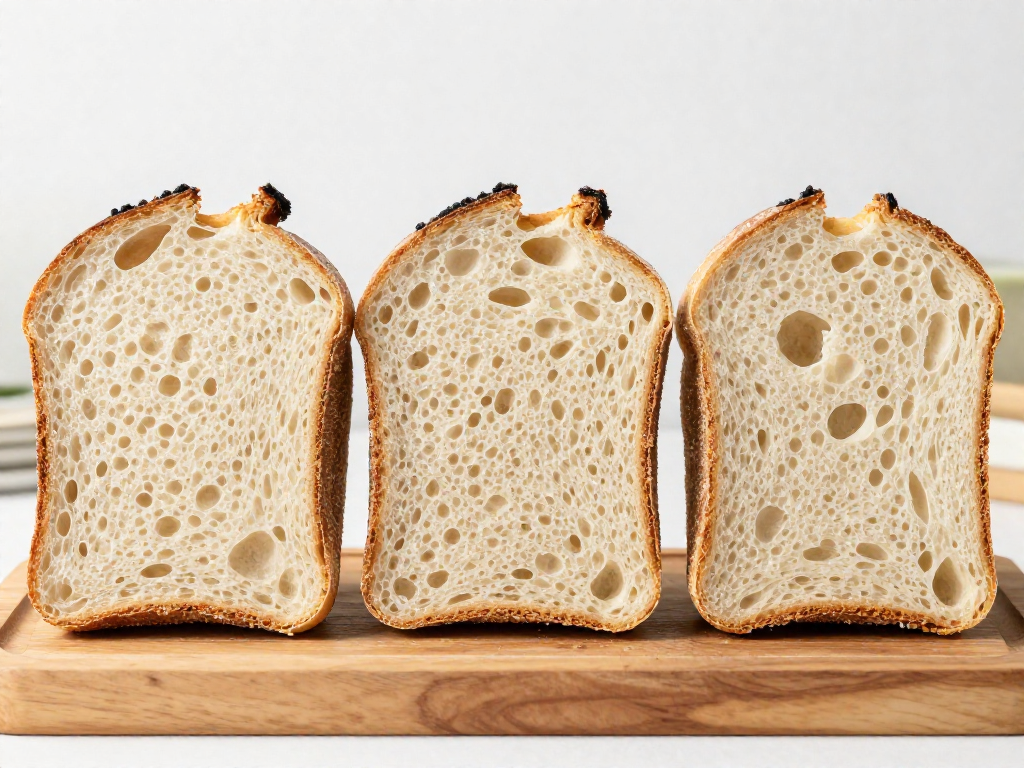
What Different Hydration Levels Feel and Bake Like
Here's the quick version: lower hydration (the percentage of water relative to flour) means stiffer, easier-to-handle dough and a tighter crumb. Higher hydration means a wetter, stickier dough and a more open, hole-filled crumb. Pick your level based on how comfortable you feel handling sticky dough, not on what looks impressive online.
60–65%: Stiff and Beginner-Proof
At this range the dough feels like soft play-dough. It holds its shape, barely sticks to your hands, and is forgiving if your timing is a little off. The result is a tighter, more even crumb (the inside texture of the bread) with smaller holes. This is the ideal hydration for sandwich loaves, since the structure stays sturdy enough to slice thin and hold toppings.
Sensory cue: when you poke it, the dough feels firm and springs back slowly. It should not stick to a lightly floured counter.
68–72%: The Beginner Sweet Spot
This is where most first-time bakers should start. The dough is slightly tacky but still manageable with wet or lightly floured hands. You get an open-ish crumb with a mix of small and medium holes, plus a crust with real chew. It's forgiving enough to learn shaping without fighting a puddle of dough.
Sensory cue: the dough sticks gently to your fingers, then releases. Think of softened butter, not glue.
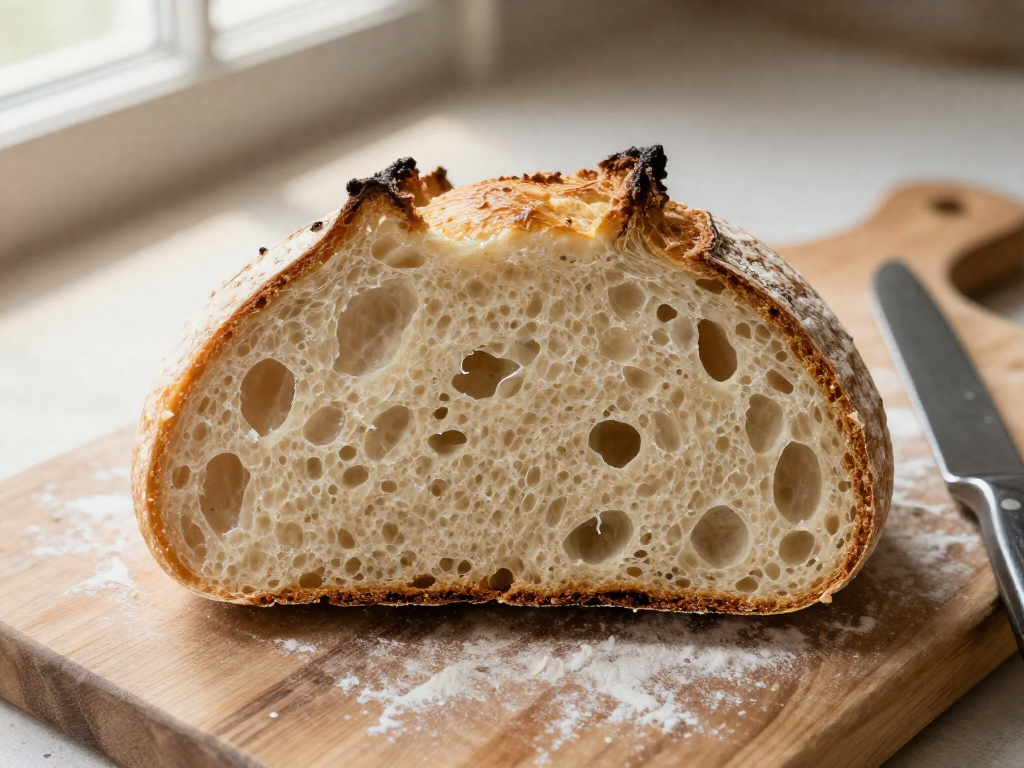
75% and Up: Wetter, Wilder, Trickier
Above 75% the dough becomes slack and sticky, almost batter-like at the high end. The payoff is a dramatic open crumb with large, irregular holes and a crackly, blistered crust. The catch: it's genuinely hard to shape, smears across the counter, and demands confident handling and good timing. Save this for after you've baked a few solid loaves.
Sensory cue: the dough spreads when you let go and clings to everything. You'll rely on a bench scraper instead of your hands.
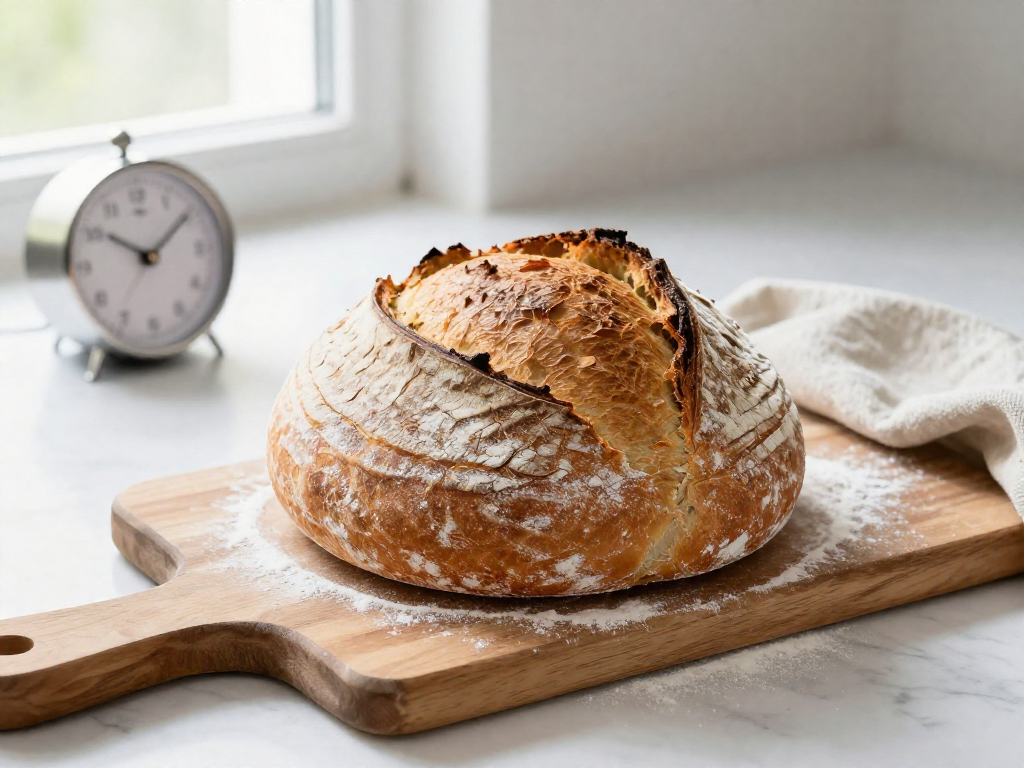
How Hydration Changes the Final Loaf
- Crust: more water generally means a thinner, crispier, more blistered crust.
- Crumb: more water means bigger, more open holes; less water means a tighter, sandwich-friendly texture.
- Oven spring (the dramatic rise in the first 10–15 minutes of baking): wetter dough produces more steam inside, which can boost spring — but only if the dough has enough strength to hold its shape.
Results vary by your flour, kitchen temperature, and humidity, so treat these as starting points and adjust as you learn how your dough behaves.
The Best Hydration for Beginners (Start Here)
Start at 70% hydration. It's the sweet spot for beginners: wet enough to give you an open, airy crumb (the holes inside your loaf), but dry enough that the dough still holds its shape and won't stick to everything you own.
Here's what 70% looks like for a standard loaf:
| Ingredient | Grams | Cups (approx.) |
|---|---|---|
| Bread flour | 500 g | 4 cups |
| Water | 350 g | 1½ cups |
| Active starter | 100 g | ½ cup |
| Salt | 10 g | 2 tsp |
(Hydration = water ÷ flour × 100. Here, 350 ÷ 500 × 100 = 70%.)
Sensory cue: After mixing, the dough should feel tacky and slightly sticky, like a Post-it note — it clings to your fingers for a second, then lets go. If it's soup, add a tablespoon of flour. If it's stiff and tears, add a teaspoon of water.
Flour type changes everything
Not all flour drinks water the same way. The more bran and germ in the flour, the more water it soaks up.
- White bread flour: Absorbs the least. 70% feels just right.
- Whole wheat flour: Thirstier — the bran pulls in extra water. At 70% it can feel stiff, so bump up to 75–78%.
- Rye flour: The thirstiest of all. It loves water and turns sticky fast, so add water gradually and expect a different, slack feel.
If you swap even part of your white flour for whole wheat or rye, add a splash more water to compensate.
Growing from here
Once you've baked a few solid 70% loaves and the process feels familiar, nudge hydration up by 2–3% at a time. Higher hydration (75%+) gives a more open, holey crumb — but it's stickier and harder to handle, so build up to it. Master 70% first; the rest comes with reps.
Troubleshooting: When Hydration Is the Real Problem
Before you blame your starter or your oven, check hydration—the amount of water in your dough compared to the flour, written as a percentage (water ÷ flour × 100). It's behind more "failed" loaves than beginners expect. Match your symptom below to the fix.
Dough too wet to shape (it spreads into a puddle)
Cause: Hydration is too high for your flour, or the dough hasn't built enough strength.
Fix:
- Lower hydration by 2–3% on your next bake. On a 500 g flour recipe, that's just 10–15 g less water.
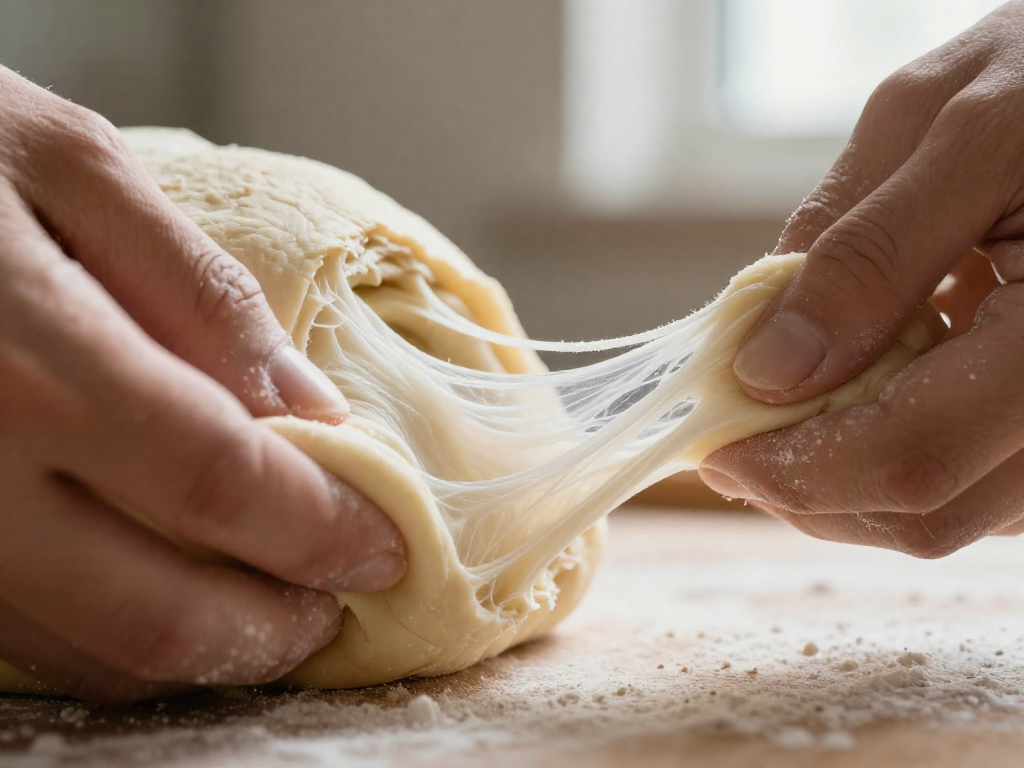
- Don't drop water mid-bake—instead, add stretch and folds: every 30 minutes during the first 2 hours, grab one side of the dough, stretch it up, and fold it over the center. Rotate and repeat 4 times. This builds the gluten that holds water in place.
What "fixed" looks like: The dough holds a rounded shape on the counter instead of flattening out.
Gummy crumb (the inside feels sticky or doughy, even after cooling)
Cause: Usually too much water for your flour, or—more often—underbaking.
Fix:
- Always cool the loaf completely (2+ hours) before slicing; warm bread feels gummy even when fully baked.
- Bake longer: aim for an internal temperature of 205–210°F (96–99°C) on a thermometer.
- Still gummy on the next bake? Lower hydration by 2–3%.
Dense, tight loaf (heavy, with few air holes)
Cause: Hydration may be too low—but dense loaves often come from an underactive starter or under-fermentation, so check those too.
Fix:
- Raise hydration by 2–3% (add 10–15 g water per 500 g flour) for a more open crumb.
- Confirm your starter is doubling in 4–6 hours after feeding before baking.
The golden rule: adjust by 2–3% at a time
Resist big changes. Shifting hydration by 10% at once turns troubleshooting into guesswork. Change one thing—2–3%—per bake, note what happened, and you'll dial in your flour and kitchen fast.
Results vary by flour brand, humidity, and climate, so treat each bake as a data point, not a pass/fail test.
Quick-Reference Hydration Cheat Sheet
Save or pin this section so you can check it before every bake.
The formula (one line): Hydration % = water grams ÷ flour grams × 100. (Hydration just means how much water is in your dough compared to flour.)
Hydration ranges at a glance:
| Hydration | Dough Feel | Best Use |
|---|---|---|
| 60–65% | Stiff, easy to shape, barely sticky | Sandwich loaves, beginners' first bakes |
| 68–70% | Soft but manageable, slightly tacky | Everyday boules and batards |
| 72–75% | Wet, sticky, needs gentle handling | Open, airy crumb (more experienced) |
| 78%+ | Very loose, almost batter-like | Ciabatta, focaccia |
Beginner starting point: Begin at 70% hydration — for example, 500g flour + 350g water. It's forgiving enough to shape by hand and still bakes a soft, open loaf.
When to nudge it:
- Lower hydration (toward 65%) if your dough spreads flat, feels soupy, or your kitchen is warm and humid.
- Higher hydration (toward 73%) if your crumb is tight and dense, or you're using whole wheat or rye, which soak up more water.
Adjust in small 2–3% steps so you can feel each change. Results vary by flour brand and climate, so treat these as starting points, not guarantees.
See also
- How to Make a Sourdough Starter from Scratch
- Beginner Sourdough Bread Recipe (Step by Step)
- Why Is My Sourdough Dense? 7 Common Causes
- How to Read a Sourdough Recipe
- Best Flour for Sourdough Beginners
- Stretch and Folds: How to Build Dough Strength
Related articles
Sourdough Lingo You Don’t Need: Simple Words Instead of ‘Autolyse’ and ‘Crumb’
Why do sourdough bakers use so much jargon, and what simple substitutions can I use?
Jul 20, 2026 · 4 min read
The Beginner’s Guide to Sourdough Gluten Development: Why Stretch and Folds Work
How does gluten development work in sourdough, and why are stretch and folds so effective for beginners?
Jul 20, 2026 · 9 min read
How Long Does It Really Take to Bake Your First Sourdough?
Wondering how long sourdough really takes? See the realistic active vs. passive time for your first loaf, hour by hour, so you can plan with confidence.
Jun 29, 2026 · 8 min read