What Is Autolyse and Is It Worth It for Beginners?
What is autolyse and do I need to do it?
On this page
Open by naming the frustration: beginner sourdough guides throw around "autolyse" like everyone already knows it, leaving new bakers feeling behind. Promise a plain-English answer to two questions—what it actually is, and whether a beginner needs to bother—without the dough-science lecture. Set an honest, opinionated tone: autolyse helps, but it's not the thing standing between you and a good loaf.
Autolyse, Explained in Plain English
The short answer: Autolyse (pronounced AUTO-lees) just means mixing your flour and water together, then walking away and letting it rest before you add anything else.
That's it. No kneading. No special equipment. No watching the clock obsessively. You stir flour and water until there are no dry, floury patches left, cover the bowl, and let it sit for 20 to 60 minutes. While it rests, the flour quietly absorbs the water and starts forming gluten on its own—the stretchy network that later helps your loaf rise instead of spreading into a flat puddle.
(Gluten is the protein structure that traps gas bubbles from fermentation and gives bread its chew and lift. You don't have to do anything to make it happen during autolyse—the resting time does the work for you.)
What autolyse is NOT:
- It does not include your sourdough starter (the bubbly flour-and-water mixture that makes your bread rise).
- It does not include salt.
- It is not a kneading step—you're literally just letting wet flour rest.
You add the starter and salt after the rest is over. Keeping them out at this stage is the whole point, and we'll cover why that matters in the next section.
So when a recipe says "autolyse for 30 minutes," it's simply telling you to mix flour and water, set a timer, and relax.
What Autolyse Actually Does to Your Dough
Here's the short version: autolyse (just mixing flour and water, then resting it before adding salt and starter) gives the flour time to fully absorb the water. That single rest does a few useful things for you.
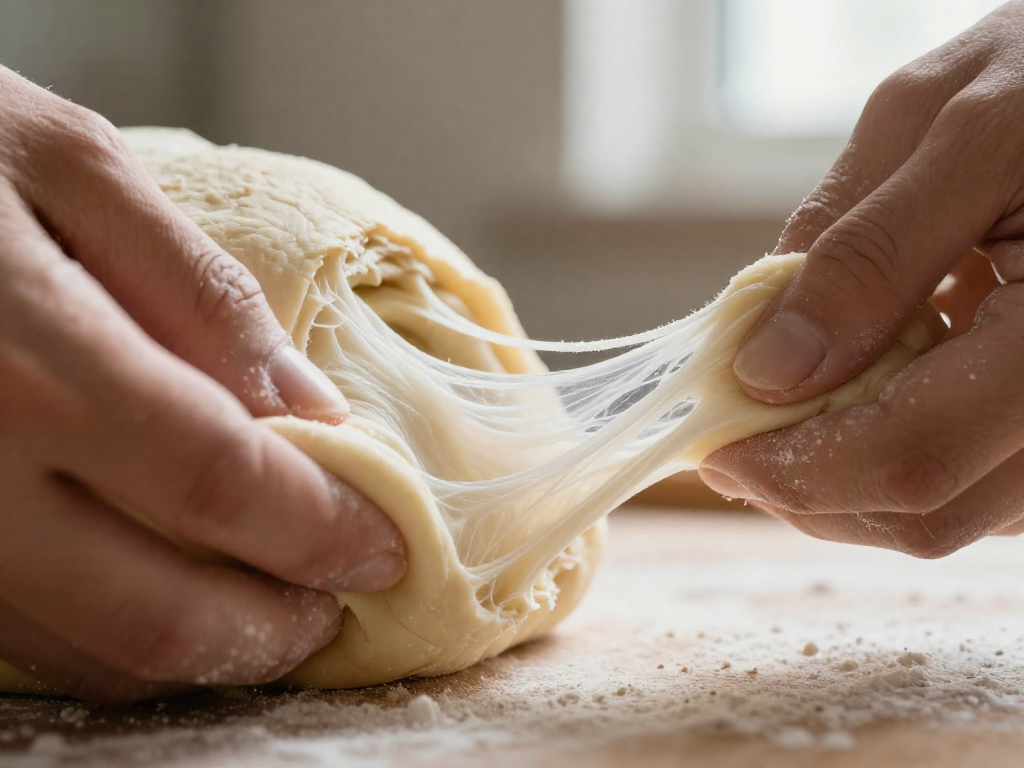
- The flour fully hydrates. Once every bit of flour is soaked, gluten (the stretchy protein network that traps gas and gives bread its structure) starts forming on its own—no kneading required yet.
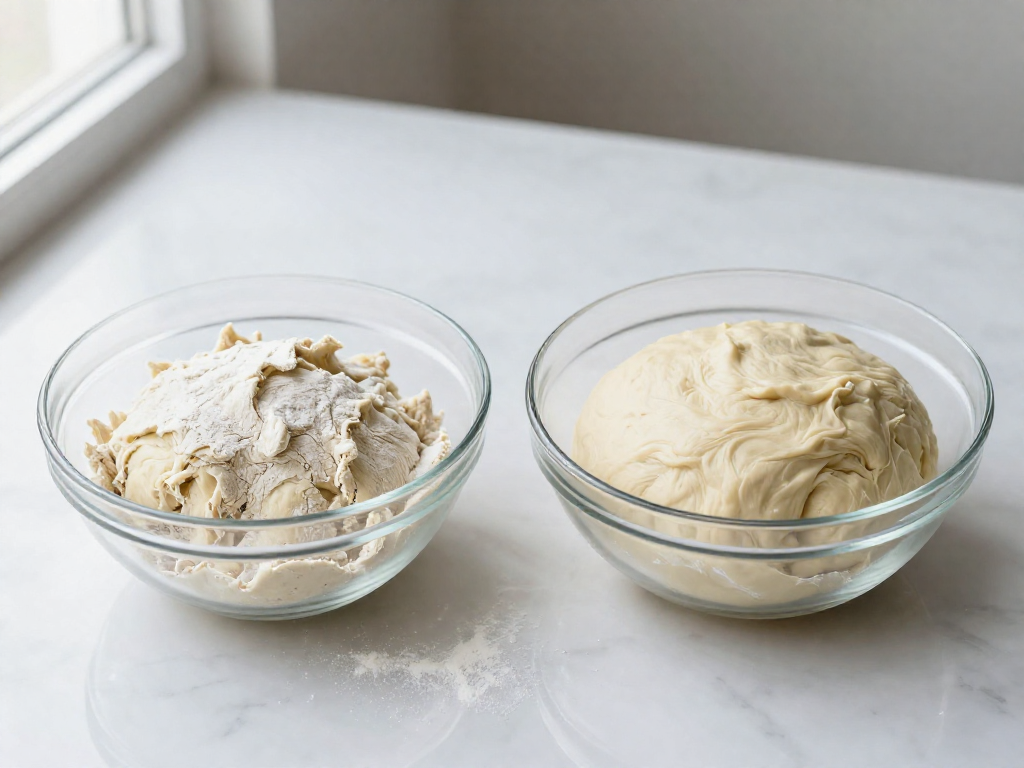
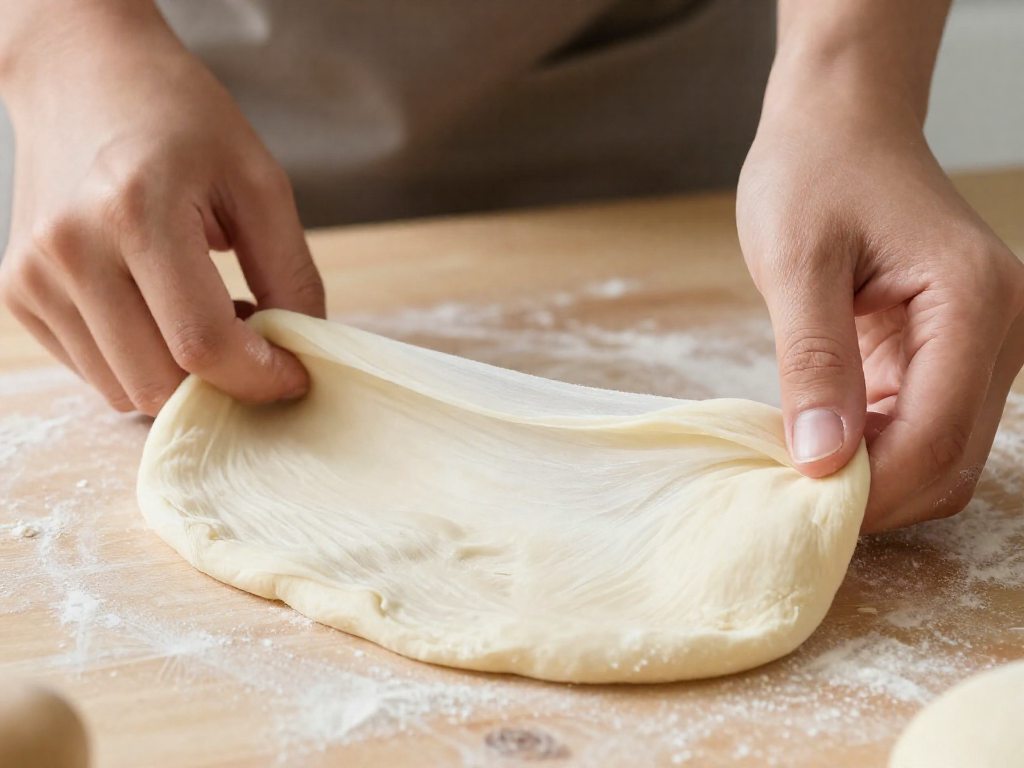
- The dough gets smoother and more extensible. "Extensible" just means it stretches instead of tearing. After a 30–60 minute autolyse, the dough goes from shaggy and rough to soft and pliable.
- You mix less and may get a slightly better rise. Because gluten has a head start, you do less work later, and a well-developed dough often holds its shape and rises a bit taller in the oven.
How this helps a beginner: if you've been fighting sticky, hard-to-handle dough, autolyse is one of the easiest fixes. A rested dough is noticeably less tacky and far easier to shape with wet hands.
Be clear on what it won't do, though. Autolyse is not a cure for a dense or gummy loaf. Those problems almost always come from an underactive starter, under-proofing, or slicing too early—not from skipping autolyse. Think of it as a small quality-of-life upgrade for handling your dough, not a magic fix. Results will still vary with your flour, kitchen temperature, and timing.
Is It Worth It for Beginners? My Honest Take
Short answer: it's helpful but optional. If autolyse is stressing you out, skip it. Your loaf will still turn out fine without it.
Here's why I'm relaxed about it: autolyse (the rest period where you mix just flour and water and let them sit before adding salt and starter) costs you almost nothing. It's a 5-second action—stir flour and water together—followed by a 20–60 minute wait while you do other things. Low effort, modest reward.
But if you're new and chasing a better loaf, autolyse is not where your biggest gains live. The three things that actually make or break a beginner loaf are:
- A healthy, active starter. It should double in 4–6 hours and pass the float test (a spoonful floats in water). This matters far more than any resting trick.
- Correct hydration. Hydration is the weight of water as a percentage of flour weight. For your first loaves, stick around 70% (e.g., 350g water to 500g flour). Too wet and a beginner dough turns into a sticky, ungovernable mess.
- Bake temperature. A properly preheated oven and Dutch oven at 230°C (450°F) does more for oven spring than an hour of autolyse ever will.
When to bother with autolyse:
- You're baking a higher-hydration dough (75%+) and want it easier to handle.
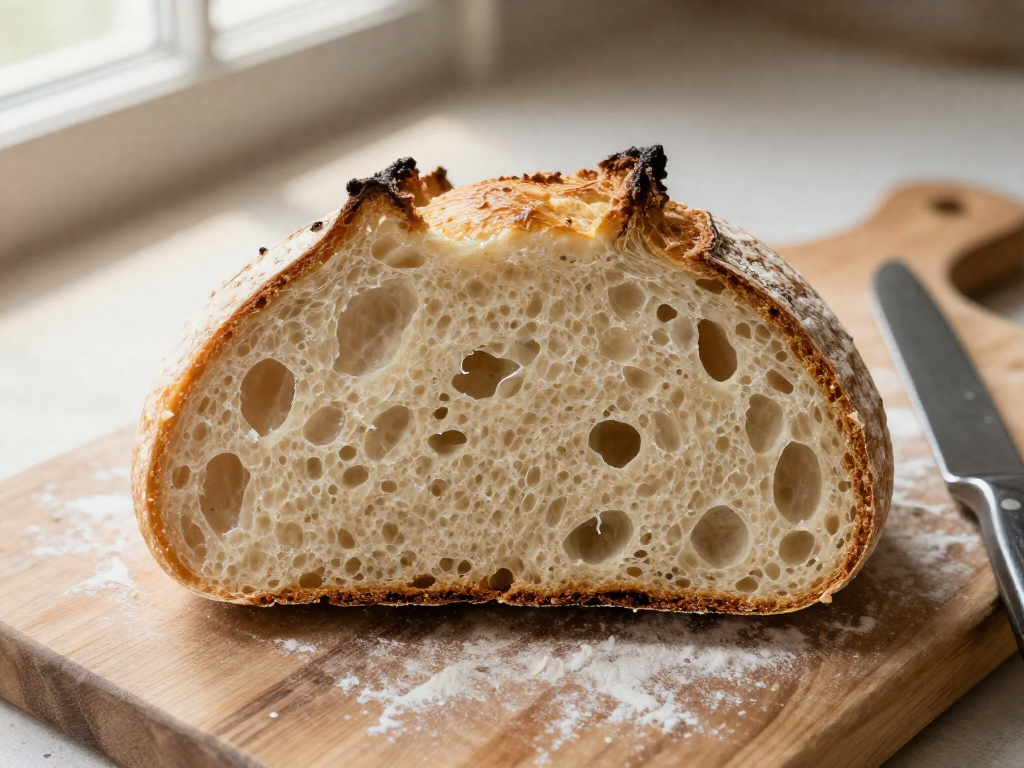
- You have time to spare and want to nudge the crumb a little more open.
When to skip it:
- You're on a tight schedule and just want bread today.
- You're already juggling timing and feel overwhelmed—one less step is a win.
Master the starter, hydration, and bake first. Add autolyse later, once the basics feel automatic. Results vary by kitchen and climate, so treat it as a tool, not a rule.
How to Autolyse: Quick Step-by-Step
Autolyse (pronounced AUTO-lees) is simply resting flour and water together before you add anything else. Here's the whole thing:
- Mix flour and water. In a bowl, combine 500 g (about 4 cups) bread flour with 325 g (about 1⅓ cups) room-temperature water. Stir with a spoon or wet hand until you see no dry, floury bits. The dough will look shaggy and rough — that's correct. Don't knead.
- Cover and rest 30 minutes. Cover the bowl with a plate or damp towel and leave it at room temperature. The dough relaxes and hydrates; afterward it should feel softer and stretch a little when pulled.
- Add starter and salt. Add your active sourdough starter and 10 g (about 2 tsp) salt, then continue your usual recipe (mixing, then bulk ferment — the first long rise).
Timing flexibility: 30 minutes is the sweet spot, but anywhere from 20 minutes to 1 hour works fine. If life interrupts and it rests longer, your loaf will still be okay — no need to start over.
Common Autolyse Mistakes to Avoid
Autolyse (a rest where flour and water sit together before you add anything else) is forgiving, but a few habits make beginners think it "failed." Here's what to skip:
- Adding salt or starter too early. Mix in only flour and water. Salt tightens the dough and starter kicks off fermentation, both of which work against the gentle relaxing you want. Add them after the rest.
- Resting too long. For beginners, 30–60 minutes is plenty. Push past 2–3 hours and the dough can over-relax into a slack, sticky mess that's hard to shape.
- Expecting it to fix other problems. Autolyse improves dough handling, not a sluggish starter or an under-proofed loaf (one that didn't rise enough). Fix those separately.
- Letting the dough dry out. Cover the bowl with a lid or damp towel, or you'll get a dry skin on top.
Avoid these four and autolyse will quietly do its job.
See also
- How to Tell If Your Sourdough Starter Is Ready
- Sourdough Hydration Explained for Beginners
- Why Is My Sourdough Dense and Gummy? Troubleshooting Guide
- Easy Beginner Sourdough Bread Recipe
- Sourdough Timing Schedule for Busy People
Related articles
Sourdough Lingo You Don’t Need: Simple Words Instead of ‘Autolyse’ and ‘Crumb’
Why do sourdough bakers use so much jargon, and what simple substitutions can I use?
Jul 20, 2026 · 4 min read
The Beginner’s Guide to Sourdough Gluten Development: Why Stretch and Folds Work
How does gluten development work in sourdough, and why are stretch and folds so effective for beginners?
Jul 20, 2026 · 9 min read
How Long Does It Really Take to Bake Your First Sourdough?
Wondering how long sourdough really takes? See the realistic active vs. passive time for your first loaf, hour by hour, so you can plan with confidence.
Jun 29, 2026 · 8 min read