The Beginner’s Guide to Sourdough Gluten Development: Why Stretch and Folds Work
How does gluten development work in sourdough, and why are stretch and folds so effective for beginners?
On this page
Hook with the frustration of dense, flat loaves and the transformative power of stretch and folds, promising a clear, science-backed explanation of gluten that will finally make it click.
The Building Blocks: Glutenin, Gliadin, and the Magic of Water
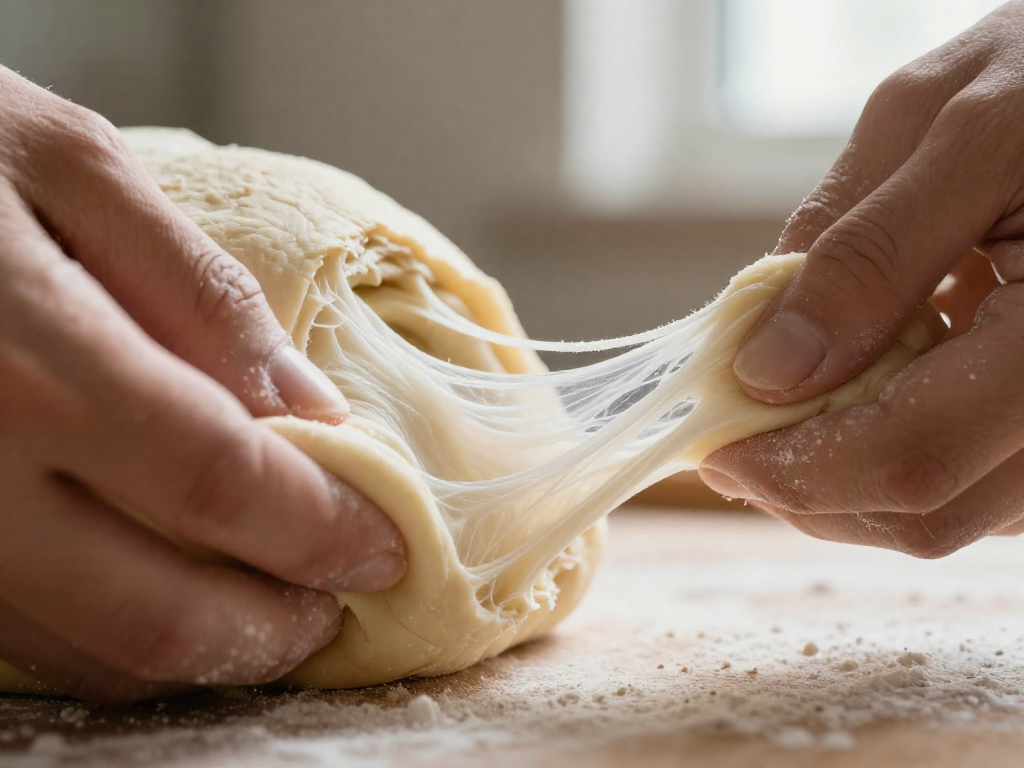
Gluten development is essentially you coaxing two little proteins—glutenin and gliadin—to link arms and form a stretchy net that traps gas and gives your loaf structure. And the best tool for the job, especially when you're just starting out with sourdough? A series of gentle stretch and folds during bulk fermentation. No aggressive kneading, no stress.
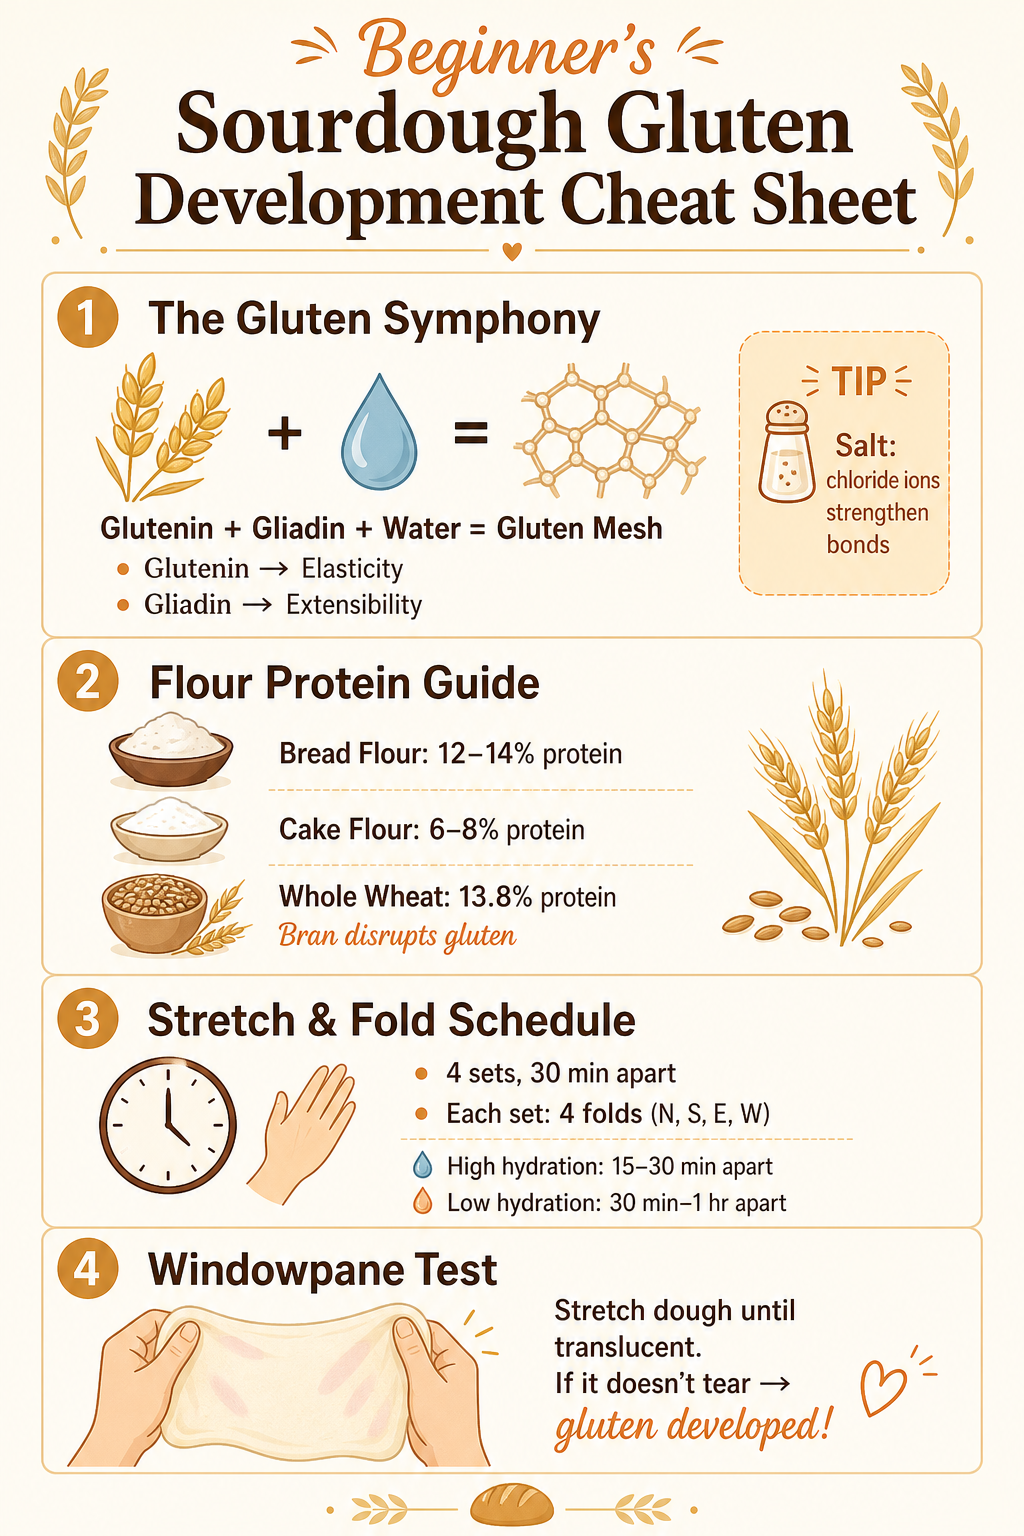
When water hits wheat flour, it awakens glutenin (the muscle that provides elasticity) and gliadin (the partner that gives extensibility, letting dough stretch without snapping). Together, they bond into gluten, the scaffold that holds your bread’s shape. Think of it like a net: too weak and the gas bubbles escape, leaving you with a dense frisbee; too tight and the dough fights back, refusing to rise. The trick is finding that sweet spot, and stretch and folds get you there beautifully.
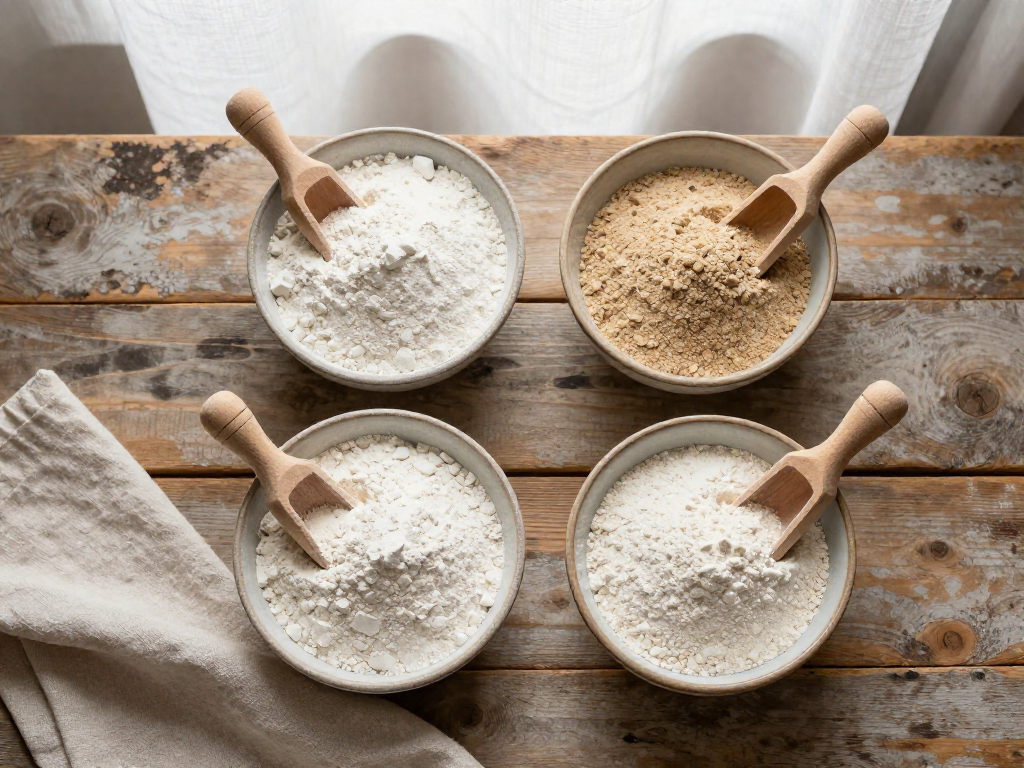
The flour you choose sets the stage. Wheat flours range from about 8% to 15% protein—the higher that number, the more gluten-building potential. Cake flour, at around 6–8% protein, is all about tenderness and won’t give you the strength you need. All-purpose hovers in the middle, but for a beginner sourdough that rises tall, reach for bread flour with 12–14% protein. King Arthur Bread Flour, for instance, clocks in at 12.7% and makes a noticeable difference. Whole wheat flour has even more protein (around 13.8%), but don’t let that fool you—the sharp bran particles actually slice through gluten strands as they form, weakening the network. Starting with bread flour keeps things predictable while you build confidence.
Salt isn’t just for flavor; it’s a gluten booster. The chloride ions in salt help gluten proteins overcome their natural repulsion and stick together more tightly, strengthening the network (Modernist Cuisine). That’s one reason a dough without salt feels slack and lifeless—and why even a small amount, typically 2% of flour weight, makes a real structural impact.
How do you know when your gluten is where it needs to be? The windowpane test. Pinch off a small piece of dough and gently stretch it between your fingers. If it can pull into a thin, translucent membrane without tearing, you’ve built a strong, elastic network. With stretch and folds, you’ll often hit that windowpane after just three or four rounds, spaced 30 minutes apart, without ever sweating over a countertop. The method works because it aligns and elongates those gluten strands gently, layer by layer, rather than forcefully tearing them. Plus, it introduces minimal oxygen, which helps preserve the delicate flavor compounds developing during sourdough’s long ferment.
One last piece of the puzzle: time. Sourdough’s extended bulk fermentation isn’t just about flavor; it’s also when gluten continues to develop passively via enzymatic activity. But push it too far, and those same enzymes start breaking down the gluten you worked so hard to build, leading to a sticky, deflated mess. Stretch and folds give you regular check-ins with the dough’s strength, so you’re less likely to over-ferment unknowingly. And because every kitchen’s temperature and humidity differ slightly, learning to read the dough—when it feels supple, holds its shape, and passes the windowpane—is your ultimate skill.
Why Stretch and Folds Are the Beginner’s Secret Weapon
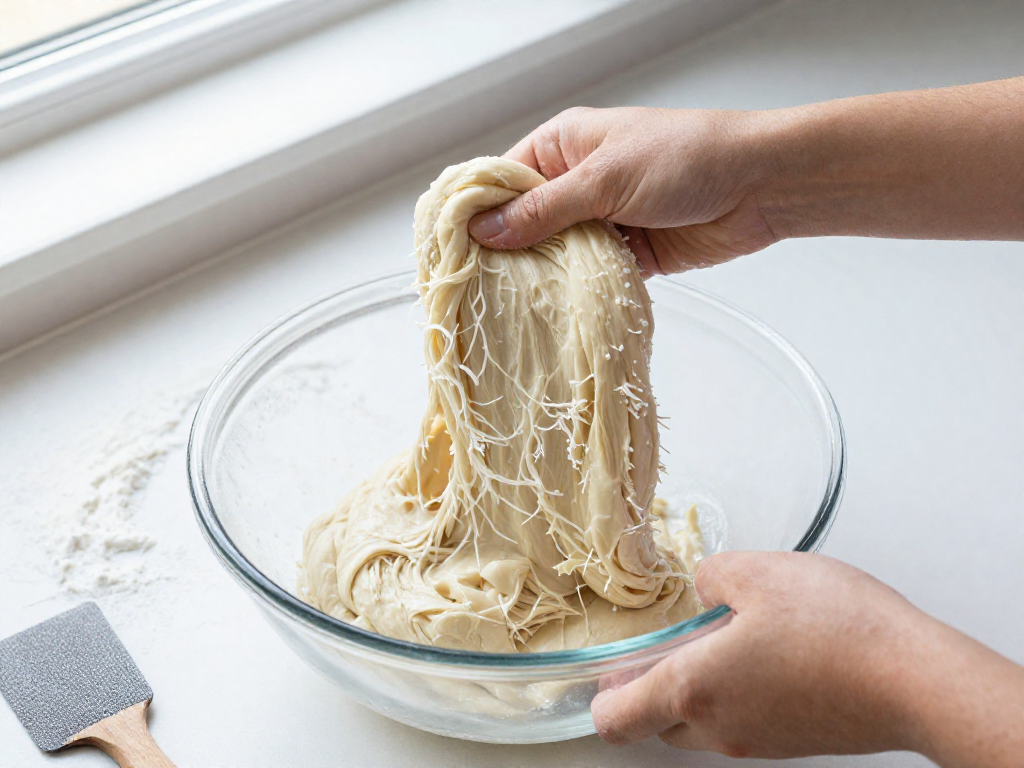
If kneading dough makes you anxious—sticky, messy, and maybe even a little violent—stretch and folds are going to feel like a revelation. This gentle technique builds the same elastic, strong gluten network that mechanical kneading does, but it does so slowly and gently, letting the dough do most of the work. Instead of wrestling a shaggy mass on the counter, you’ll simply lift and fold the dough back onto itself in a series of short, calm movements. Over time, this aligns gluten strands into a tight matrix that traps gas and gives your loaf an airy, open crumb.
At its core, each stretch physically elongates the gluten proteins, encouraging them to link up and form longer chains. When you then fold the dough over, you’re creating a kind of internal scaffold—overlapping those aligned strands to build trength in three dimensions. As Serious Eats puts it, folding “develops strength in a dough by encouraging gluten development and generating physical tension over time.” That tension is what keeps your loaf tall and prevents it from pancaking in the oven.
The basic motion couldn’t be simpler: you’ll perform a series of four folds per set, reaching under the dough and stretching it upward, then folding it over the top—once for each cardinal direction (north, south, east, west). That’s one set, and The Perfect Loaf confirms this is the standard. For most beginner recipes, four sets total gets you where you need to be, and you’ll space them out during bulk fermentation, usually every 30 minutes. Mirlandra’s Kitchen even calls four sets “the magic number.” But doughs vary: if yours is especially wet and slack (high hydration), you can fold more frequently—as often as 15 to 20 minutes apart—while a stiffer, lower-hydration dough may need a full 30 to 60 minutes between sets to relax enough for the next round. A good rule of thumb from The Clever Carrot: the wetter the dough, the closer together your sets can be.
So why is this better than traditional kneading for a beginner? First, it completely removes the fear of under- or over-kneading. With kneading, you’re fighting the dough’s natural elasticity, and it’s easy to tear it or not work it enough. Stretch and folds, on the other hand, work with the dough’s relaxation. After each set, the dough briefly tightens, then relaxes again, and the next set builds on that. There’s no guesswork—you’ll see and feel the dough transform from a sticky, shaggy puddle into a smooth, cohesive ball that holds its shape. That visual feedback is priceless when you’re just starting out.
A few crucial points: don’t overdo it. Most doughs need three to six rounds total, but you’ll stop when the dough feels strong and passes the windowpane test (stretch a small piece until it forms a thin, translucent membrane without tearing). Also, beware of over-fermenting: if your bulk ferment goes too long, enzymes start breaking down the gluten you’ve so carefully built, and your loaf will deflate. Breadtopia warns that over-fermentation “will release protein-consuming enzymes that break down the gluten.” So keep an eye on the clock and your dough’s volume—when it’s roughly doubled and jiggly, it’s time to shape.
For the absolute beginner, stretch and folds are the perfect entry point into artisan bread. You need no special equipment, no upper-body strength, and no scary timing. Just a bowl, a wet hand, and a little patience. The dough does the heavy lifting, and you get to watch it turn into something beautiful, one gentle fold at a time.
Flour Choice: The Foundation of Gluten Strength
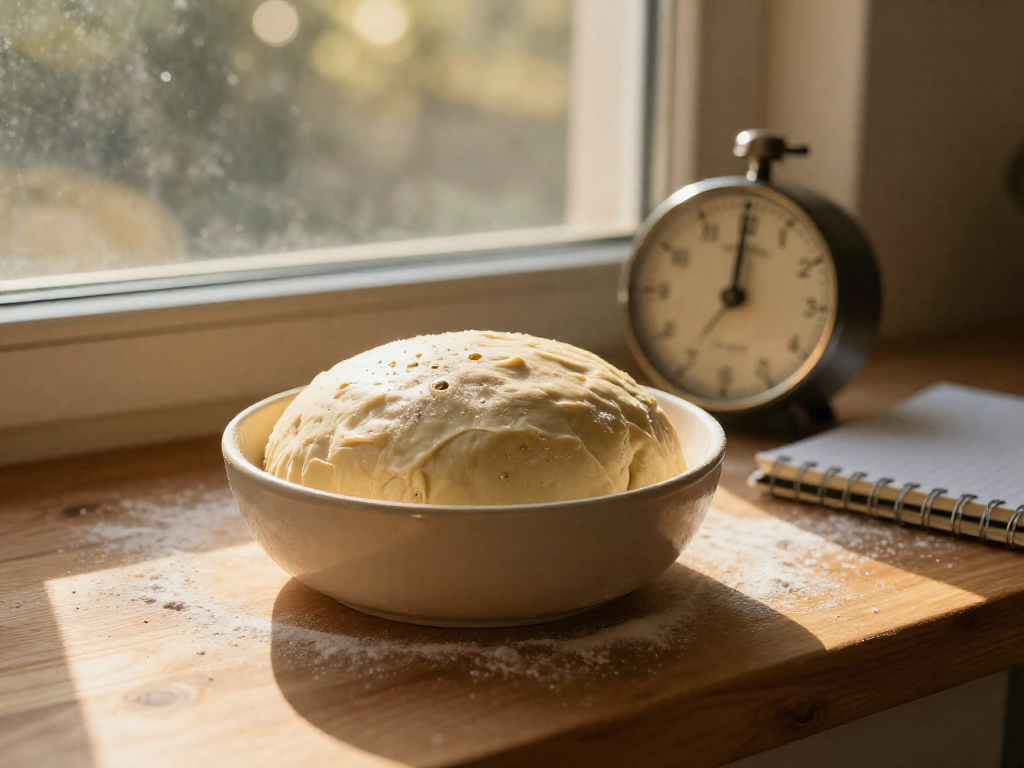
The single most important factor in gluten strength is the flour you grab from the shelf. If you start with a weak flour, no amount of folding will save your loaf. The secret? Protein content. Wheat flour’s proteins—glutenin and gliadin—are what link into gluten when you add water, so more protein means more potential strength.
Bread flour typically runs 12–14% protein, with King Arthur’s bread flour clocking in at 12.7%. That high protein gives you a sturdy dough that can trap gas and rise high. All-purpose flour sits in the middle, around 10–12%, making it a decent option but less forgiving. Cake flour, at just 6–8% protein, is a gluten weakling: save it for tender cakes, not sourdough.
Whole wheat flour looks like a powerhouse on paper, with 13.8% protein. But there’s a catch. The bran and germ in whole wheat have sharp edges that literally slice through gluten strands, weakening the network you’ve worked so hard to build (King Arthur Baking). This doesn’t make whole wheat bad—it just means beginners should avoid 100% whole wheat loaves until they’ve mastered the basics with a strong white flour.
For your first few loaves, pick a bread flour or a high-protein all-purpose (look for 11.5% or more on the label). That simple choice eliminates the biggest hidden variable and lets you focus on learning the rhythm of stretch and folds without fighting a dough that’s already doomed.
Timing and Technique: Getting Your Folds Right
The spacing of your stretch and folds hinges on how much water is in your dough. High-hydration doughs—those that are slack and sticky—need folds every 15 to 30 minutes. That’s because the wetter matrix can’t hold tension for long; frequent but gentle handling keeps the gluten aligned without tearing it. The Clever Carrot notes that stiffer, low-hydration doughs can wait longer, typically 30 minutes to an hour between sets, giving the gluten ample time to relax. If you’re staring at a dough that’s starting to flow out into a puddle, it’s time for another fold. If it’s still mounded and holding shape, you can let it be.
When do you stop? Your dough will tell you. Early on, it tears when you pull it. After two or three sets, it begins to feel smooth and cohesive, holding its shape in the bowl. The gold standard is the windowpane test: take a small lump, stretch it gently between your fingers. If you can get a thin, nearly translucent membrane without it tearing, your gluten network is strong enough. Most beginner loaves hit this point after about four sets, spaced 30 minutes apart. But don’t blindly follow a number—check after set three, and if the dough feels strong and elastic, move on. Over-folding risks degassing what you’ve built.
One trap catches more new bakers than any other: over-fermentation. During bulk fermentation, yeast and bacteria produce organic acids and, critically, enzymes. Let the dough sit too long—especially in a warm kitchen—and those enzymes start dismantling the gluten you’ve worked to develop. The result is a dough that deflates, loses structure, and bakes up dense and flat. This is why recipes give a time range, not a stopwatch. When the dough feels smooth, holds a dome, and passes the windowpane, shape it. Don’t let it hang out on the counter waiting for the timer to beep.
The Windowpane Test: Your Gluten Checkpoint
The windowpane test is the surest way to know if your gluten development is on track. Pinch off a small piece of dough — about the size of a golf ball — and stretch it gently, working it into a thin film. Keep pulling until you can see light through the center. If it forms a translucent sheet without ripping, congratulations: your gluten is fully developed and ready to shape (Modernist Cuisine). This means the gluten strands are elastic enough to trap gas and give your loaf real structure.
Use the test right after your final set of stretch and folds, before you shape the dough. If the dough tears easily, don't skip it — just do one more round of folds, rest the dough for 20–30 minutes, and test again. (One note: over-fermented dough can lose gluten strength, so if your dough seems slack and tears no matter what, your bulk fermentation may have gone too long.)
Sources
- A beginner’s guide to gluten | King Arthur Baking — kingarthurbaking.com
- Discuss gluten formation as a scientific basic in bread baking with accurate references? | ResearchGate — researchgate.net
- Science: What is Gluten? Here's How to See and Feel Gluten - America's Test Kitchen — youtube.com
- How to Knead, Fold, and Shape Sourdough Bread | Serious Eats — seriouseats.com
- How To Stretch and Fold Sourdough Bread Dough | The Perfect Loaf — theperfectloaf.com
- How to Stretch and Fold Sourdough - Not Just Food — notjustfood.blog
- Stretch and Fold Sourdough: The Ultimate Beginner’s Guide (Video Tutorial) - Mirlandra's Kitchen — mirlandraskitchen.com
- How to Stretch and Fold Sourdough - The Clever Carrot — theclevercarrot.com
- Gluten Development for Artisan Bread - Breadtopia — breadtopia.com
- Gluten: How Does It Work? - Modernist Cuisine — modernistcuisine.com
See also
- How to Create a Sourdough Starter
- Beginner’s Sourdough Recipe
- Troubleshooting Dense Sourdough
- Sourdough Shaping Techniques
Related articles
Stop Aiming for 'Perfect': Redefining Sourdough Success as a Beginner
Should beginners lower their expectations for a perfect loaf?
Jul 28, 2026 · 4 min read
The Shaping Secret: How Your Technique Affects Oven Spring and Crumb
Discover why shaping is the secret to amazing oven spring and open crumb in sourdough. Learn how surface tension, dough shape, and proper technique can transform your loaves.
Jul 28, 2026 · 10 min read
Sourdough Lingo You Don’t Need: Simple Words Instead of ‘Autolyse’ and ‘Crumb’
Why do sourdough bakers use so much jargon, and what simple substitutions can I use?
Jul 20, 2026 · 4 min read