How to Store Your Sourdough Starter: Counter vs. Fridge
Should I keep my starter on the counter or in the fridge?
On this page
The Short Answer: Match Storage to How Often You Bake
Counter or fridge? It comes down to how often you bake.
- Baking several times a week? Keep your starter (the living mix of flour and water that rises your bread) on the counter, where it stays active and ready.
- Baking weekly or less? Store it in the fridge, which slows it down so you feed it far less often.
Here's the reassuring part: neither method is "wrong." They're just two schedules, and you pick the one that fits your life.
And if your routine changes, switching is easy and forgiving. You can move your starter from counter to fridge (or back) anytime with a feeding or two—no harm done. We'll walk through exactly how below.
Counter Storage: For Frequent Bakers
If you bake two or more times a week—or you're trying to wake up a sluggish new starter—keep it on the counter at room temperature. It stays active and ready, so you can mix dough without waiting a day to revive it.
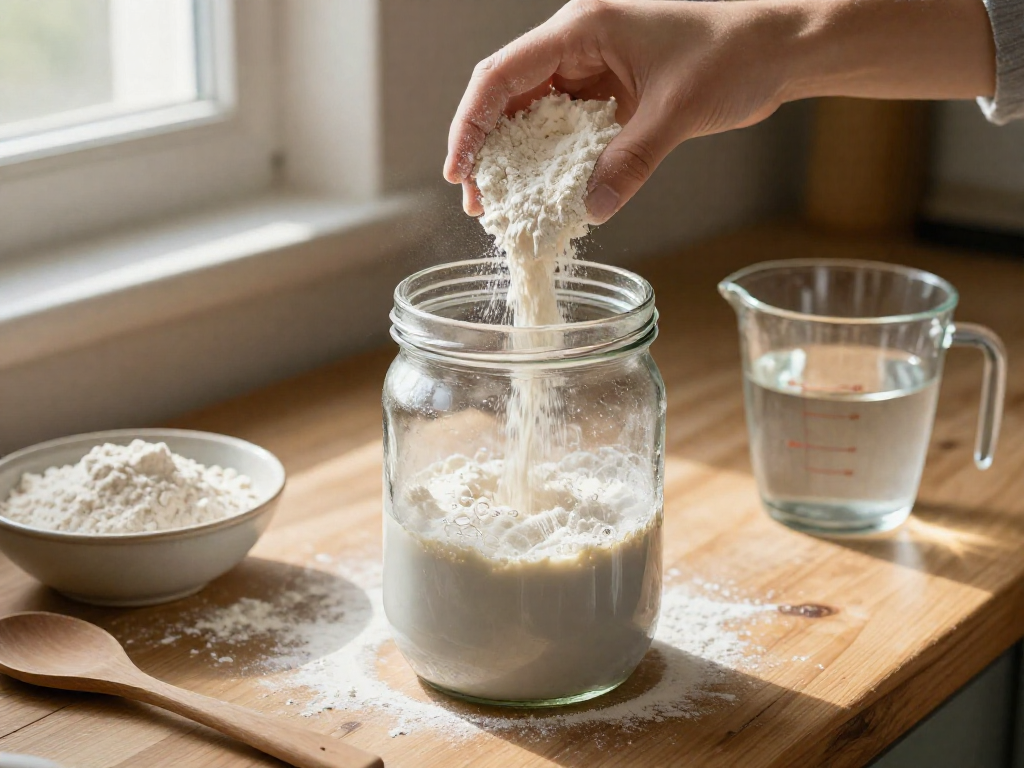
How to feed it
Feed (discard most of the starter, then add fresh flour and water) on this rhythm:
- Warm kitchen (75–80°F / 24–27°C): every 12 hours
- Cooler kitchen (65–70°F / 18–21°C): every 24 hours
A simple beginner feeding ratio is 1:1:1 by weight:
| Ingredient | Weight | Approx. cups |
|---|---|---|
| Existing starter | 50 g | ~¼ cup |
| Flour | 50 g | ~⅓ cup |
| Water (lukewarm) | 50 g | ~¼ cup |
Stir until no dry flour remains, then loosely cover.
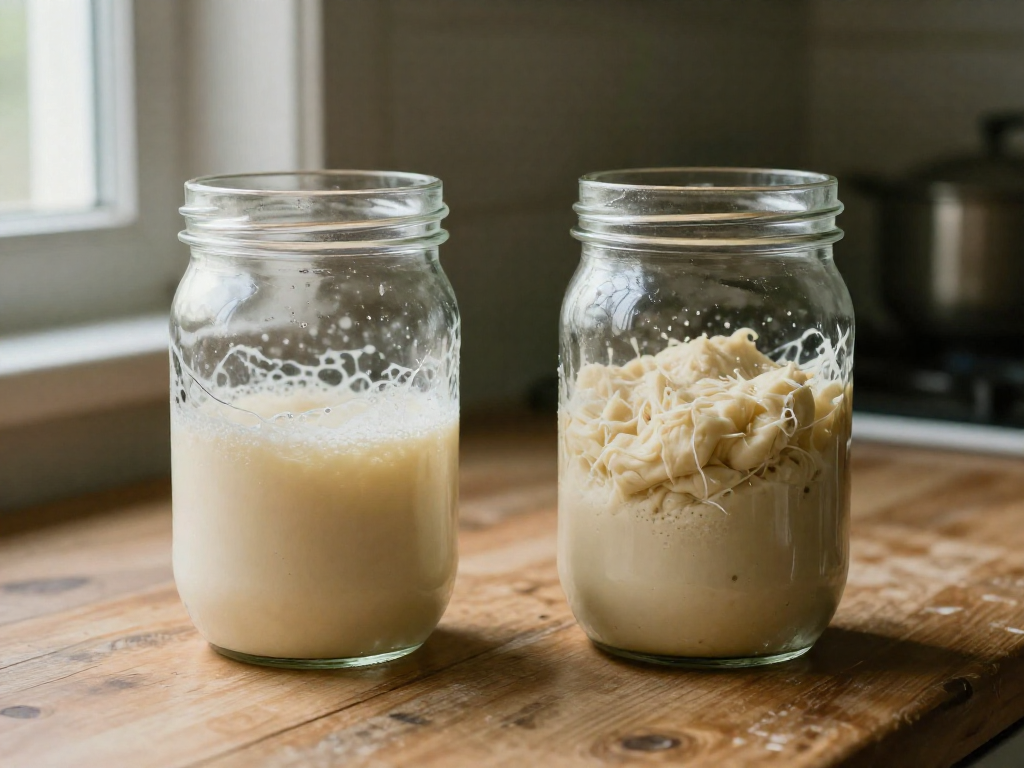
What a healthy starter looks like
- Bubbly across the surface and throughout
- Doubles in size within 4–8 hours after feeding
- Smells tangy and yeasty, not like nail polish remover
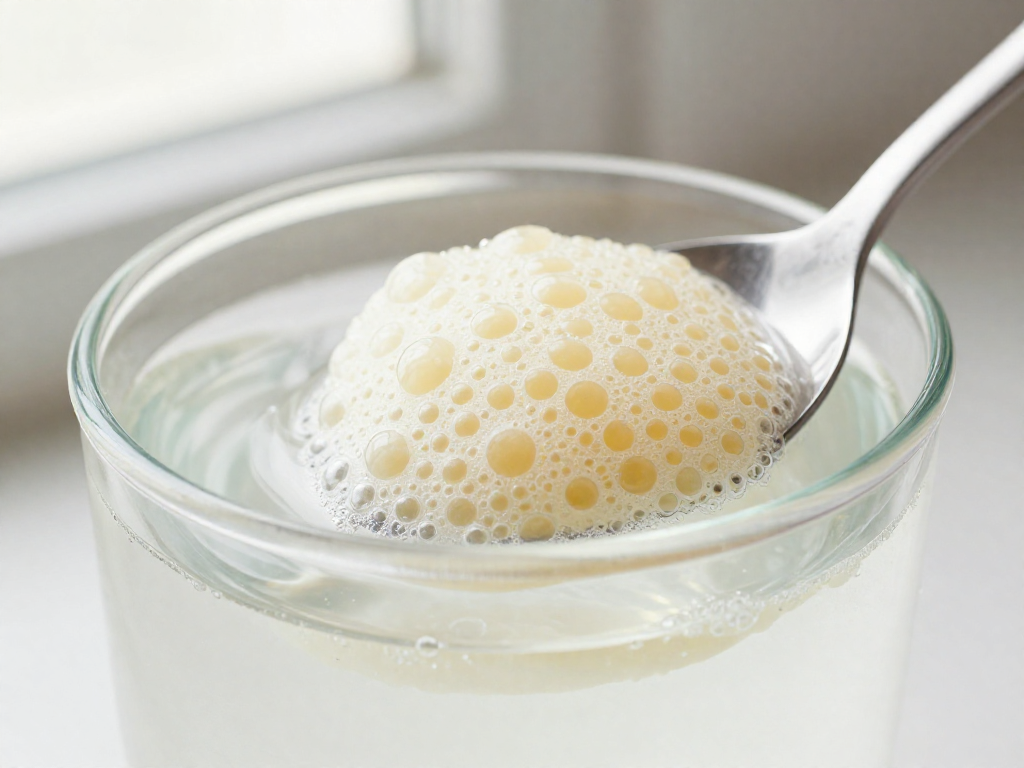
- Passes the float test: a small spoonful dropped in water floats (a quick sign it's full of gas and ready to bake)
Pros and cons
- Pros: always ready to bake, faster and more reliable rise
- Cons: uses more flour, needs daily attention—miss feedings and it weakens
Rise times vary by flour, temperature, and your kitchen's wild yeast, so watch the starter, not just the clock.
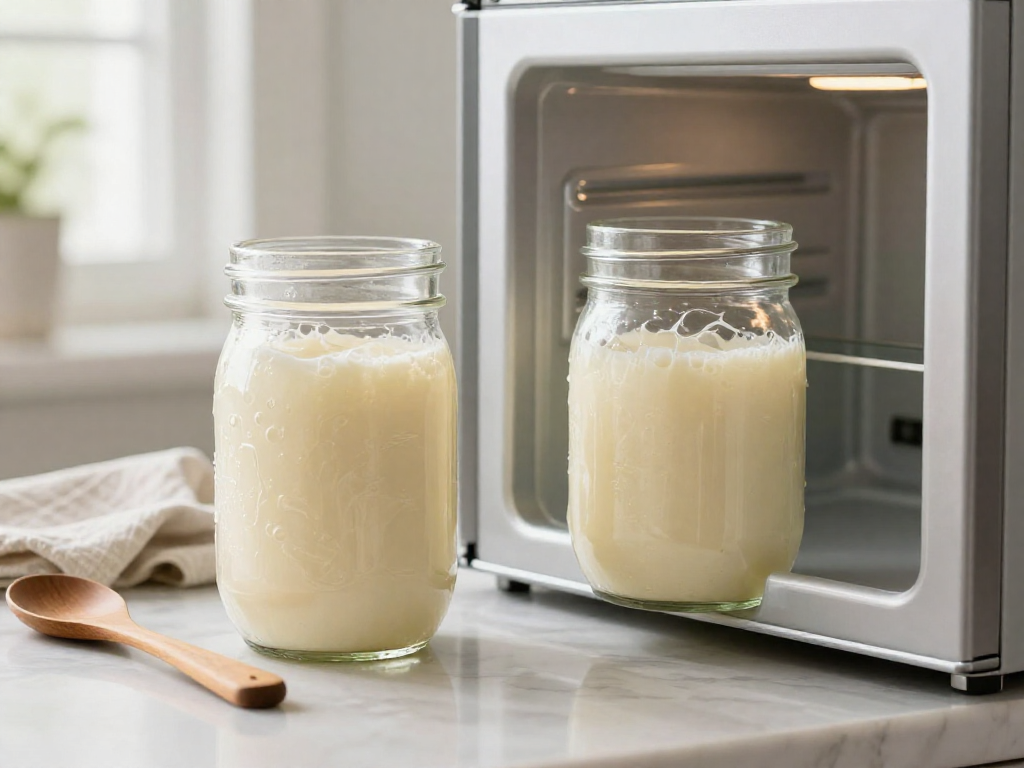
Fridge Storage: For Occasional Bakers
If you bake once a week or less, store your starter in the fridge. The cold slows down fermentation (the process where wild yeast and bacteria eat flour and produce the gas that makes bread rise), so your starter goes mostly dormant and needs far less feeding.
How to Put Your Starter "To Sleep"
- Feed it as usual. A common beginner ratio is 50g starter + 50g flour + 50g water (about ¼ cup starter, ⅓ cup flour, scant ¼ cup water). Stir until no dry flour remains.
- Let it start rising. Leave it on the counter for 1–2 hours until you see the first small bubbles and it begins to climb the jar. You don't need to wait for it to double.
- Refrigerate. Loosely cover and move it to the back of the fridge, where the temperature is most stable.
Weekly Maintenance
Once a week, take it out, discard all but about 50g, and feed it the same 1:1:1 ratio. If you're not baking, you can return it to the fridge after the brief counter rest above.
Reviving Before You Bake
Pull the starter out 1–2 days before baking. Feed it once or twice at room temperature, about 8–12 hours apart, until it reliably doubles within 4–6 hours and looks bubbly and domed. That's your sign it's active enough to leaven a loaf.
| Pros | Cons | |
|---|---|---|
| Fridge | Low maintenance, less flour waste, forgiving schedule | Needs reviving before baking, slower to bounce back if neglected |
Troubleshooting:
- Gray liquid on top ("hooch"): It's hungry, not ruined—pour it off (or stir it in for tangier flavor) and feed.
- No bubbles after one feeding: Normal after the fridge. Give it 2–3 feedings at room temperature to wake up.
Results vary by kitchen temperature and climate, so use the visual cues—bubbles and reliable doubling—rather than the clock to judge readiness.
Counter vs. Fridge: Side-by-Side Comparison
Here's the quick scan. Pick the column that fits your week.
| Factor | Counter | Fridge |
|---|---|---|
| Feeding frequency | Every 12–24 hours | Once every 1–2 weeks |
| Flour use | High (daily feeds) | Low (occasional feeds) |
| Ready-to-bake time | Ready now (peaked and bubbly) | 1–2 days (needs 2–3 feeds to wake up) |
| Maintenance level | High | Low |
Which method wins for:
- Busy schedules: Fridge. One feed every week or two beats a daily commitment.
- Vacations: Fridge. A healthy starter survives 2–3 weeks cold; feed it before you leave.
- Building a new starter: Counter. The first 1–2 weeks need warm, frequent feeding to establish strong yeast and bacteria (the microbes that make your bread rise and taste tangy).
You can switch anytime. Baking a lot this month? Park the starter on the counter. Slowing down? Feed it once and tuck it in the fridge. Your starter adapts to either rhythm within a few feeds, so let your real life decide.
How to Wake Up a Fridge Starter Before Baking
A cold starter is sleepy, not dead. Here's how to get it active enough to raise a loaf.
The steps:
- Take it out of the fridge. No need to wait for it to warm up first.
- Discard most of it. Keep about 50g (¼ cup) and scrape the rest into the trash or a discard jar.
- Feed it 1:1:1 by weight. Add 50g flour (about ⅓ cup) and 50g room-temperature water (about ¼ cup). Stir until smooth, like thick pancake batter.
- Leave it at room temp (68–75°F / 20–24°C), loosely covered, for 4–12 hours.
- Repeat the discard-and-feed once or twice until it reliably doubles.
The float test: Drop a small spoonful into a glass of water. If it floats, it's full of gas and ready to bake. If it sinks, give it another feed.
Timeline: A regularly used starter usually wakes up in a day (1–2 feedings). A neglected one that's sat for weeks may need two days and 3–4 feedings.
| Ready to bake | Needs another feed |
|---|---|
| Doubled in size | Barely rose |
| Bubbly and domed on top | Few or no bubbles |
| Smells tangy and yeasty | Smells sharp, boozy, or flat |
| Passes the float test | Sinks in water |
Results vary by kitchen temperature, so watch the starter, not the clock.
Common Storage Mistakes (and Easy Fixes)
A weak or mismanaged starter is the most common reason for dense, gummy, or flat loaves. Here are the four mistakes beginners make most—and exactly how to fix them.
-
Baking straight from a cold fridge starter. A starter taken right from the fridge is sluggish and won't rise your dough well. Fix: Feed it and wait until it doubles and looks bubbly and domed (usually 4–12 hours at room temperature) before baking.
-
Forgetting to feed for weeks. Don't toss it! Fix: Scrape off any liquid or dark crust, then feed daily (e.g., 50g starter + 50g flour + 50g water) for 2–3 days until it bubbles and doubles again.
-
Hooch (gray-brown liquid on top). This just means your starter is hungry—not ruined. Fix: Pour it off (for a milder flavor) or stir it in (for a tangier flavor), then feed as usual.
-
Sealing the jar too tightly. A starter releases gas and can crack a sealed jar. Fix: Rest the lid on loosely so gas escapes.
Results vary by kitchen and climate, so watch your starter's cues, not just the clock.
See also
- How to Make a Sourdough Starter from Scratch
- How to Feed Your Sourdough Starter
- Sourdough Starter Float Test Explained
- How to Revive a Neglected Sourdough Starter
- Beginner Sourdough Bread Recipe (Step by Step)
Related articles
The Emotional Side of Sourdough: Dealing with Starter Anxiety and Failure
How do I cope with the stress and disappointment when my sourdough starter fails or seems to die?
Jul 20, 2026 · 7 min read
Sourdough Starter Fasting: What to Do When You Go on Vacation
How do I prepare my sourdough starter for a multi-week absence and revive it smoothly?
Jul 20, 2026 · 9 min read
Can You Make a Sourdough Starter Without Discarding Flour?
Tired of throwing flour away? Learn whether you can make a sourdough starter without discarding, plus a low-waste method that actually works for beginners.
Jun 29, 2026 · 5 min read