How Temperature Affects Your Sourdough Timing
Why does room temperature change my fermentation times?
On this page
Why Temperature Is the Variable Recipes Don't Tell You About
Here's the short answer: if you followed a recipe exactly and still got a dense, flat, or gummy loaf, your kitchen was probably colder (or warmer) than the kitchen the recipe was written for.
Almost every sourdough recipe assumes a room temperature of about 75–78°F (24–26°C) — but most never tell you that. So when the recipe says "bulk ferment for 4 hours" (bulk ferment = the first long rise, after mixing and before shaping), it really means 4 hours at that specific temperature. Change the temperature and you change the clock.
And your kitchen temperature changes a lot:
- A 65°F (18°C) winter kitchen can stretch a 4-hour rise to 7+ hours.
- An 80°F (27°C) summer kitchen can shrink it to under 3 hours — easy to over-ferment without noticing.
This is the single most common reason "I followed the recipe exactly" still fails. It isn't your starter, your flour, or your technique — it's that the recipe handed you a time, not a temperature.
The good news: this is completely fixable, and you don't need a math degree. Once you learn one simple rule — watch the dough, not the clock — your timing stops being a guessing game. The rest of this guide shows you exactly how to read your dough and adjust for whatever temperature your kitchen happens to be.
The Science: What Heat Does to Wild Yeast and Bacteria
Short version: Your starter and dough are full of living creatures. When it's warm, they work fast. When it's cold, they slow way down. That's why the same recipe can take 4 hours one day and 8 hours the next.
Here's what's actually happening.
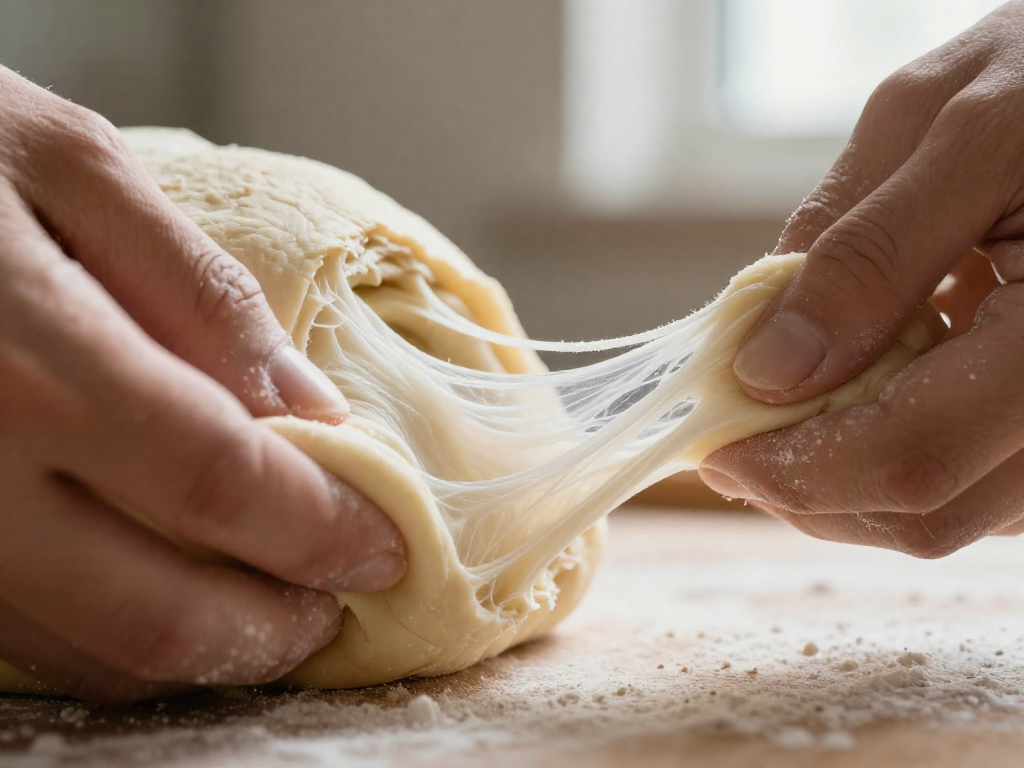
A sourdough starter is a colony of two kinds of tiny living things: wild yeast (which makes the gas that puffs your bread up) and bacteria (which make the tangy, sour flavor). Both of them are alive, and both of them eat the flour in your dough. As they eat, the yeast burps out bubbles of gas that get trapped in the dough and make it rise. The bacteria, meanwhile, produce mild acids that give sourdough its flavor.
The key thing to understand: these organisms eat faster when they're warm and slower when they're cold, just like you feel more energetic on a warm afternoon than on a freezing morning.
So the cause and effect looks like this:
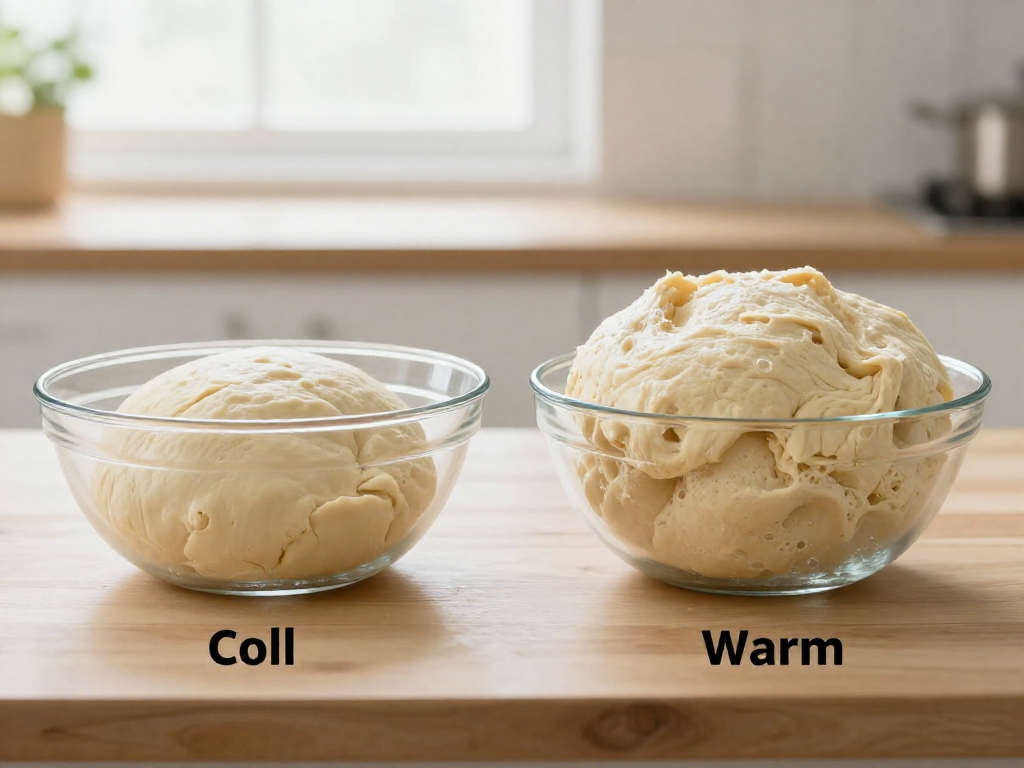
- Warm dough (around 78°F / 26°C): the yeast and bacteria are active and hungry. They eat fast, so your dough rises faster and turns sour faster. Things move quickly — keep an eye on it.
- Cool dough (around 65°F / 18°C): everything slows down. The same rise that took 4 hours in a warm kitchen might take 8 hours or more here.
- Cold dough (in the fridge, ~38°F / 3°C): activity nearly stops. The dough almost "pauses." This is actually a useful trick — it lets you slow things down and bake on your own schedule.
Two limits worth knowing:
- Too hot — above about 90°F (32°C): the heat starts to harm and eventually kill the yeast, so your dough loses its power to rise.
- Too cold — near freezing: activity stalls out almost completely; nothing much happens until it warms back up.
The sweet spot for most beginners is a dough temperature around 75–78°F (24–26°C) — warm enough to be active and predictable, cool enough that you're not racing the clock.
Once you understand that warmth speeds things up and cold slows them down, the timing in any recipe stops being a fixed rule and starts being something you can read and adjust. The next sections show you how to do exactly that.
The Rough Rule: How Much Faster or Slower per Degree

Here's the shortcut you can use today: for every ~17°F (about 9°C) warmer, your dough ferments roughly twice as fast. For every ~17°F cooler, it takes about twice as long.
That's a big jump, so for the small swings most kitchens see, just remember: a few degrees warmer = noticeably faster; a few degrees cooler = noticeably slower.
What this looks like in real numbers
These are approximate times for bulk fermentation (the first rise, after mixing and before shaping, when most of the flavor and rise develops). Same dough, same recipe, only the temperature changed:
| Dough temperature | Approx. bulk ferment time |
|---|---|
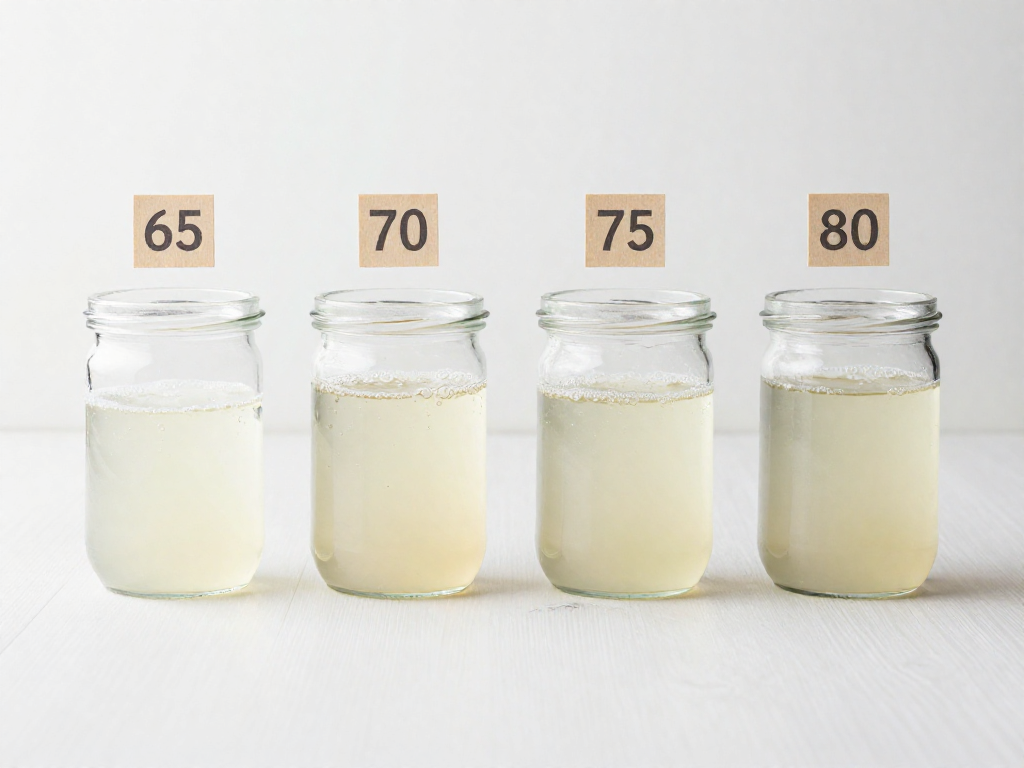
| 70°F (21°C) | 6–8 hours |
| 75°F (24°C) | 4–6 hours |
| 80°F (27°C) | 3–4 hours |
Notice that a 10°F difference roughly cuts the time in half. This is exactly why a recipe that says "bulk ferment 4 hours" can leave you with a dense loaf in a cool kitchen or an over-proofed, gummy one in a warm one.
Watch the dough, not the clock
Because temperature changes timing so much, the clock is only a rough guide. Trust what the dough shows you instead:
- It has risen 50–75% in volume (not always doubled for beginners).
- The surface looks domed and slightly jiggly, with a few bubbles.
- Poke it gently: the dimple springs back slowly, not instantly.
When you see those cues, it's ready, whether that's hour 3 or hour 8.
Measure dough temp, not air temp
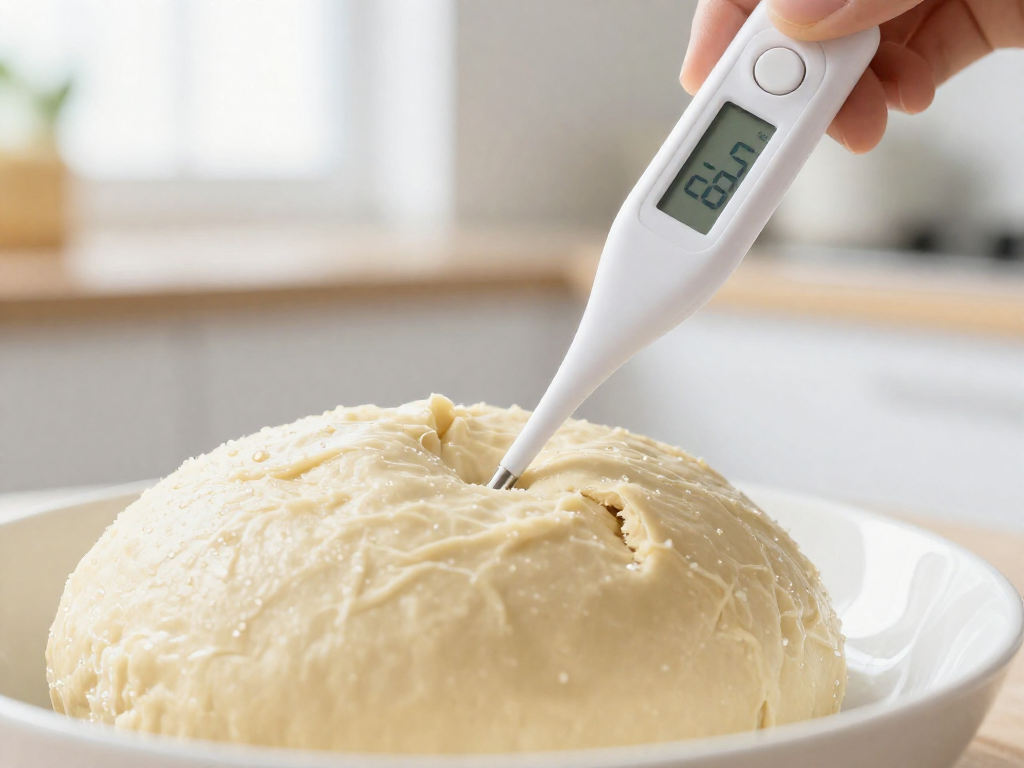
Air temperature and dough temperature aren't the same, and the dough is what actually matters. Use an instant-read kitchen thermometer:
- Right after mixing, insert the probe into the center of the dough.
- Wait for the number to settle (a few seconds).
- Aim for a starting dough temperature around 75–78°F (24–26°C) for predictable timing.
Results vary by kitchen and climate, so treat every time above as a starting estimate, then adjust using the visual cues.
Adjusting Bulk Fermentation for a Cold Kitchen
If your kitchen is cold (below about 68°F / 20°C), your bulk ferment—the first long rise where the whole batch of dough sits before you shape it—will slow way down. Here's how to fix it.
1. Move the dough somewhere warmer
In order of how reliable they are:
- Oven with the light on (door closed): Often holds 75–80°F / 24–27°C. Check with a thermometer first; some ovens run hotter.
- On top of the fridge: The motor gives off gentle, steady heat.
- A sunny windowsill: Works during the day, but move the dough before the sun sets and the spot goes cold.
2. Warm up your dough with warmer water
The temperature of your mixing water is the easiest lever you control. Aim for a final dough temperature (the dough's temp right after mixing) of about 76°F / 24°C.
- Cold kitchen fix: use water at roughly 90–95°F / 32–35°C.
- Warm to the touch, not hot—water above 105°F / 40°C starts to harm your starter.
3. Build a cheap warm box
- A seedling heat mat under a covered bowl.
- A cooler (the picnic kind) with a jar of warm water inside, refreshed every few hours.
- A dedicated proofing box if you bake often.
4. Expect it to take longer—and watch the dough, not the clock
A cold kitchen can double your bulk time (8–12 hours instead of 4–6). Stop the bulk ferment when the dough:
- Has grown 50–75% in size (not fully doubled).
- Looks domed and jiggly with a few bubbles on top.
- Springs back slowly when poked, leaving a small dent.
Results vary by kitchen and flour, so trust these cues over any fixed time.
Adjusting for a Hot Kitchen (Summer Baking)
When your kitchen is warm (above about 24°C / 75°F), your dough ferments faster, and the most common result is over-fermentation: the dough rises too far, the gluten structure breaks down, and you get a flat, gummy, or sour loaf. Here's how to slow things down.
1. Use cooler water. Water temperature is the easiest lever you have. As a rough rule, aim for a final dough temperature of about 24°C (75°F). In a hot kitchen, use fridge-cold water (around 10°C / 50°F) instead of room-temperature water when mixing.
2. Shorten bulk fermentation and check early. Bulk fermentation is the first long rise, after mixing and before shaping. In a cool kitchen this might take 8 hours; in a hot kitchen it can finish in 3–4. Don't watch the clock—watch the dough. Start checking 2 hours in.
3. Use the fridge to slow things down. Once the dough has risen about 50%, move the whole bowl to the refrigerator to finish bulk fermentation slowly, or shape it and cold-proof overnight. This buys you control and flexibility.
Signs of over-fermentation (catch these before baking):
| Symptom | What it means |
|---|---|
| Dough more than doubled, very loose and soupy | Gone too far |
| Large surface bubbles that pop and don't recover | Gas structure collapsing |
| Sticky, slack dough that won't hold a shape | Gluten breaking down |
| Strong, sharp vinegary smell | Over-acidified |
If you spot these, shape and bake right away—it won't be perfect, but you'll save the loaf. Results vary by kitchen and flour, so treat these as cues, not guarantees.
Using the Fridge: Cold Retard for Flexible Timing
The fridge is your best friend for fitting sourdough around real life. Cold retarding (or "retarding") simply means slowing down fermentation by chilling your dough. The cold doesn't stop the yeast and bacteria—it just makes them work much more slowly, which buys you a wide window of time instead of a tight deadline.
How to do it (the shaped loaf):
- Finish bulk fermentation at room temperature. (Bulk fermentation is the first long rise, after mixing, when the whole batch of dough ferments together.)
- Shape your loaf and place it in a banneton or bowl.
- Cover and put it straight into the fridge (ideally 38–40°F / 3–4°C).
- Leave it 8–16 hours. Bake cold, straight from the fridge.
Why beginners love it:
- Forgiving timing: A loaf is happy anywhere from 8 to 16 hours, so an hour either way won't ruin it.
- Better flavor: A long, cold proof lets the bacteria develop more of that tangy, complex sourdough taste.
- Easier scoring: Cold dough is firmer and slashes cleanly.
Fit it to your schedule: Shape after dinner, refrigerate overnight, and bake before work or the next morning. Results vary by fridge temperature and dough, so check for puffiness and a slow spring-back when you gently poke it.
Reading Your Dough Instead of the Clock
Here's the mindset shift that fixes timing for good: watch the dough, not the clock. A timer can't see your kitchen's temperature, but your eyes and hands can read what the dough is actually doing.
The cues that tell you bulk fermentation (the first rise, after mixing) is done:
- Rise amount: the dough has grown by about 50–75% in volume, not doubled.
- Bubbles: you see a few bubbles on the surface and along the sides of the bowl.
- Jiggle: when you nudge the bowl, the dough wobbles like set jelly.
- Poke test: wet a finger, press in about 1 cm; the dent springs back slowly and halfway. Springs back fast = needs more time. Stays sunken = overproofed (fermented too long).
Quick troubleshooting tied to temperature:
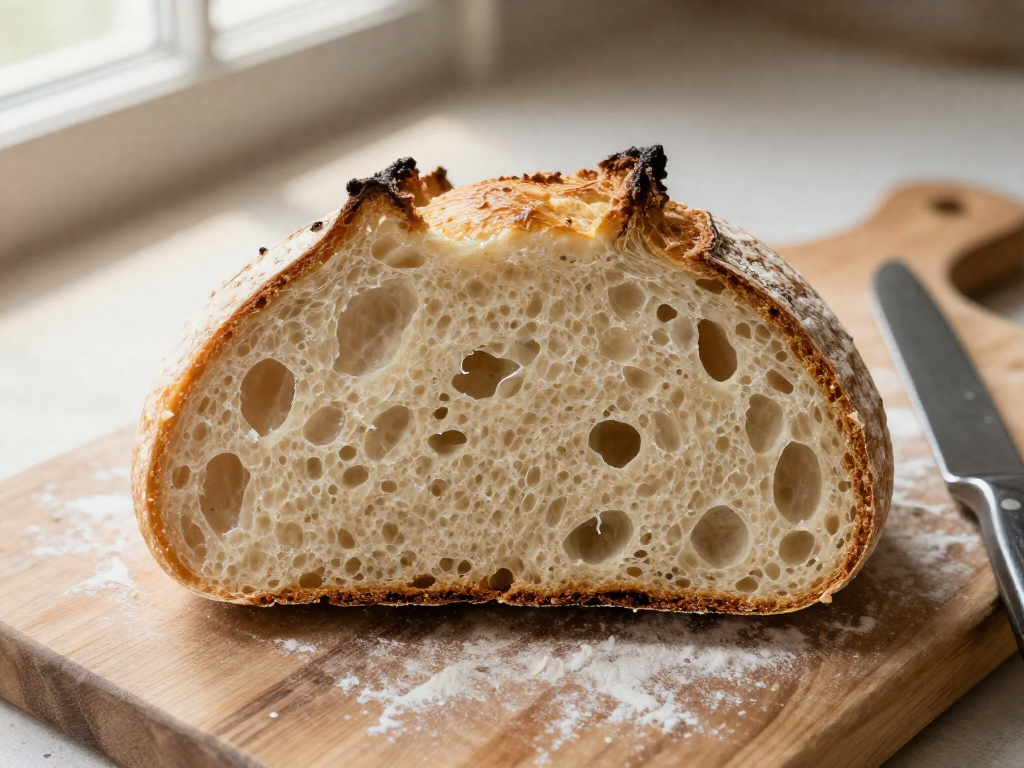
- Dense, tight loaf: usually underproofed because a cold kitchen slowed things down. Give it more time next round.
- Gummy, sticky crumb: often overproofed in a warm kitchen, or sliced before fully cool. Shorten the rise when it's hot.
- Flat, spread-out loaf: overproofed dough loses structure. Watch the cues, not the clock.
Keep a simple note for each bake: room temperature, how long the rise took, and how the loaf turned out. After three or four loaves you'll spot your kitchen's pattern—and that beats any recipe's timing.
Results vary by kitchen and climate, so treat times as starting points.
See also
- Beginner's guide to creating a sourdough starter
- How to tell when bulk fermentation is done
- Why is my sourdough dense or gummy? Troubleshooting guide
- Easy beginner sourdough bread recipe (step by step)
- Understanding hydration percentages for beginners
Related articles
Sourdough Lingo You Don’t Need: Simple Words Instead of ‘Autolyse’ and ‘Crumb’
Why do sourdough bakers use so much jargon, and what simple substitutions can I use?
Jul 20, 2026 · 4 min read
The Beginner’s Guide to Sourdough Gluten Development: Why Stretch and Folds Work
How does gluten development work in sourdough, and why are stretch and folds so effective for beginners?
Jul 20, 2026 · 9 min read
How Long Does It Really Take to Bake Your First Sourdough?
Wondering how long sourdough really takes? See the realistic active vs. passive time for your first loaf, hour by hour, so you can plan with confidence.
Jun 29, 2026 · 8 min read