Building a Sourdough Timing Schedule That Fits Your Day
How do I plan a sourdough schedule around my life?
On this page

Why Sourdough Timing Feels So Confusing (And Why It Isn't Really)
Here's the reassuring truth: you don't have to match the clock in a recipe—the dough waits for you more than you think.
Most recipes hand you one fixed timeline ("mix at 9 a.m., bake at 6 p.m."), and when your real day doesn't line up, the loaf seems doomed. It isn't. Those times are just one example of a schedule, not a rule.
What actually drives speed is temperature, not the clock. Warm dough ferments faster; cool dough slows way down. A loaf left on a 78°F counter might be ready to bake in 4 hours, while the same dough in a 65°F kitchen takes 6 or more—or can rest overnight in the fridge until you're free. That flexibility is your friend.
A couple of terms you'll see throughout this guide:
- Bulk ferment — the first long rise, after mixing, when the dough develops its strength and flavor.
- Hydration — how much water is in the dough compared to flour, written as a percentage.
So instead of memorizing one rigid timeline, you'll learn the handful of stages every loaf goes through. Once you know them, you can slide them around to fit your morning, your workday, or your sleep—and assemble a schedule that's built around your life, not the other way around.
The 5 Stages of a Sourdough Bake (Your Building Blocks)
Think of a sourdough bake as five movable blocks. Once you know how long each one takes—and how much it can stretch or shrink—you can slide them around your day like puzzle pieces. Here's each block at a glance, then the details.
| Stage | Typical time | How much it flexes |
|---|---|---|
| 1. Feed the starter | 4–12 hrs to peak | Very flexible (your main anchor) |
| 2. Mix + autolyse | 30 min–1 hr | Hands-on, fairly fixed |
| 3. Bulk fermentation | 4–8 hrs | Flexible, but temperature-driven |
| 4. Shape + bench rest | 20–40 min | Quick, mostly fixed |
| 5. Cold proof (fridge) | 8–48 hrs | Hugely flexible (your secret lever) |
1. Feeding the starter (your anchor)
Your starter is the jar of fermented flour and water that makes the bread rise. After you feed it (mix in fresh flour and water), it slowly puffs up and "peaks"—doubling in size and looking bubbly and domed. This takes 4–12 hours depending on your kitchen temperature and how strong your starter is.
This is the most flexible block because you choose when to feed it. Want to mix dough at 9 a.m.? Feed the night before. Want to mix after work? Feed in the morning. Sensory cue: ready when it has roughly doubled and a small spoonful floats in water.
2. Mixing and autolyse (short, hands-on)
Here you combine flour, water, starter, and salt. Many bakers do an autolyse first: mixing just flour and water and letting it rest 30–60 minutes before adding starter and salt. This rest lets the flour fully absorb water, making the dough easier to handle and the crumb more open. Plan for under an hour. This block doesn't stretch much.
3. Bulk fermentation (the long, temperature-sensitive one)
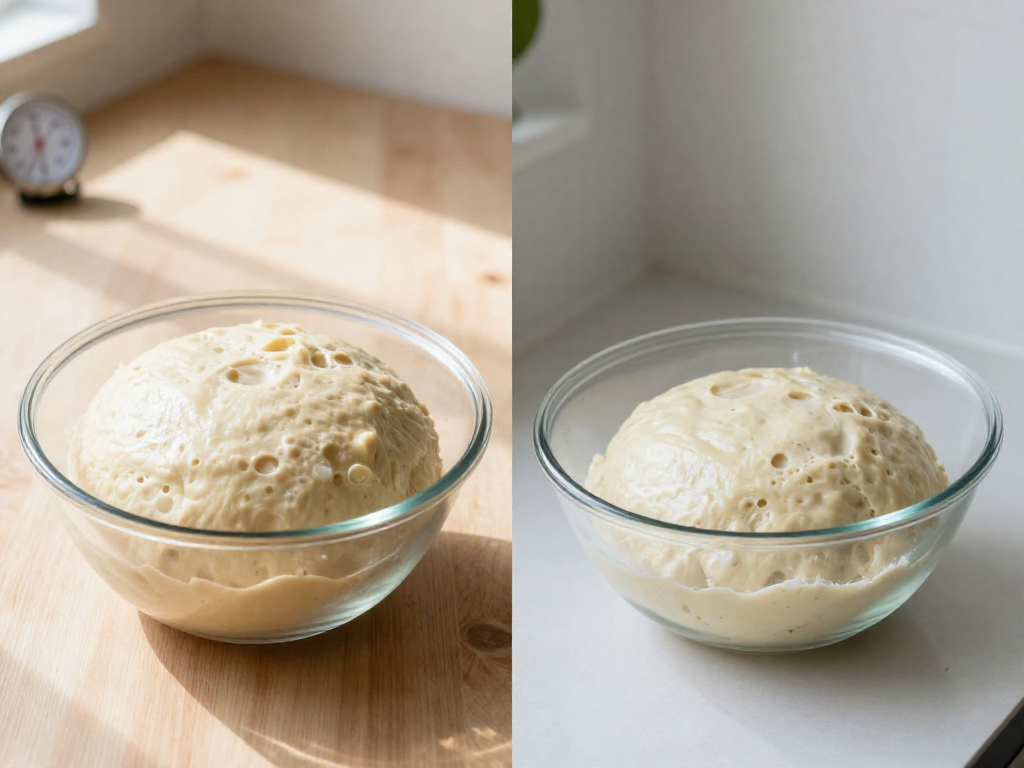
Bulk fermentation ("bulk ferment") is the main rise, when the whole batch of dough sits and develops flavor and air. Expect 4–8 hours. This is the block most affected by temperature: warm kitchens (75–78°F) finish near 4 hours; cool kitchens (65°F) can take 8+. Sensory cue: done when the dough has grown about 50%, looks puffy, and jiggles like jelly.
4. Shaping and bench rest (quick, fixed-ish)
You divide and shape the dough, then let it rest 20–40 minutes so it relaxes before the final shape. This block is short and doesn't move much—budget about half an hour.
5. Cold proof (your secret flexibility lever)
After shaping, the dough goes into the fridge. Cold proof simply means the final rise happens slowly in the cold—anywhere from 8 to 48 hours. This is the lever that makes sourdough fit real life: bake tonight, tomorrow morning, or two days from now. It also deepens flavor. Sensory cue: poke the chilled dough—it should spring back slowly.
With these five blocks and their flex ranges, you can build a schedule around your day instead of building your day around the bread.
How Temperature Speeds Up or Slows Down Each Stage
Temperature is your single biggest lever for controlling timing. Once you know how to use it, you can stretch or shrink each stage to fit your day—no guessing required.
The simple rule: warmer = faster, cooler = slower.
A warm kitchen speeds up bulk fermentation (the first long rise, where the dough roughly doubles and gets puffy). A cool kitchen slows everything down. That's it—and you can use it on purpose.
A rough rule of thumb
For every ~17°F (about 9°C) change in dough temperature, fermentation time roughly doubles or halves:
| Dough temperature | Approx. bulk ferment time |
|---|---|
| ~70°F (21°C) | ~6–8 hours |
| ~78°F (26°C) | ~4–5 hours |
| ~50°F (10°C, fridge-ish) | overnight to 24+ hours |
Treat these as starting points, not promises—your starter strength, flour, and kitchen all shift the numbers. That's exactly why the next rule matters.
Use the fridge as a pause button
The fridge is your scheduling superpower. Chilling the dough slows the yeast and bacteria to a crawl, so you can pause fermentation on demand:
- Need to leave the house mid-bulk? Pop the dough in the fridge, then continue when you're back.
- Want fresh bread in the morning? Shape your loaf at night, refrigerate it overnight (this slow chill is called a cold retard), and bake straight from the fridge.
This is how busy bakers fit sourdough around work, kids, and sleep.
Watch the dough, not the clock
Because temperature changes everything, fixed minutes will lie to you. Visual and sensory cues beat the timer every time. Move to the next stage when the dough looks ready, not when an alarm goes off:
- Bulk done: dough has risen ~50–75%, looks puffy and domed, and jiggles like set jelly when you shake the bowl.
- Too far: flat, very slack, and full of large surface bubbles.
When in doubt, trust your eyes and hands over the clock.
Assembling Your Own Schedule: A 4-Step Framework
The trick to planning sourdough around your life is to start at the finish line and walk backward. Here's the repeatable framework.
Step 1: Pick Your Bake-Out Moment
Decide when you want warm bread on the table. This is your anchor. Everything else is scheduled relative to this single point. Want fresh bread for Saturday lunch at noon? Write down Saturday, 12:00 PM.
Step 2: Work Backward Through the Stages
Subtract the time each stage needs, in reverse order. Use these beginner-friendly estimates for a room around 70–74°F (21–23°C):
- Bake (oven time): ~45 min
- Final proof (the last rise after shaping, until the dough looks puffy and springs back slowly): ~1–2 hr at room temp
- Shape + bench rest: ~30 min
- Bulk ferment (the long first rise where the dough roughly grows 50–75% and looks domed and bubbly): ~4–6 hr
- Autolyse (a rest where flour and water sit together so the flour fully hydrates and the dough becomes stretchy): ~1 hr
- Mix: ~15 min
That's roughly 8–11 hours of active timeline plus baking.
Step 3: Park the Dough in the Fridge
You don't have to do this in one marathon. The fridge slows fermentation almost to a stop, so you can pause for life's interruptions. The most beginner-friendly pause is a cold retard: after shaping, put the dough (covered) in the fridge for 8–16 hours, then bake straight from cold. This also deepens flavor and improves the rise.
Step 4: Adjust Starter Feeding to Set Your Start Point
Your starter (the living flour-and-water mix that leavens the bread) needs to be fed and bubbly-active before you mix. At room temperature it usually peaks 4–8 hours after feeding. Feed it so it peaks right when Step 2 says to mix.
Worked Example
Goal: fresh bread Saturday 12:00 PM.
- 12:00 PM Sat — bread out of oven
- 11:00 AM — start baking (45 min bake + preheat)
- Overnight — dough cold-retards in fridge
- 7:00 PM Fri — shape, then fridge
- 1:00 PM Fri — mix (after 1 hr autolyse from noon)
- 7:00 AM Fri — feed starter so it peaks by mixing time
Shift any block to fit your day, then lean on the fridge to absorb the gaps. Results vary with your kitchen's temperature, so treat these times as starting points and watch the dough's cues, not just the clock.
3 Ready-Made Schedules for Common Lifestyles
Pick the schedule that matches your week, then copy it as-is. Each one uses the same five stages you learned earlier: feed the starter, mix and rest (autolyse, the no-knead rest that softens flour before kneading), bulk ferment (the main rise where flavor and structure build), shape, and final proof (the last rise before baking).
All three assume a small batch: 500 g (4 cups) bread flour, 350 g (1½ cups) water, 100 g (½ cup) active starter, 10 g (2 tsp) salt — about 70% hydration (water weight ÷ flour weight).
The 9-to-5 Schedule
For busy weekdays. Spread across two days so nothing fights with work hours.
- 7:00 AM – Feed starter before you leave. Cue: ready when doubled and domed, 4–8 hrs later.
- 6:00 PM – Mix dough, rest 1 hr (autolyse).
- 7:00 PM–10:00 PM – Bulk ferment with 3 folds, 30 min apart. Cue: dough grows ~50%, looks puffy and jiggly.
- 10:00 PM – Shape, then cold proof in the fridge overnight.
- Next morning – Bake straight from the fridge.
The Weekend Baker
Start to finish in one day when you're home.
- 8:00 AM – Feed starter (use it once peaked).
- 12:00 PM – Mix and autolyse 1 hr.
- 1:00–5:00 PM – Bulk ferment with folds. Cue: domed surface, a few bubbles on top.
- 5:00 PM – Shape, rest 30 min, then final proof 1–2 hrs.
- 7:00 PM – Bake.
The Overnight / No-Stress Schedule
Maximum flexibility — the fridge does the waiting.
- Evening – Feed starter.
- Late evening – Mix, autolyse, short bulk (1–2 hrs).
- Bedtime – Shape, cold proof 12–36 hrs (bake any time in that window).
If life changes: the cold proof is your shock absorber. Need more time? Leave the shaped loaf in the fridge longer — it forgives delays better than bulk ferment, which over-proofs fast at room temperature. Results vary by kitchen temperature, so trust the visual cues over the clock.
Common Timing Mistakes That Cause Dense or Gummy Loaves
Most dense, gummy, or flat loaves come down to four timing slip-ups. Here's how to spot and fix each one.
-
Rushing bulk fermentation (under-proofing). Bulk fermentation is the first long rise, when the whole batch of dough ferments after mixing. Cut it short and the dough hasn't built enough gas, so you get a tight, dense crumb. Fix: wait for the dough to grow about 50% in volume and look puffy with a few bubbles on the surface—not the clock alone.
-
Leaving dough too long in a warm kitchen (over-proofing). Past its peak, the dough collapses and bakes up flat and gummy. Fix: in a kitchen above ~24°C/75°F, check earlier; the dough should feel airy and jiggly but still hold its shape when nudged.
-
Using a sluggish, under-fed starter. A starter is the live mix of flour and water that makes your bread rise. If it isn't active, every later stage runs slow. Fix: bake when your starter reliably doubles within 4–8 hours of feeding and floats in water.
-
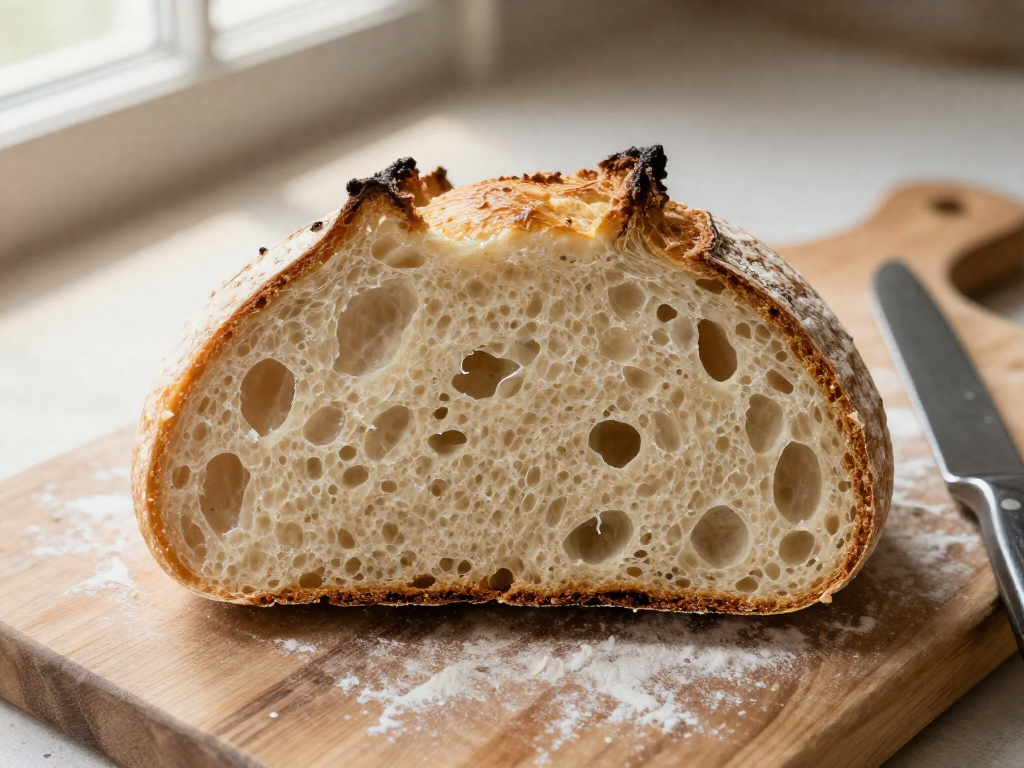
Slicing too early. The loaf keeps setting as it cools; cutting hot drags the knife through still-gummy crumb. Fix: cool fully on a rack for at least 1–2 hours before slicing.
Results vary by kitchen and climate, so trust the visual cues over exact times.
FAQ
Can I leave sourdough dough in the fridge for 2 days?
Yes. After your dough has finished bulk fermentation (the first long rise where the dough roughly doubles and looks puffy), shape it and place it in the fridge for up to 48 hours. This is called cold retarding, and it slows fermentation so the dough develops flavor without overproofing. For best results, aim for 12–24 hours; by 48 hours the dough may start to feel slack and overproof, especially at higher hydration (the ratio of water to flour). Bake it straight from the fridge for the easiest scoring and oven spring (the rapid rise in the first 10–15 minutes of baking). Watch for: a dough that has spread flat and feels very soft or smells sharply sour means it has gone too long.
How do I know when bulk fermentation is done?
Bulk fermentation (the first major rise, before shaping) is done when the dough has grown roughly 50–75% in size, looks domed and puffy, has a few bubbles on the surface and sides, and jiggles like soft jelly when you nudge the bowl. Don't rely on time alone, since temperature changes everything. Two reliable cues: (1) the dough feels airy and pulls away from the bowl cleanly, and (2) the poke test, where a gently floured finger pressed into the dough springs back slowly and only partway. If it springs back instantly, give it more time; if it doesn't spring back at all, it may be overproofed. Underproofed dough leads to dense, gummy loaves, so err slightly toward more time in a cool kitchen.
What's the best sourdough schedule if I work full time?
Use an overnight, fridge-based schedule that fits around your workday. A tested example: (1) Feed your starter the night before so it's bubbly by morning. (2) Before work, mix dough (e.g., 500g/about 4 cups flour, 350g/about 1.5 cups water for 70% hydration, 100g starter, 10g salt) and let it rest. (3) After work, do 2–3 sets of stretch-and-folds an hour apart during bulk fermentation. (4) Shape in the evening and place the dough in the fridge overnight. (5) Bake the next morning or evening straight from the fridge. This spreads the active steps across the times you're actually home and lets the fridge handle the long wait. Adjust starter and water amounts to your flour, and watch the dough's cues rather than the clock.
Does a warmer kitchen really speed up sourdough that much?
Yes, temperature is the single biggest factor in timing. As a rough guide, fermentation roughly doubles in speed for every ~8°C (about 15°F) increase. Dough that takes 8–10 hours to bulk ferment at 20°C (68°F) might finish in 4–5 hours at 26°C (78°F). That's why the same recipe can overproof in summer and crawl in winter. Practical fix: judge by the dough's size and feel, not a fixed time. In a warm kitchen, check earlier and often; in a cool kitchen, be patient or find a warmer spot (near the oven light or in a turned-off oven with the light on). Overshooting in the heat is a common cause of flat, slack loaves.
Can I pause my sourdough overnight at any stage?
You can pause at a few specific stages, but not anywhere. The best pause point is after shaping: place the shaped dough in the fridge overnight (cold retarding), then bake straight from cold. You can also refrigerate during bulk fermentation if you need to leave, though it makes the timing harder to read. Avoid pausing right after mixing for a full night at room temperature, as the dough can overproof and collapse. As a quick guide: pause after shaping (best, up to 24 hours in the fridge), pause mid-bulk in the fridge (workable, finish bulk when you return), and avoid long room-temperature pauses. Look for overproofing signs, a dough that has spread, smells very sour, or won't hold its shape, and bake sooner if you see them.
See also
- How to tell when your sourdough starter is ready to bake
- Bulk fermentation explained for beginners
- Why is my sourdough gummy? Troubleshooting guide
- How to feed and maintain a sourdough starter
- Cold proofing sourdough: a beginner's guide
Related articles
Sourdough Lingo You Don’t Need: Simple Words Instead of ‘Autolyse’ and ‘Crumb’
Why do sourdough bakers use so much jargon, and what simple substitutions can I use?
Jul 20, 2026 · 4 min read
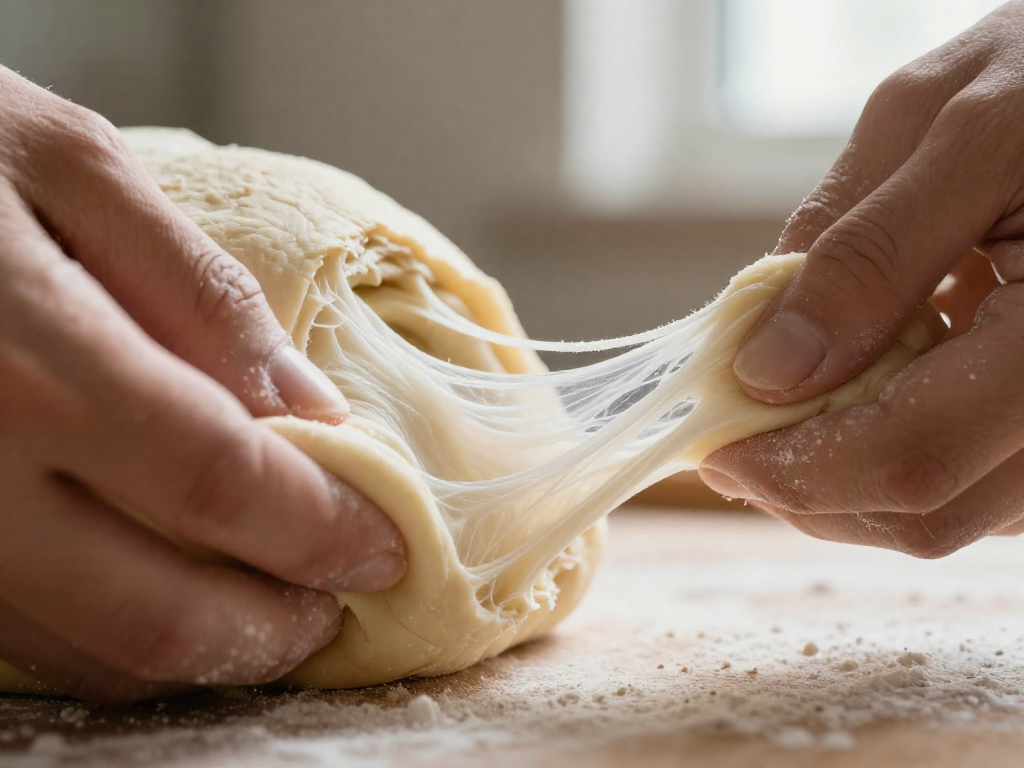
The Beginner’s Guide to Sourdough Gluten Development: Why Stretch and Folds Work
How does gluten development work in sourdough, and why are stretch and folds so effective for beginners?
Jul 20, 2026 · 9 min read
How Long Does It Really Take to Bake Your First Sourdough?
Wondering how long sourdough really takes? See the realistic active vs. passive time for your first loaf, hour by hour, so you can plan with confidence.
Jun 29, 2026 · 8 min read