Do You Need a Dutch Oven for Sourdough? Alternatives Explained
Can I bake sourdough without a dutch oven?
On this page
Open by validating the reader's hesitation—Dutch ovens are expensive, heavy, and intimidating—then deliver the honest answer up front: no, you don't strictly need one, but you do need to replicate what it does. Frame the whole article around the real goal (trapping steam) rather than the specific tool, so beginners stop fixating on gear.
The Short Answer: No, But Here's the Catch
No, you don't need a Dutch oven to bake great sourdough at home. Plenty of beautiful, crusty loaves come out of ordinary kitchens without one. So if you've been holding off on baking, stop waiting—you can start today with gear you likely already own.
Here's the catch, and it's the whole game: for the first 20 minutes of baking, your dough needs a steamy, enclosed environment. Steam keeps the outer crust soft just long enough for the loaf to expand fully (this rapid rise in the oven is called oven spring). Without trapped moisture, the crust hardens too early, and you get a flatter, denser loaf.
A Dutch oven is popular because it does this automatically—it traps the bread's own steam. But it's just one way to create that humid bubble. Every alternative below recreates the same effect using something cheaper or already sitting in your kitchen.
What a Dutch Oven Actually Does (So You Can Replace It)

Here's the secret: a Dutch oven isn't magic. It does three specific jobs, and once you know them, you can copy them with gear you already own.
1. It traps steam. As your dough heats up, the water inside it turns to vapor. The heavy lid seals that vapor in, surrounding the loaf with a moist cloud. Wet steam keeps the outer skin of the dough soft and stretchy for the first 20 minutes of baking. A soft skin can keep expanding, which gives you that big puff bakers call oven spring (the sudden rise a loaf gets in the first few minutes of baking).
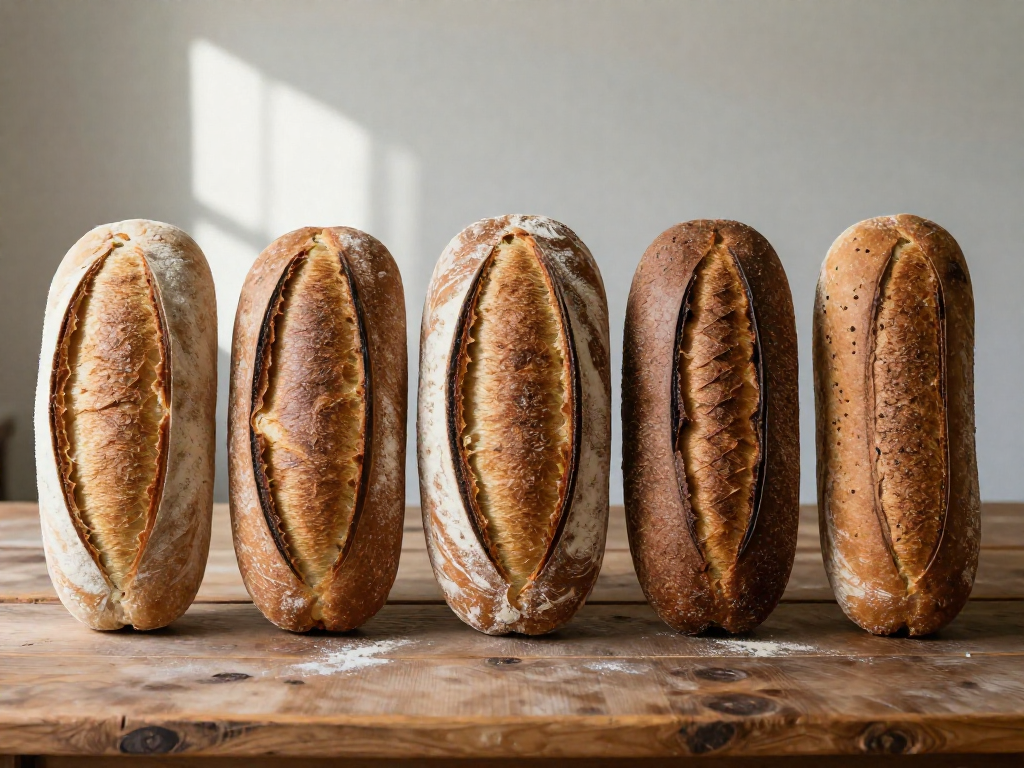
2. It delays the crust from setting. Because the skin stays soft longer, the cuts you slash into the top can open up and curl into a crisp ridge, often called an ear. Once the crust hardens, the loaf can't grow anymore, so delaying that moment means a taller, more open loaf.
3. It holds and radiates intense heat. Thick cast iron or ceramic stores a lot of heat when preheated. When the cold dough goes in, the pot blasts it with steady, even warmth from all sides, jump-starting the rise.
Why your home oven fights you without help: A regular oven is built to vent moisture so food crisps and roasts. That dry air pulls water out of your dough's surface, setting the crust early, before the loaf has finished rising. The result is the flat, pale, tight-crumbed loaf so many beginners get.
So to replace a Dutch oven, you only need to recreate two things: trapped steam and strong, stored heat. Every alternative in the next section is just a different way to do exactly that.
7 Dutch Oven Alternatives That Actually Work
A Dutch oven works because it traps the steam your dough releases, keeping the crust soft long enough to rise (called "oven spring," the rapid expansion in the first 10–15 minutes of baking). Any setup that traps that steam will work. Here are seven, ranked from easiest-to-find to closest-match.
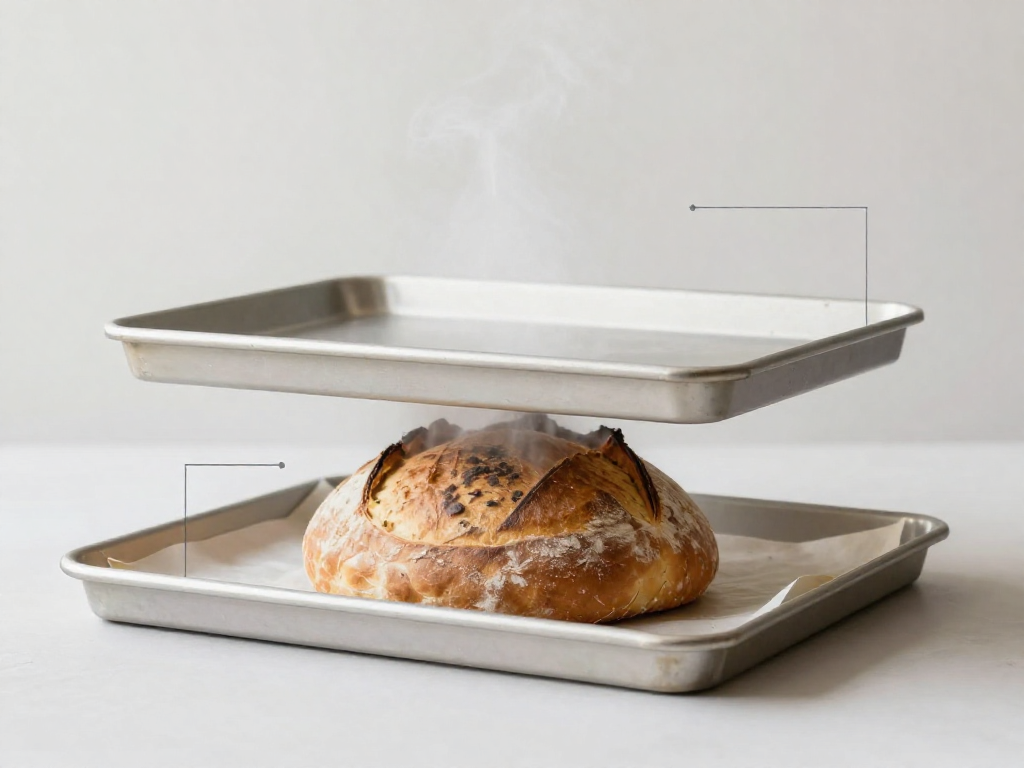
1. Two stacked baking sheets (most accessible) Bake your loaf on one rimmed sheet, then invert a second sheet over it as a lid. No second sheet? Use one sheet plus a large oven-safe metal bowl or a big pot lid as a dome. It traps less steam than a sealed pot, so expect a slightly thinner crust. Best for: people who own nothing special.
2. Cast iron skillet + metal cover Preheat the skillet, drop your dough in, and cover with an inverted metal mixing bowl or roasting pan. The heavy iron base gives a strong bottom crust. Make sure the bowl is tall enough that the dough won't touch it as it rises (about 4 inches / 10 cm of clearance).
3. Ceramic or clay cloche (closest match) A cloche is a domed baking bell made for bread. It mimics a Dutch oven almost exactly and often produces an even crust because clay holds steady, gentle heat. The downside is cost and the fact that you have to buy one. Best for: anyone ready to invest in one dedicated tool.
4. Oven-safe stockpot or any heavy lidded pot Got an enameled or stainless stockpot with an oven-safe lid? That is essentially a Dutch oven. Confirm the lid handle is metal or rated for high heat (see the warning below). Tall pots work great for round loaves (boules).
5. Pizza stone or steel + a steam pan Preheat a pizza stone or steel, slide your loaf on, then pour 1 cup (240 g) of boiling water into a metal pan on the bottom rack to create steam. Open the oven as little as possible so steam doesn't escape. This gives excellent bottom heat but the lightest steam trapping of the group, so results vary most by oven.
6. Stainless steel pot with lid (for smaller boules) A standard 3–4 quart stainless pot with a lid handles smaller loaves well. Check that the entire pot, including the lid knob, is oven-safe.
7. What NOT to use Avoid these completely:
- Thin glass (regular bowls, lids) — can shatter from thermal shock.
- Plastic handles or knobs — they melt or release fumes.
- Anything not rated oven-safe to at least 450°F (230°C).
When in doubt, check the manufacturer's heat rating before preheating. Results will still vary by oven and climate, so treat your first bake with a new setup as a test run.
How to Create Steam Without Any Lid
No lid, no problem. If you have nothing to cover your loaf, you can trap steam in the whole oven instead. Steam keeps the crust soft for the first part of the bake so the bread can expand fully before it sets. Here's how to do it, step by step.
The Method
- Preheat with a tray inside. Put an empty metal tray (a sturdy roasting pan, not a thin sheet) on the bottom rack. Heat your oven to 250°C / 480°F for at least 30 minutes.
- Load your loaf onto the middle rack as fast as you can, then close the door briefly.
- Add water to the hot tray. Pour in about 1 cup (240 ml) of just-boiled water, or toss in a big handful of ice cubes (roughly 200 g). Both flash into steam. Stand to the side—the burst is hot. Close the door immediately.
- Optional extra burst: spritz the oven walls 3–4 times with a clean spray bottle of water. Avoid the oven light and the glass door—cold water can crack hot glass.
For longer, steadier steam: fill a roasting pan with lava rocks (or clean, heavy pebbles) and preheat that instead. The rocks hold heat and release steam slowly when you pour water over them.
Timing
- First 20 minutes: keep the steam in. Don't open the door.
- After 20 minutes: remove the water tray (use thick mitts) and let the oven vent. This dry heat is what browns and crisps the crust over the final 20–25 minutes.
Heads-up: Open-oven steam escapes faster than a covered pot, so your crust may be a touch thinner or paler. Results vary by oven—if browning is weak, extend the dry phase by 5 minutes.
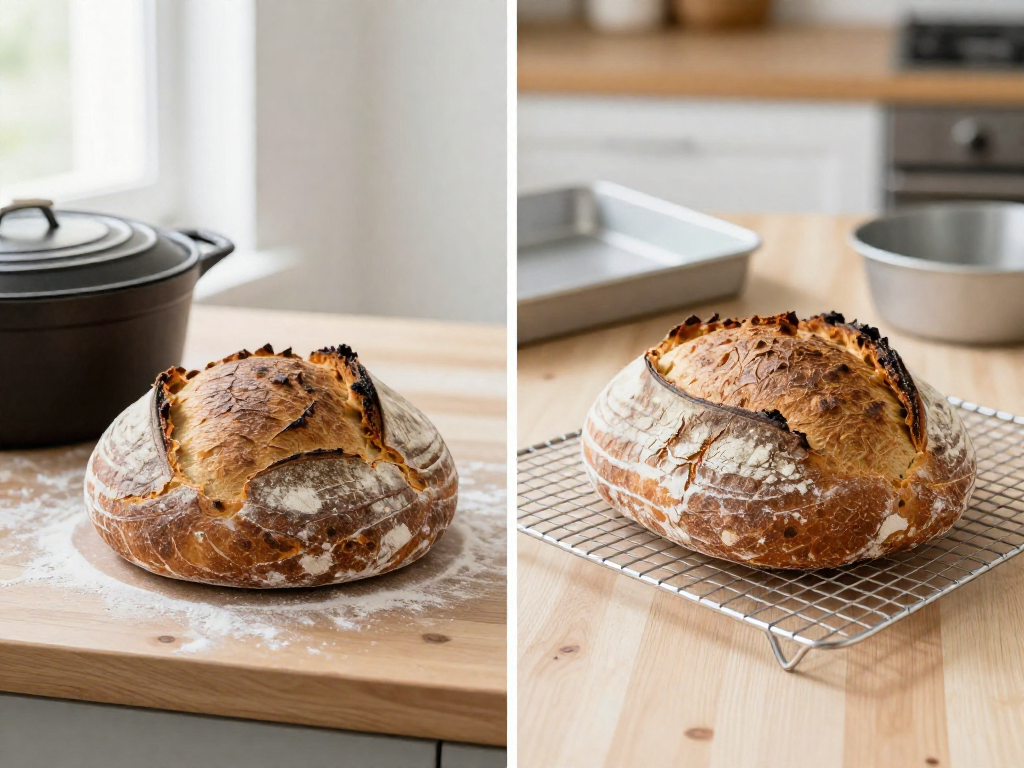
So Should You Buy a Dutch Oven Anyway?
Here's the honest verdict, based on which baker you are right now:
Buy one if you'll bake weekly. A Dutch oven (a heavy lidded pot that traps steam around your loaf) gives the most consistent oven spring—the dramatic rise a loaf gets in the first 10–15 minutes of baking—with the least fuss. If sourdough is becoming a habit, it pays for itself in fewer flat, dense loaves.
Skip it if you're still testing the waters. If you've baked two or three times and aren't sure sourdough is for you, use the alternatives from the sections above first. There's no need to spend money to find out.
What to look for if you do buy
- Enameled vs. bare cast iron: Bare cast iron is cheaper and bakes beautifully, but needs seasoning and careful drying. Enameled is more expensive but easier to clean and won't rust—a friendlier pick for beginners.
- Round vs. oval: Round suits a boule (a round loaf). Choose oval if you want to bake batards (longer, torpedo-shaped loaves).
- Size: A 4.5 to 5.5 quart (4–5 liter) pot fits a standard 500g-flour loaf with room to rise. Smaller can crowd the loaf; much larger wastes preheat time.
- Handles and lid: Make sure the lid knob is oven-safe to at least 500°F (260°C)—some plastic knobs aren't. Look for sturdy side handles you can grip with thick mitts.
Results vary by oven and climate, so treat any pot as a tool, not a guarantee.
Quick Troubleshooting: Pale or Flat Loaves With Alternatives
Using a baking stone, steel, or cloche instead of a Dutch oven? Here's how to fix the three problems beginners hit most often. Match your symptom to the cause, then try the fix on your next bake.
| Symptom | Likely Cause | Fix |
|---|---|---|
| Pale, soft crust | Not enough steam, or the oven wasn't fully hot before loading | Add more steam for the first 20 minutes (a pan of boiling water or ice cubes), and let the oven preheat a full 45–60 minutes |
| Flat, spread-out loaf | A shallow lid or pan restricting the rise, or a cold baking surface | Use a tall cover that clears the dough by several inches, and preheat the stone or steel itself, not just the air |
| Gummy, sticky crumb | Under-baked inside | Bake longer until the internal temperature reads 205–210°F (96–99°C) on an instant-read thermometer, then cool fully before slicing |
The single biggest fix: always preheat the cooking surface, not just the oven. A stone or steel needs 45–60 minutes to fully heat up. Loading dough onto a cold surface gives you a flat loaf with a pale bottom every time.
Results vary by oven and climate, so treat these as starting points and adjust from there.
See also
- Beginner sourdough bread recipe (step-by-step)
- How to create steam in your oven for crusty bread
- Sourdough troubleshooting: why is my loaf dense, flat, or gummy
- Essential sourdough tools for beginners
- How to get oven spring and a better ear
Related articles
Flour Types for Sourdough: A Visual Guide to Protein Content and Results
How do different flours affect sourdough bread, and what do the results look like side by side?
Jul 20, 2026 · 11 min read
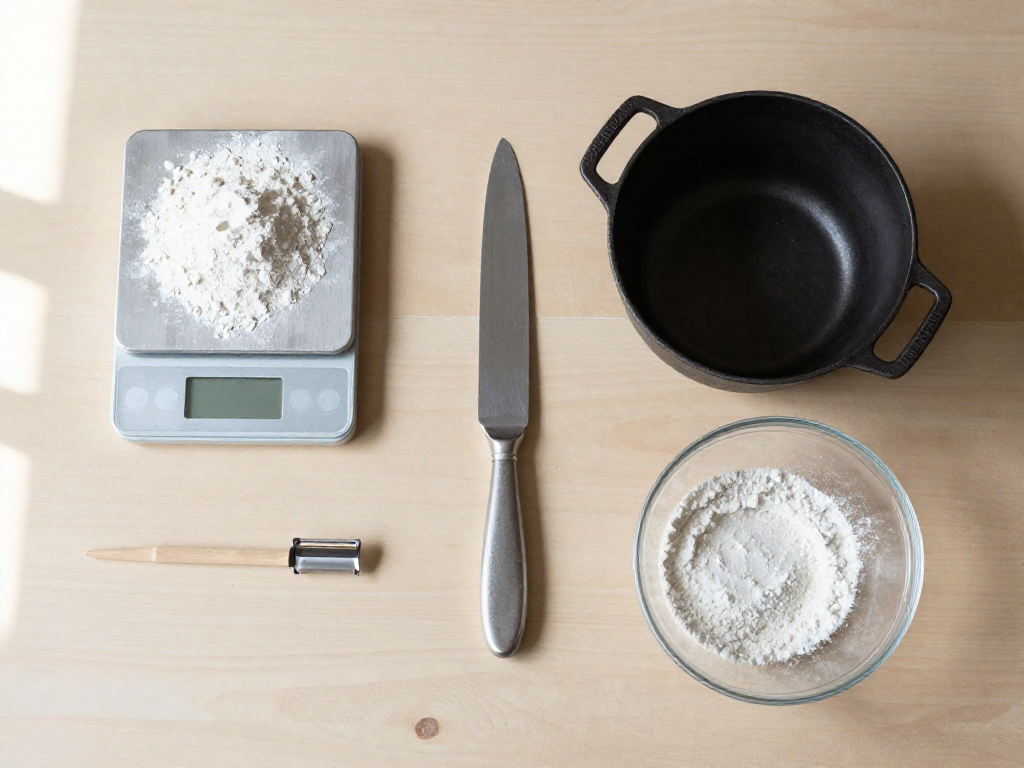
The Only 5 Tools You Really Need for Your First Sourdough Loaf
Start baking sourdough without the clutter and expense. These are the only 5 tools you really need—and the ones you can skip.
Jul 20, 2026 · 3 min read
Dutch Oven vs. Open Bake: Which Sourdough Method Is Best for Beginners?
Dutch oven or open baking with steam for sourdough? Compare ease, cost, and crust so beginners can pick the right method and bake a great loaf.
Jul 14, 2026 · 4 min read