How to Make a Sourdough Starter From Scratch: A Day-by-Day Guide
How do I create a sourdough starter from scratch step by step?
On this page
Open by naming the beginner's biggest fear: that making a starter is some mysterious science experiment doomed to fail. Reassure them it's just flour and water plus patience, then promise a clear day-by-day map so they always know what's normal and what isn't. Set expectations that the "scary" stage (days 3–5) is temporary and explain why this guide removes the guesswork.
What a Sourdough Starter Actually Is (and Why It Works)
The short answer: A sourdough starter is a simple mix of flour and water that you feed daily until it becomes a living culture you can use to raise bread—no store-bought yeast required.
Here's what's happening inside that jar:
- It captures wild yeast and bacteria. Flour and the air in your kitchen are full of microscopic wild yeast (the same family as commercial yeast, just naturally occurring) and lactic acid bacteria. Mixing flour with water gives them food and water to wake up and multiply.
- Wild yeast makes your bread rise. As the yeast eats the sugars in flour, it releases carbon dioxide gas. Those gas bubbles get trapped in the dough, puffing it up so your loaf rises—exactly the job a packet of yeast does.
- Bacteria create the tangy flavor. The lactic acid bacteria produce mild acids as they feed. That's where sourdough gets its signature gentle tang and slightly chewy texture.
- Just two ingredients. Flour and water. No commercial yeast, no special powders, no sourdough "kit" needed to begin.
Why it can replace store-bought yeast: Once your starter is mature—meaning it reliably doubles in size a few hours after feeding and smells pleasantly sour rather than sharp—it has enough active wild yeast to leaven a full loaf on its own. At that point, a scoop of starter does everything a packet of yeast would, plus it adds flavor a packet never could.
You're not making something from nothing. You're just creating a comfortable home for tiny organisms that were already there—and feeding them until they're strong enough to bake with.
What You Need Before You Start
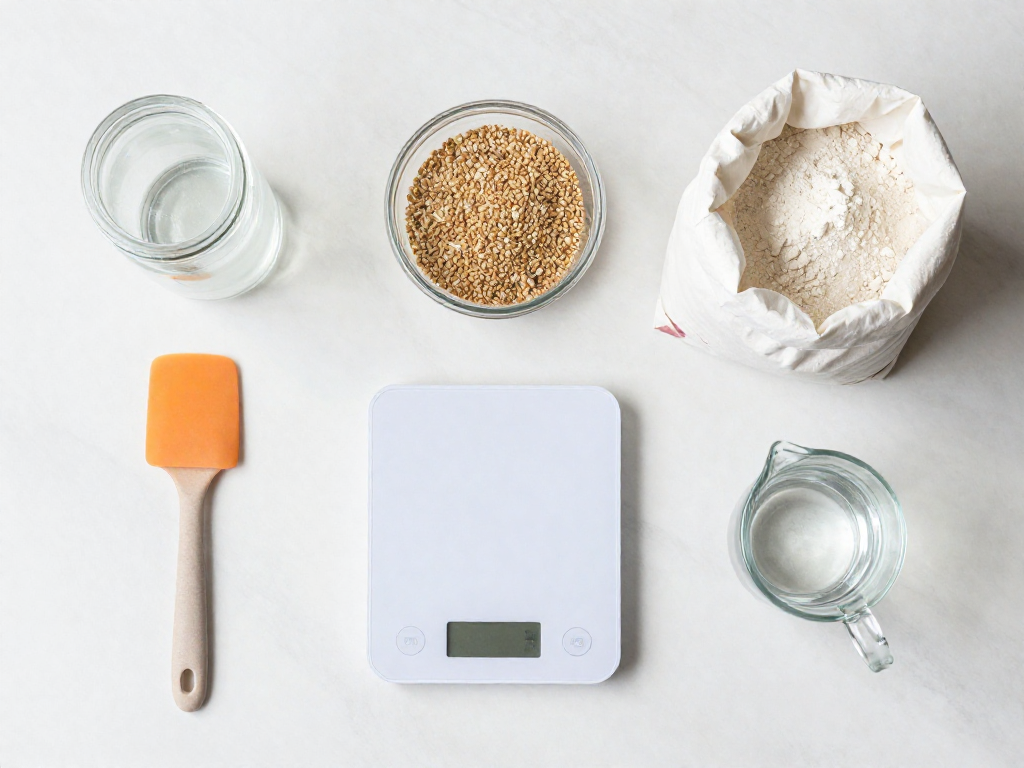
Good news: you don't need special equipment. Here's the short list to get going today.
The supplies
- A clean jar. A quart-size (about 1-liter) glass jar works best so you can see bubbles forming on all sides. Use a loose lid or a cloth secured with a rubber band—your starter needs to breathe and release gas, so never seal it airtight.
- A kitchen scale. This is the one tool worth buying. Weighing in grams is far more accurate than measuring cups, because a "cup" of flour can vary by 30+ grams depending on how you scoop it. That inconsistency is the #1 reason beginner starters fail. A basic digital scale costs very little and removes the guesswork.
- A spoon and a clean spot to work. That's it.
The flour
- Day 1: whole wheat or rye flour. These whole grains carry more of the wild yeast and bacteria that kick-start fermentation, so your starter wakes up faster.
- Day 2 onward: unbleached all-purpose or bread flour. Switch to one of these for steady daily feedings. Avoid bleached flour—the bleaching process can interfere with the microbes you're trying to grow.
The water
- Use filtered or dechlorinated water. Most tap water contains chlorine, which is added to kill microbes—exactly the opposite of what you want. If you only have tap water, leave it uncovered on the counter for 30–60 minutes and the chlorine will largely evaporate.
A warm spot (70–78°F / 21–26°C)
Warmth keeps fermentation active. Good spots to check: inside an off oven with just the light on, on top of the refrigerator, or near (not on) a warm appliance. Cooler than this isn't a dealbreaker—your starter will just take longer.
Have these ready, and you're set to begin Day 1.
The Day-by-Day Sourdough Starter Schedule
Here's exactly what to do each day, plus what you should (and shouldn't) expect to see. Use a clean glass jar, lukewarm water (around 26–28°C / 78–82°F), and either whole wheat or rye flour for the first few days—they ferment faster than white flour. Keep the jar loosely covered at warm room temperature (21–24°C / 70–75°F).
A quick term to know: feeding means discarding most of your starter and stirring in fresh flour and water. A ratio like 1:1:1 means equal weights of starter, flour, and water (for example, 50 g starter + 50 g flour + 50 g water).
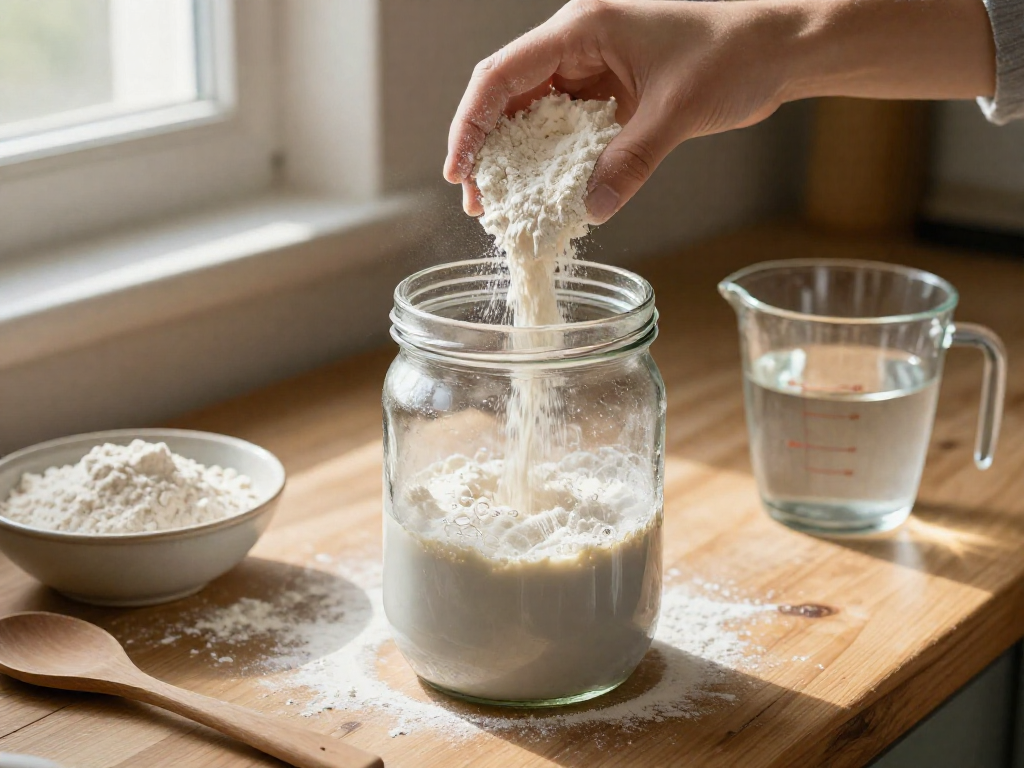
Day 1: Mix your first batch
- 50 g flour (about 1/3 cup whole wheat or rye) + 50 g water (about 3.5 tablespoons).
- Stir into a thick, paste-like batter—roughly the texture of pancake batter. Scrape down the sides, loosely cover, and leave it for 24 hours.
- What to expect: nothing yet. No bubbles, no smell. That's correct.
Day 2: Be patient
- You may see a few tiny bubbles, or nothing at all. Both are normal.
- Do nothing, or give it a stir to introduce a little oxygen. No discard or feed needed yet.
- A faint sour or slightly cheesy smell can appear—this is the wild yeast and bacteria waking up.
Days 3–4: First bubbles, start feeding
- You should now see scattered bubbles and notice a stronger, sometimes sharp or "stinky" smell. This is normal early fermentation.
- Begin discarding and feeding once a day: keep 50 g of starter, discard the rest, then add 50 g flour + 50 g water (a 1:1:1 feed). Stir well.
- Visual cue: the mixture may rise a little over the next several hours, then fall.
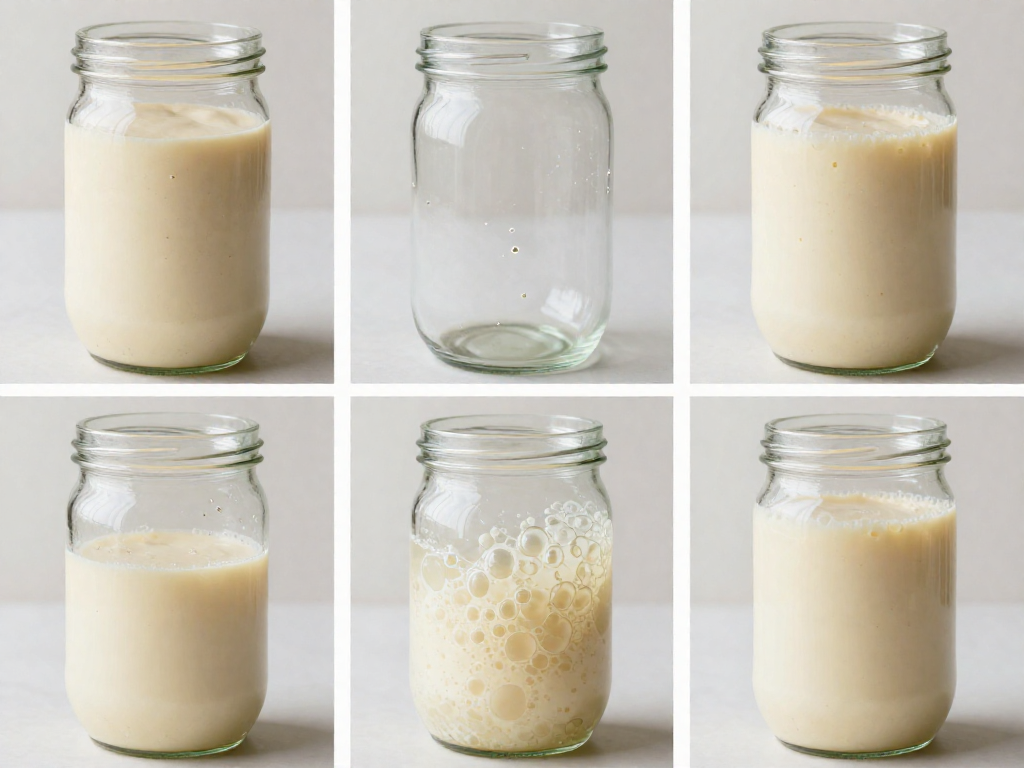
Day 5: The false rise (don't panic)
- Around now your starter may rise dramatically, then collapse and go quiet. This is the "false rise"—it's usually caused by gas from bacteria, not the yeast you actually want for bread.
- What to do: keep feeding once daily, 1:1:1 (50 g starter + 50 g flour + 50 g water). The yeast population is still building behind the scenes.
- It's also a good time to switch to (or mix in) white bread flour if you started with whole wheat/rye, transitioning gradually over the next few days.
Days 6–9: Build a rhythm
- Feed once a day at roughly the same time, 1:1:1 (50 g + 50 g + 50 g).
- What you're watching for: consistent activity—bubbles throughout, a pleasant tangy-yeasty smell, and a steady rise after each feed.
- Track the rise by placing a rubber band around the jar at feeding time. You want the starter to double in volume within 4–8 hours.
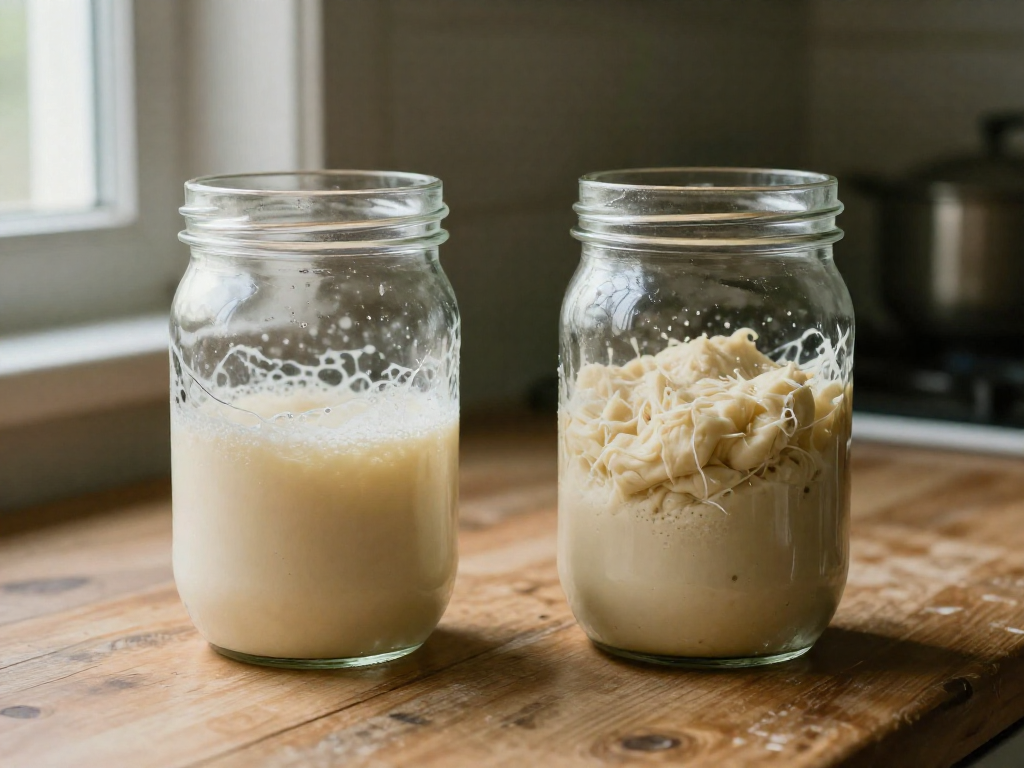
Days 10–14: Signs of maturity
- A mature starter reliably doubles in 4–6 hours after feeding, smells pleasantly sour and yeasty (not harsh), and is full of bubbles with a domed top.
- If it's rising fast and collapsing before you can use it, switch to twice-daily feeding (morning and evening), still 1:1:1.
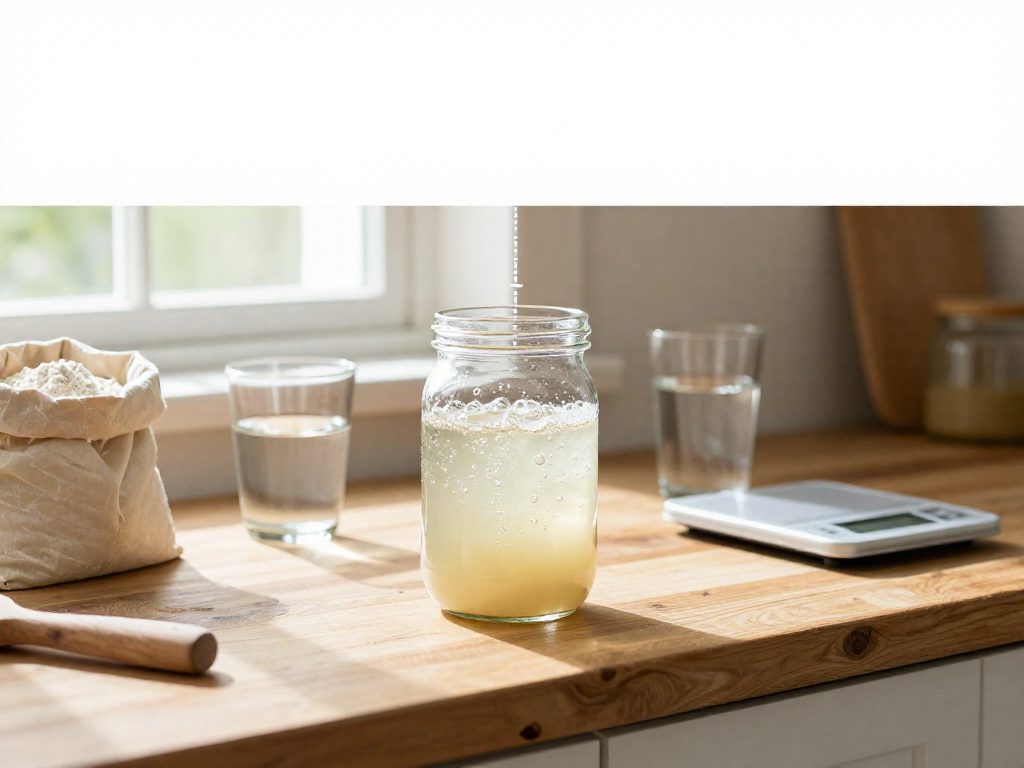
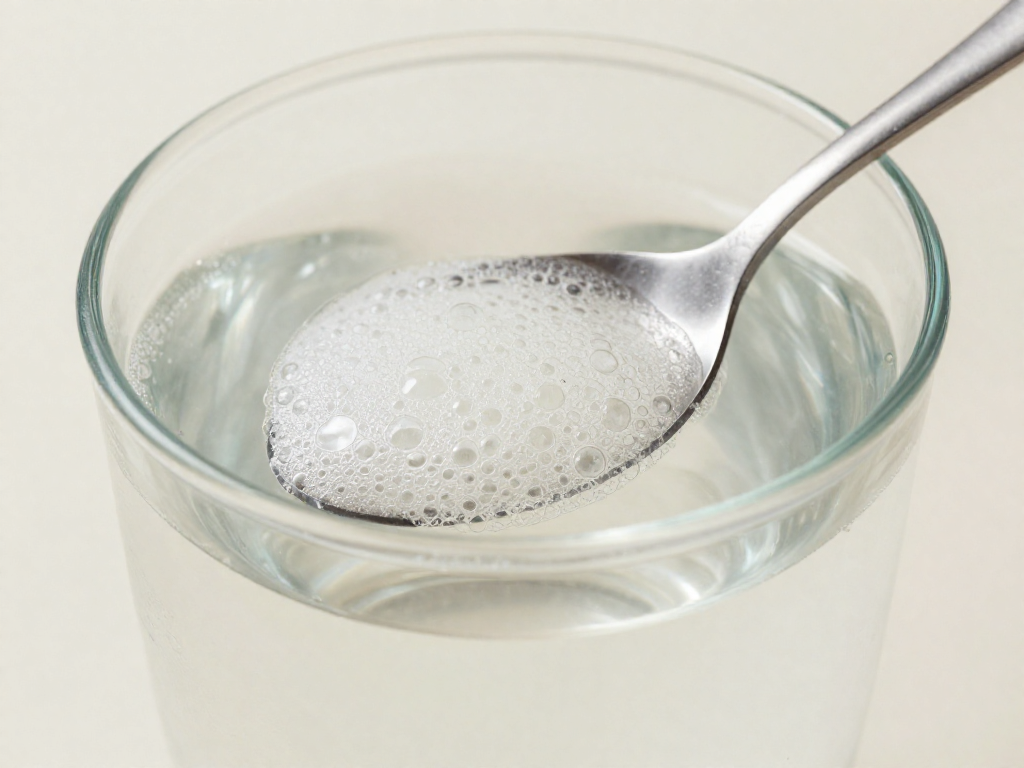
- The float test: drop a small spoonful into water. If it floats, it's full of gas and likely ready to bake with. (It's a helpful hint, not a guarantee—some active starters still sink.)
Note: Timelines vary by kitchen and climate. Cooler homes can take longer; warm kitchens move faster. If you're past day 14 without reliable doubling, keep feeding consistently—it often just needs more time.
Quick troubleshooting
| What you see | Likely cause | Fix |
|---|---|---|
| No bubbles by day 4–5 | Too cold, or sluggish flour | Move somewhere warmer (24–26°C); add a bit of whole wheat/rye to a feed |
| Thin gray/dark liquid on top ("hooch") | Starter is hungry | Pour it off (or stir in) and feed sooner / more often |
| Sharp acetone or nail-polish smell | Underfed, too acidic | Increase feeding frequency or use a higher ratio (1:2:2) |
| Rises then crashes too fast | Too warm or ready for more food | Feed twice daily, or move to a cooler spot |
| Pink, orange, or fuzzy mold | Contamination | Discard entirely and start over with a clean jar |
Once your starter doubles predictably and smells pleasantly tangy, it's ready to leaven bread. Store it in the fridge with a weekly feed if you bake occasionally, or keep it at room temperature with daily feeds if you bake often.
How to Feed Your Starter (The Discard-and-Feed Method)
Feeding your starter means throwing away most of it, then mixing what's left with fresh flour and water. Do this once a day (every 24 hours) while you're building your starter. Here's the exact routine.
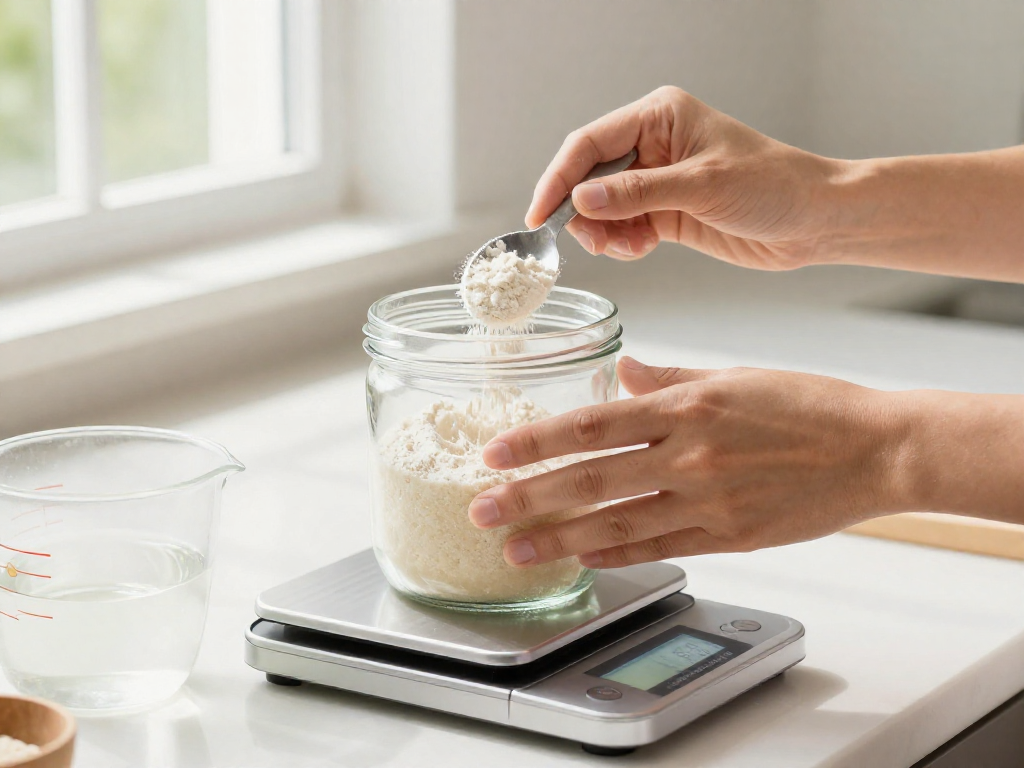
The 5-Step Feeding
- Weigh your empty jar first (before you ever add starter) and write that number down. This lets you know how much starter is actually inside later.
- Stir your starter so it's evenly mixed.
- Discard down to 50 grams (about 1/4 cup). Scoop out and remove the rest. This is the part beginners skip—and it's why their jar overflows.
- Add 50 grams flour (about 1/3 cup + 1 tablespoon) and 50 grams room-temperature water (about 3.5 tablespoons).
- Stir until no dry flour remains, scrape down the sides, loosely cover, and mark the level with a rubber band.
Why Discard First?
If you never remove any starter, every feeding doubles the amount. In a few days you'd have a bucket of it. Discarding keeps your jar manageable and keeps the food-to-microbe ratio high, which is what makes a starter strong and bubbly.
The 1:1:1 Ratio in Plain English
"1:1:1" just means equal weights of starter, flour, and water. Our example is 50g : 50g : 50g. You could use 30g : 30g : 30g or 100g : 100g : 100g—the ratio is what matters, not the exact numbers. Keep all three equal and you can't go wrong.
Why weigh instead of measure cups? Flour packs differently every time you scoop, so cups are unreliable. A $12 kitchen scale removes the guesswork. (Cup amounts above are approximate.)
Don't Throw Discard in the Trash
That discarded starter isn't garbage. Keep a separate "discard jar" in the fridge and use it for pancakes, crackers, or waffles. It won't make bread rise, but it adds great tangy flavor to quick recipes.
Keeping the Jar Clean
After scraping in fresh flour and water, wipe the inside walls of the jar above the starter line with a clean paper towel. Dried, crusty bits on the glass can grow mold. A clean rim also makes it easy to read the rubber-band mark so you can see your starter rise.
Heads-up: rise times vary by kitchen temperature—a warm room (75–80°F) speeds things up, a cold one slows them down—so watch for bubbles and doubling rather than the clock alone.
How to Know When Your Starter Is Ready to Bake With
Your starter is ready when it shows all four signs below at the same time, not just one. Look for these in the hours after a feeding (a feeding means stirring in fresh flour and water).
1. It doubles predictably in 4–8 hours. Mark the jar with a rubber band right after you feed it. If it reliably rises to twice that height within 4 to 8 hours, your starter is strong. The key word is reliably — one good rise can be luck, but the same result two or three days in a row means it's mature.
2. It's full of bubbles with a domed top. At its peak you should see bubbles throughout the starter (not just on the surface) and a gently domed, puffy top. When it starts to flatten or sink in the center, it has passed its peak and is getting hungry again.
3. The smell turns pleasantly yeasty and tangy. Early on, a young starter can smell sharp, sour, or even like nail polish. A ready starter smells mild, tangy, and a little like yogurt or beer — sour but pleasant, not harsh.
4. The float test passes (use it as a backup, not proof). Drop a small spoonful of starter into a glass of water. If it floats, it's full of gas and likely ready. This is a helpful quick check, but it's not foolproof — a thick or stiff starter can sink even when it's ready, and a starter past its peak can fail it. Trust the rise and bubbles first.
Why timing matters more than the calendar. Most starters take about 7–14 days, but yours might be slower in a cold kitchen or faster in a warm one. Don't bake just because it's "day 7." Bake when it consistently doubles, bubbles, and smells right — your starter tells you when it's ready, not the calendar.
Troubleshooting Common Starter Problems
Stuck starter? Don't toss it yet. Most problems are normal and fixable. Find your symptom below and follow the fix.
No bubbles after several days
This is the most common panic point—and usually it's just slow, not dead. The fix is almost always warmth and patience.
- Check the temperature. Yeast and bacteria are sluggish below 70°F (21°C). Move your jar somewhere warm: inside an oven with only the light on, on top of the fridge, or near a warm appliance. Aim for 75–80°F (24–27°C).
- Switch your flour. Bleached all-purpose flour can be slow to wake up. Try feeding with whole wheat or rye flour, which carry more wild yeast and bacteria. Even 50/50 with white flour speeds things up.
- Check your water. Heavily chlorinated tap water can suppress activity. Use filtered water, or leave tap water out uncovered for an hour so the chlorine can off-gas.
Give any change 2–3 days before judging it. A flat starter on day 3 or 4 is normal—keep feeding daily.
Liquid on top ("hooch")
That gray or brown liquid pooling on top is hooch—a thin layer of alcohol the wild yeast produces when it has run out of food. It's harmless and simply means your starter is hungry.
- What to do: Pour it off (or stir it in for a slightly tangier flavor), then feed as usual.
- Prevent it: Feed more often or use a bit more flour at each feeding.
Smells: normal vs. a problem
Strong smells are part of the process. Here's how to read them:
- Normal: Sour, tangy, yeasty, beer-like, or sharply acidic (nail-polish/acetone). All fine—often just means it needs feeding.
- Worth watching: A faint cheesy or "off" smell early on usually balances out within a few days of consistent feeding.
Smell alone almost never means "throw it out." Your eyes are the real safety test—see mold, below.
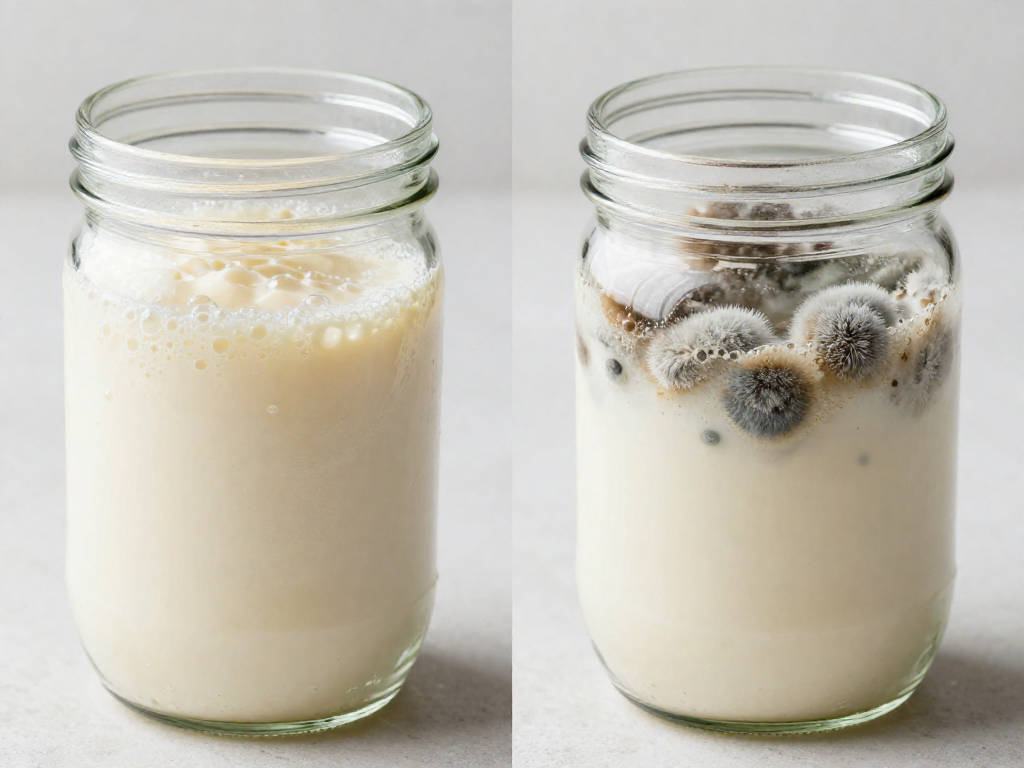
Mold = discard immediately
Watch for color and fuzz. If you see pink, orange, red, black, blue, or any fuzzy/hairy growth, throw the entire batch out—jar contents and all—and start fresh. Do not scrape it off and keep the rest. This kind of mold means harmful contamination, and a healthy starter should never grow it.
A flat, hooch-topped, sour-smelling starter is alive and recoverable. A fuzzy or pink/orange one is done—discard it.
When to start over
Start over only if:
- You see real mold (colors or fuzz above), or
- You've fed it daily at 75–80°F with whole-grain flour for 10–14 days and still see zero bubbles or rise.
Results vary by kitchen and climate, so a little extra patience often wins. But if it's truly lifeless after two weeks, it's faster to begin again than to keep nursing it.
Storing and Maintaining Your Starter Long-Term
Once your starter is active and bubbly, you have two storage options depending on how often you bake.
Bake more than twice a week? Keep it at room temperature. Leave it on the counter (around 21–24°C / 70–75°F) and feed it once or twice a day using the discard-and-feed method covered earlier.
Bake once a week or less? Store it in the fridge. Cold slows the yeast down so you only need to feed it once a week. This is the easiest path for most beginners.
Weekly fridge feeding (the low-effort routine)
- Take the starter out of the fridge (no need to wait for it to warm up).
- Discard all but about 50g, keeping roughly 2 tablespoons.
- Feed with 50g flour and 50g water (about ⅓ cup flour + 3½ tablespoons water). Stir well.
- Let it sit on the counter for 1–2 hours until it shows a few bubbles, then return it to the fridge.
Visual cue: a healthy fridge starter has small bubbles and a clear, beery smell. A thin gray liquid on top (called "hooch") just means it's hungry—stir it in or pour it off and feed.
Reviving a neglected starter
Forgot it for a few weeks? Don't toss it. Discard all but 50g and feed it 50g flour + 50g water once a day at room temperature. Within 2–4 days it should bubble and rise again.
Make a backup for insurance
Spread a thin layer of starter on parchment, let it dry completely, then crumble and store in a sealed jar. To revive, mix the flakes with equal water and flour and feed daily until active. You can also freeze a small portion in a sealed container.
FAQ
How long does it take to make a sourdough starter from scratch?
Most starters are ready to bake with in about 7 to 14 days, though it varies by kitchen temperature and flour. Plan on feeding it once a day for the first week, then twice a day as it wakes up. You'll know it's ready when it reliably doubles in size within 4 to 8 hours of feeding, smells pleasantly tangy (like yogurt or beer), and is full of bubbles. A cold kitchen can stretch this to 3 weeks; a warm one (around 24-27°C / 75-80°F) speeds it up. Don't rush it: a starter that doubles consistently for several days in a row is far more reliable than one you push into baking early.
Why is my sourdough starter not bubbling?
A quiet starter is almost always one of three things. First, it's too cold; the wild yeast that makes bubbles slows down below 21°C (70°F), so move it somewhere warmer like an oven with just the light on. Second, it's the normal early-days lull: many starters bubble a lot around days 2-3, then go silent for a day or two before the real activity begins, so keep feeding and wait. Third, it needs more frequent feeding; switch to feeding twice a day with equal parts (by weight) starter, flour, and water. Also check your water isn't heavily chlorinated, which can stunt activity. Tip: mark the jar level with a rubber band after feeding so you can actually see small rises you'd otherwise miss.
What flour is best for starting a sourdough starter?
Whole grain flour is the best way to get a starter going because the bran carries more wild yeast and bacteria, plus extra nutrients to feed them. Start with whole wheat or rye for the first few days, then transition to unbleached all-purpose or bread flour once it's active. A simple, reliable starting feed is 50 g (about 1/4 cup) whole wheat flour and 50 g (about 3 tablespoons) water mixed into 50 g of starter. Rye tends to ferment fastest if your starter is sluggish. Avoid bleached flour, which lacks the microbes you need. Once mature, you can feed it whatever flour you bake with most.
Do I have to discard starter every time I feed it?
While you're building a new starter, yes; discarding keeps the jar from overflowing and, more importantly, keeps the acidity from building up so fast that it weakens the yeast. Each feed you remove most of the starter and feed what's left with fresh flour and water. Once your starter is mature and you only keep a small amount, you can reduce waste by storing it in the fridge and feeding once a week, or by saving the discard for recipes like pancakes, crackers, and waffles (it keeps in the fridge for about a week). So discarding is a temporary necessity early on, not something you're stuck doing forever.
How do I know if my starter has gone bad or has mold?
Real spoilage is rare and easy to spot. Throw it out if you see fuzzy mold (white, green, pink, or black raised spots), streaks of pink or orange, or it smells genuinely rotten or like nail polish remover that won't fade after a feeding. What's NOT a problem: a layer of grey or brown liquid on top (called "hooch," just alcohol from a hungry starter, pour it off or stir it in and feed); a sour, tangy, or boozy smell; and grey discoloration in the liquid. When in doubt with mold, don't risk it; mold can have roots you can't see, so discard the whole batch and start fresh.
Can I make a sourdough starter without a kitchen scale?
You can, though a scale makes things far more consistent and is worth the small cost. To work by volume, feed roughly equal parts starter, flour, and water: about 1/2 cup starter, 1/2 cup flour, and 1/4 cup water, then stir to a thick, pancake-batter consistency, adding a splash more water if it's stiff. The catch is that a cup of flour can vary a lot depending on how it's packed, so your hydration (the ratio of water to flour) will be less precise and your starter may behave unevenly day to day. If you bake regularly, a basic digital scale (around 1,000-2,000 g capacity) is the single best beginner upgrade.
How often do I need to feed your starter once it's mature?
It depends on how you store it. If you bake several times a week, keep it at room temperature and feed it once or twice a day; it stays active and ready. If you bake less often, store it in the fridge, where the cold slows things down so you only need to feed it about once a week. To bake from a fridged starter, take it out, feed it, and let it sit at room temperature for several hours until it's bubbly and doubles before using. Going on vacation? A well-fed starter can survive a couple of weeks unfed in the fridge; just pour off any liquid and resume feeding to revive it.
See also
- Beginner's first sourdough loaf recipe
- How to feed and store your sourdough starter
- Sourdough hydration explained for beginners
- What to do with sourdough discard: easy recipes
- Why is my sourdough loaf dense or gummy? Troubleshooting guide
Related articles
The Emotional Side of Sourdough: Dealing with Starter Anxiety and Failure
How do I cope with the stress and disappointment when my sourdough starter fails or seems to die?
Jul 20, 2026 · 7 min read
Sourdough Starter Fasting: What to Do When You Go on Vacation
How do I prepare my sourdough starter for a multi-week absence and revive it smoothly?
Jul 20, 2026 · 9 min read
Can You Make a Sourdough Starter Without Discarding Flour?
Tired of throwing flour away? Learn whether you can make a sourdough starter without discarding, plus a low-waste method that actually works for beginners.
Jun 29, 2026 · 5 min read